In this series, we build a sign in form using SwiftUI. In the first episode, we build the user interface. In the next episodes, we apply the model-view-viewmodel pattern and perform a network request to sign the user in. At the end of this series, we have a fully functional sign in form that is ready to be integrated into an application.
Setting Up the Project
Fire up Xcode and choose New > Project... from Xcode's File menu. Select the App template from the iOS section.
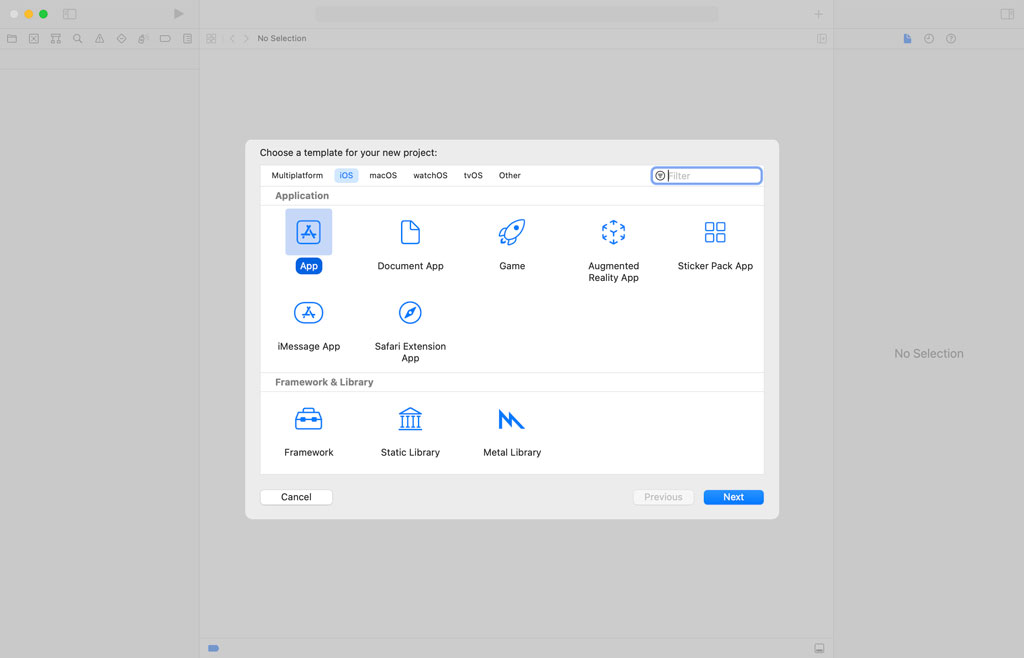
Name the project Cocoacasts, set Interface to SwiftUI, and click the Next button.
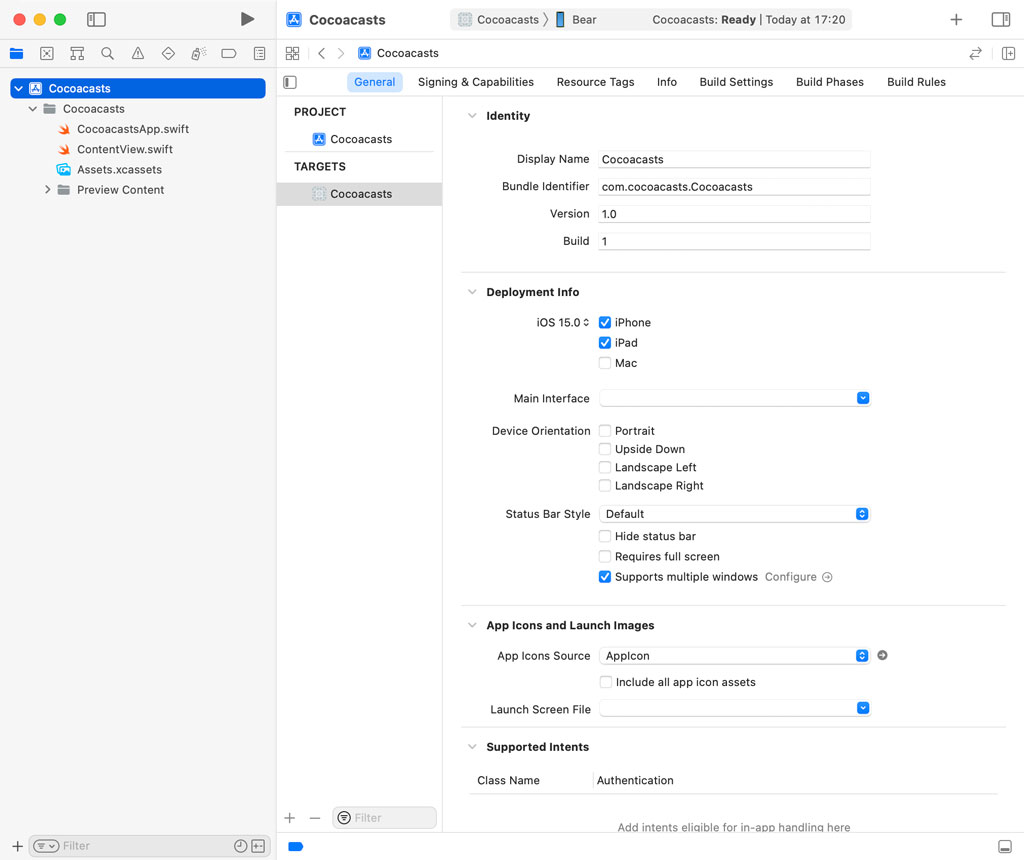
Select the project in the Project Navigator and select the General tab at the top. Set the deployment target to iOS 15.0 in the Deployment Info section.
Creating the Sign In View
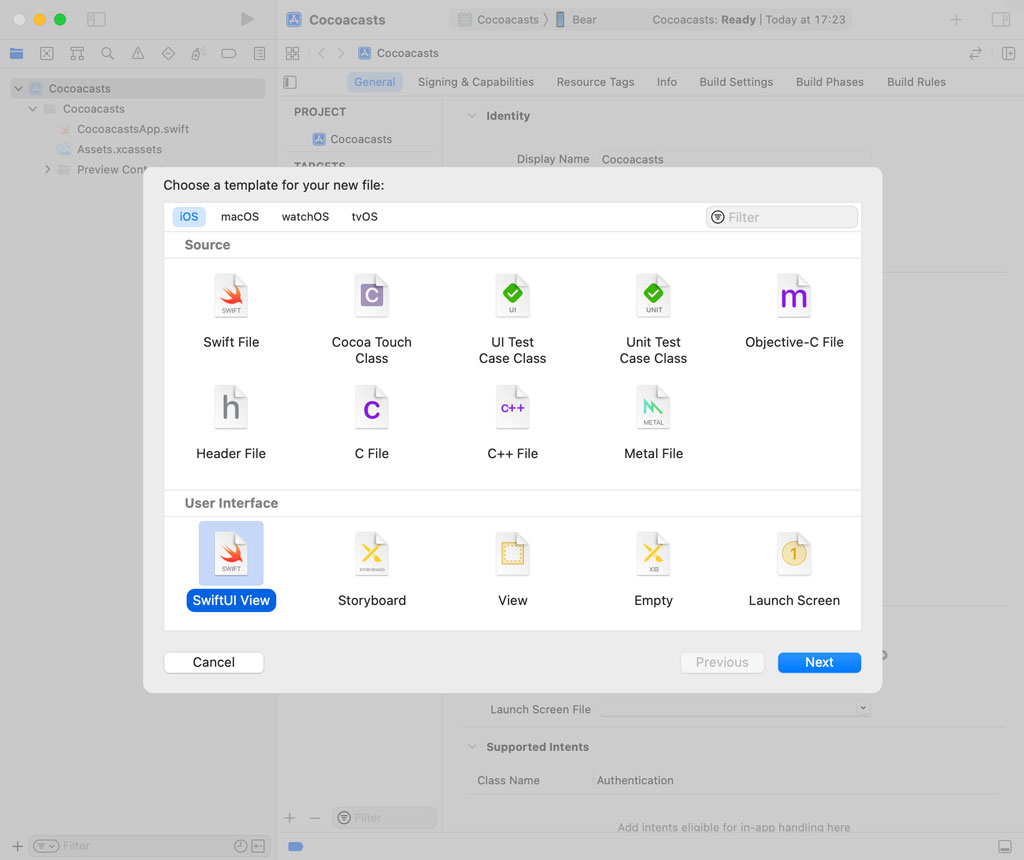
Remove ContentView.swift. We start with a clean slate. Add a new file and choose the SwiftUI View template from the iOS section. Name the file SignInView.swift.
Open CocoacastsApp.swift and replace ContentView with SignInView.
import SwiftUI

@main
struct CocoacastsApp: App {
    var body: some Scene {
        WindowGroup {
            SignInView()
        }
    }
}
Open SignInView.swift. Let's build the sign in form. We start by adding a VStack to the computed body property of SignInView. The VStack contains another VStack. Why that is becomes clear in a few moments. The inner VStack contains a Text object with text Email and a TextField with title Email. The TextField needs a binding for its text parameter. We declare a private State property, email. The initial value of the email property is an empty string. We pass the binding to the initializer of TextField using the $ prefix.
import SwiftUI

struct SignInView: View {

    // MARK: - Properties

    @State private var email = ""

    // MARK: - View

    var body: some View {
        VStack {
            VStack {
                Text("Email")
                TextField("Email", text: $email)
            }
        }
    }

}
We can repeat these steps for the password field. Below the email text field, we add a Text object with text Password and a secure field with title Password. We define a private State property, password, with an empty string as its initial value. We pass the binding to the initializer of SecureField using the $ prefix.
import SwiftUI

struct SignInView: View {

    // MARK: - Properties

    @State private var email = ""
    @State private var password = ""

    // MARK: - View

    var body: some View {
        VStack {
            VStack {
                Text("Email")
                TextField("Email", text: $email)
                Text("Password")
                SecureField("Password", text: $password)
            }
        }
    }

}
To make the sign in form a bit prettier, we add padding to the outer VStack and set the text field style to roundedBorder by applying the textFieldStyle modifier.
// MARK: - View

var body: some View {
    VStack {
        VStack {
            Text("Email")
            TextField("Email", text: $email)
            Text("Password")
            SecureField("Password", text: $password)
        }
    }
    .padding()
    .textFieldStyle(.roundedBorder)
}
To change the text alignment of the Text objects, we set the alignment of the inner VStack to leading.
// MARK: - View

var body: some View {
    VStack {
        VStack(alignment: .leading) {
            Text("Email")
            TextField("Email", text: $email)
            Text("Password")
            SecureField("Password", text: $password)
        }
    }
    .padding()
    .textFieldStyle(.roundedBorder)
}
We need to add a button so the user can submit the sign in form. Below the inner VStack, we add a button with title Sign In. We add a print statement to the action handler for now. To make the button more prominent, we apply a few modifiers. We apply buttonBorderStyle passing in capsule and buttonStyle passing in borderedProminent. This makes the button stand out.
// MARK: - View

var body: some View {
    VStack {
        VStack(alignment: .leading) {
            Text("Email")
            TextField("Email", text: $email)
            Text("Password")
            SecureField("Password", text: $password)
        }
        Button("Sign In") {
            print("Sign In")
        }
        .buttonBorderShape(.capsule)
        .buttonStyle(.borderedProminent)
    }
    .padding()
    .textFieldStyle(.roundedBorder)
}
To push the form to the top of the view, we add a spacer below the button in the outer VStack.
// MARK: - View

var body: some View {
    VStack {
        VStack(alignment: .leading) {
            Text("Email")
            TextField("Email", text: $email)
            Text("Password")
            SecureField("Password", text: $password)
        }
        Button("Sign In") {
            print("Sign In")
        }
        .buttonBorderShape(.capsule)
        .buttonStyle(.borderedProminent)
        Spacer()
    }
    .padding()
    .textFieldStyle(.roundedBorder)
}
Improving Support for iPad
We need to make sure the sign in form looks great on iPhone and iPad. Let's add a preview for iPad. We wrap the preview in a group and apply the previewDevice modifier. We set the preview device to iPhone 13. We create another preview and set the preview device to iPad Pro (12.9-inch) (5th generation). Remember that the value you pass to the initializer of PreviewDevice needs to match the name of one of the simulators listed in the run destination menu at the top.
struct SignInView_Previews: PreviewProvider {
    static var previews: some View {
        Group {
            SignInView()
                .previewDevice(PreviewDevice(rawValue: "iPhone 13"))
            SignInView()
                .previewDevice(PreviewDevice(rawValue: "iPad Pro (12.9-inch) (5th generation)"))
        }
    }
}
The iPad preview shows that the sign in form is too wide on iPad. This is easy to fix, though. We wrap the outer VStack in an HStack, adding a spacer to both sides of the VStack.
// MARK: - View

var body: some View {
    HStack {
        Spacer()
        VStack {
            VStack(alignment: .leading) {
                Text("Email")
                TextField("Email", text: $email)
                Text("Password")
                SecureField("Password", text: $password)
            }
            Button("Sign In") {
                print("Sign In")
            }
            .buttonBorderShape(.capsule)
            .buttonStyle(.borderedProminent)
            Spacer()
        }
        .padding()
        .textFieldStyle(.roundedBorder)
        Spacer()
    }
}
That change alone isn't sufficient since the sign in form takes up the available width. To prevent this, we apply the frame modifier to the outer VStack, setting the maximum width of the VStack to 400.0 points.
// MARK: - View

var body: some View {
    HStack {
        Spacer()
        VStack {
            VStack(alignment: .leading) {
                Text("Email")
                TextField("Email", text: $email)
                Text("Password")
                SecureField("Password", text: $password)
            }
            Button("Sign In") {
                print("Sign In")
            }
            .buttonBorderShape(.capsule)
            .buttonStyle(.borderedProminent)
            Spacer()
        }
        .padding()
        .frame(maxWidth: 400.0)
        .textFieldStyle(.roundedBorder)
        Spacer()
    }
}
Final Touches
Before we end this episode, I would like to add a few final touches to improve the user experience. We disable auto-correction by applying the disableAutocorrection modifier to the email text field, passing in true. We also apply the keyboardType modifier to the email text field, passing in emailAddress. Another nice touch is disabling auto-capitalization by applying the autocapitalization modifier, passing in none.
Text("Email")
TextField("Email", text: $email)
    .autocapitalization(.none)
    .keyboardType(.emailAddress)
    .disableAutocorrection(true)
These additions are subtle, but they significantly improve the user experience and reduce frustration. You don't want auto-correction to kick in while you are entering your email address in a text field.
What's Next?
The sign in form is ready to use and looks good on iPhone and iPad. In the next few episodes, we make the sign in form functional. We clean up the implementation by applying the model-view-viewmodel pattern and integrate with a Vapor backend.