It is time to unit test the AddLocationViewModel class. Create a new unit test case class in the Test Cases group of the CloudyTests target and name it AddLocationViewModelTests.swift.
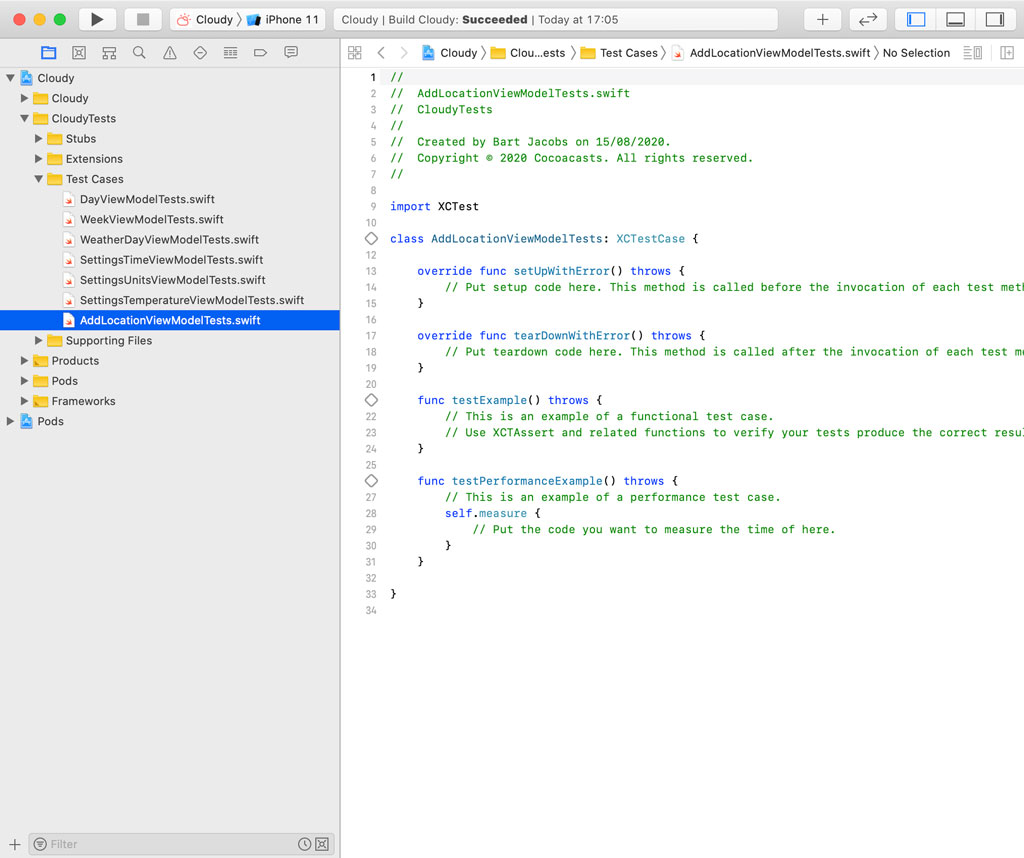
Remove the example unit tests and add an import statement for RxSwift, RxCocoa, RxTest, and RxBlocking. As I mentioned earlier, RxTest and RxBlocking make unit testing reactive code much easier. It is one of the best features of the RxSwift project.
We also need to import the Cloudy module to make sure we have access to the AddLocationViewModel class. Don't forget to prefix the import statement with the testable attribute to make internal entities accessible from within the test target.
AddLocationViewModelTests.swift
import XCTest
import RxTest
import RxSwift
import RxCocoa
import RxBlocking
@testable import Cloudy

class AddLocationViewModelTests: XCTestCase {

    // MARK: - Set Up & Tear Down

    override func setUpWithError() throws {}

    override func tearDownWithError() throws {}

}
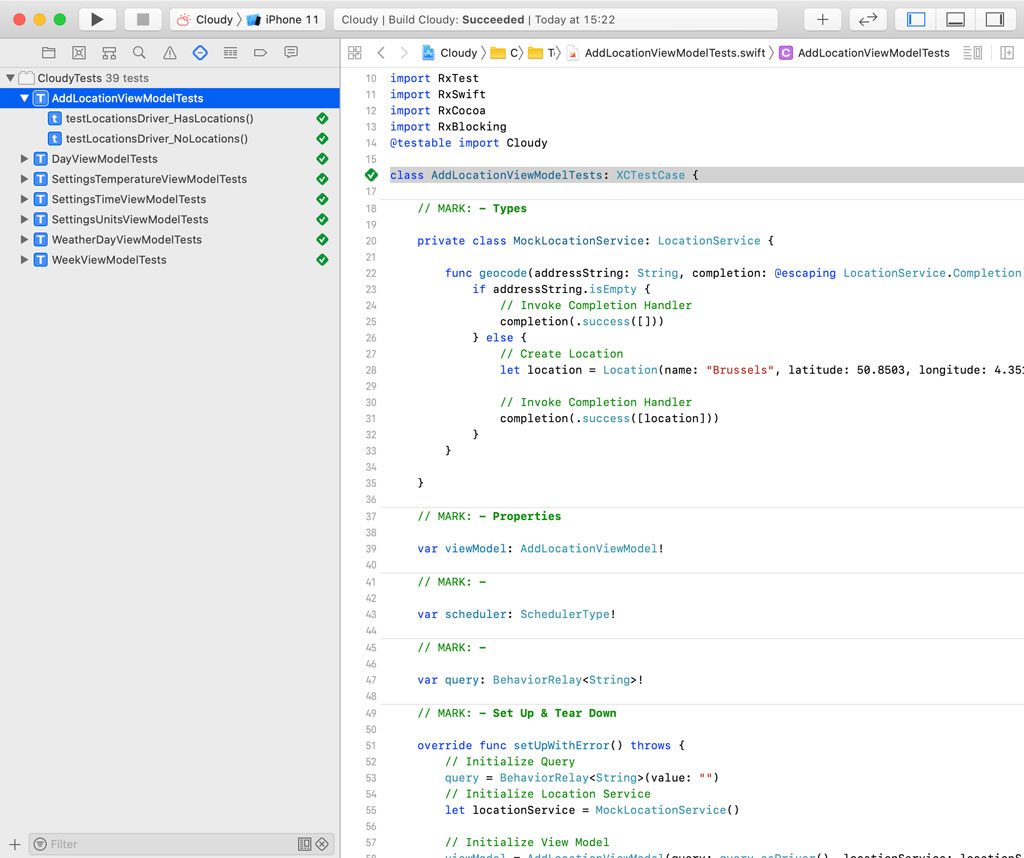
Click the diamond in the gutter on the left to run the unit tests for the AddLocationViewModel class. We don't have any unit tests at the moment, but it ensures everything is set up correctly.
Before we can write any unit tests, we need to declare a few properties:
viewModelof typeAddLocationViewModel!schedulerof typeSchedulerType!queryof typeBehaviorRelay<String>!
AddLocationViewModelTests.swift
// MARK: - Properties

var viewModel: AddLocationViewModel!

// MARK: -

var scheduler: SchedulerType!

// MARK: -

var query: BehaviorRelay<String>!
Notice that these properties are implicitly unwrapped optionals. Remember that safety isn't a major concern when we write unit tests. If something goes wrong, it means we made a mistake we need to fix.
The viewModel property is the view model we will unit test in a moment. The scheduler property is less important for this discussion. Schedulers provide a layer of abstraction for scheduling operations using RxSwift. That is all you need to know about schedulers to follow along.
We use the query property to mock user input. Because the view model doesn't know where the input comes from, it is easy to mock user input by emitting events with the help of the query behavior relay.
We set everything up in the setUpWithError() method of the test case. This method is executed every time a unit test is run and it ensures we start with a clean slate.
In the setUpWithError() method, we create a BehaviorRelay of type String and assign it to the query property. The behavior relay is initialized with an empty string.
AddLocationViewModelTests.swift
override func setUpWithError() throws {
    // Initialize Query
    query = BehaviorRelay<String>(value: "")
}
Mocking the Location Service
The next step is initializing the view model. But we have a problem. If we use the Geocoder class we created earlier, we cannot stub the response of the geocoding request. Remember that we want to control the environment in which the test suite is run. If the application talks to a location service, we need the ability to control its response.
Fortunately, we already did the heavy lifting to make this very easy. All we need to do is create a mock location service. We start by declaring a private, nested class, MockLocationService, that conforms to the LocationService protocol.
AddLocationViewModelTests.swift
import XCTest
import RxTest
import RxSwift
import RxCocoa
import RxBlocking
@testable import Cloudy

class AddLocationViewModelTests: XCTestCase {

    // MARK: - Types

    private class MockLocationService: LocationService {

    }

    ...

}
The only method we need to implement to conform to the LocationService protocol is geocode(addressString:completion:). If addressString is equal to an empty string, we invoke the closure with an empty array. If the value of addressString isn't an empty string, we invoke the closure with an array containing a single Location object. It is important to understand that we control what the location service returns. In this example, we return a Location object with a name of Brussels and a fixed set of coordinates.
AddLocationViewModelTests.swift
private class MockLocationService: LocationService {

    func geocode(addressString: String, completion: @escaping LocationService.Completion) {
        if addressString.isEmpty {
            // Invoke Completion Handler
            completion(.success([]))
        } else {
            // Create Location
            let location = Location(name: "Brussels", latitude: 50.8503, longitude: 4.3517)

            // Invoke Completion Handler
            completion(.success([location]))
        }
    }

}
That's it. In the setUpWithError() method, we can now instantiate an instance of the MockLocationService class and pass it as an argument to the initializer of the AddLocationViewModel class. The first argument of the initializer is the query property as a driver.
AddLocationViewModelTests.swift
override func setUpWithError() throws {
    // Initialize Query
    query = BehaviorRelay<String>(value: "")

    // Initialize Location Service
    let locationService = MockLocationService()

    // Initialize View Model
    viewModel = AddLocationViewModel(query: query.asDriver(), locationService: locationService)
}
We also create a concurrent dispatch queue scheduler and assign it to the scheduler property. Don't worry about this if you are not familiar with RxSwift.
AddLocationViewModelTests.swift
override func setUpWithError() throws {
    // Initialize Query
    query = BehaviorRelay<String>(value: "")

    // Initialize Location Service
    let locationService = MockLocationService()

    // Initialize View Model
    viewModel = AddLocationViewModel(query: query.asDriver(), locationService: locationService)

    // Initialize Scheduler
    scheduler = ConcurrentDispatchQueueScheduler(qos: .default)
}
Writing Unit Tests
Because we control what the location service returns, unit testing the implementation of the view model is straightforward. The first unit test we write tests the locationsDriver computed property of the view model. We need to write two unit tests. The first unit test tests that the locationsDriver computed property emits an array of Location objects. The second unit test tests that the locationsDriver computed property emits an empty array. We name the first unit test testLocationsDriver_HasLocations().
AddLocationViewModelTests.swift
// MARK: - Tests for Locations Driver

func testLocationsDriver_HasLocations() {

}
We create an observable and store a reference to it in a constant named observable.
AddLocationViewModelTests.swift
// MARK: - Tests for Locations Driver

func testLocationsDriver_HasLocations() {
    // Create Subscription
    let observable = viewModel.locationsDriver.asObservable().subscribeOn(scheduler)
}
We emit a new event by invoking the accept(_:) method on the query property. This mimics the user entering the name of a city in the search bar of the add location view controller.
AddLocationViewModelTests.swift
// MARK: - Tests for Locations Driver

func testLocationsDriver_HasLocations() {
    // Create Subscription
    let observable = viewModel.locationsDriver.asObservable().subscribeOn(scheduler)

    // Set Query
    query.accept("Brus")
}
We invoke the toBlocking() method to make the unit test synchronous. The result is stored in a constant with name result.
AddLocationViewModelTests.swift
// MARK: - Tests for Locations Driver

func testLocationsDriver_HasLocations() {
    // Create Subscription
    let observable = viewModel.locationsDriver.asObservable().subscribeOn(scheduler)

    // Set Query
    query.accept("Brus")

    // Fetch Result
    let result = try! observable.skip(1).toBlocking().first()!
}
The result is an array of Location objects. We assert that result isn't equal to nil and that it contains a single element.
AddLocationViewModelTests.swift
// MARK: - Tests for Locations Driver

func testLocationsDriver_HasLocations() {
    // Create Subscription
    let observable = viewModel.locationsDriver.asObservable().subscribeOn(scheduler)

    // Set Query
    query.accept("Brus")

    // Fetch Result
    let result = try! observable.skip(1).toBlocking().first()!

    // Assertions
    XCTAssertNotNil(result)
    XCTAssertEqual(result.count, 1)
}
We also include an assertion for the Location object stored in the array by making sure the name property of the location is equal to Brussels.
AddLocationViewModelTests.swift
// MARK: - Tests for Locations Driver

func testLocationsDriver_HasLocations() {
    // Create Subscription
    let observable = viewModel.locationsDriver.asObservable().subscribeOn(scheduler)

    // Set Query
    query.accept("Brus")

    // Fetch Result
    let result = try! observable.skip(1).toBlocking().first()!

    // Assertions
    XCTAssertNotNil(result)
    XCTAssertEqual(result.count, 1)

    // Fetch Location
    let location = result.first!

    XCTAssertEqual(location.name, "Brussels")
}
Notice that we make ample use of the exclamation mark. If anything blows up, it is because of a failed unit test or an error we made. In other words, we made a mistake we need to fix.
Remember that we also need to unit test the behavior when the user enters an empty string. This is very similar. We name the second unit test testLocationsDriver_NoLocations(). I won't go into the finer details of RxSwift, such as drivers replaying the last event when a subscriber is added. We expect an empty array of Location objects and that is what we test.
AddLocationViewModelTests.swift
func testLocationsDriver_NoLocations() {
    // Create Subscription
    let observable = viewModel.locationsDriver.asObservable().subscribeOn(scheduler)

    // Fetch Result
    let result: [Location] = try! observable.toBlocking().first()!

    // Assertions
    XCTAssertNotNil(result)
    XCTAssertEqual(result.count, 0)
}
Let's run the unit tests we have so far to make sure they pass. That is looking good.
I won't discuss every unit test of the AddLocationViewModel class, but I want to show you a few more. With the next unit test, we test the location(at:) method of the AddLocationViewModel class.
The unit test is similar to the ones we wrote earlier. Instead of inspecting the value of the locationsDriver computed property, we ask the view model for the location at index 0. It shouldn't be equal to nil. We also assert that the name of the Location object is equal to Brussels.
AddLocationViewModelTests.swift
// MARK: - Tests for Location At Index

func testLocationAtIndex_NotNil() {
    // Create Subscription
    let observable = viewModel.locationsDriver.asObservable().subscribeOn(scheduler)

    // Set Query
    query.accept("Brus")

    // Fetch Result
    let _ = try! observable.skip(1).toBlocking().first()!

    // Fetch Location
    let result = viewModel.location(at: 0)

    // Assertions
    XCTAssertNotNil(result)
    XCTAssertEqual(result!.name, "Brussels")
}
We can write a similar unit test for an index that is out of bounds. In that case, the location(at:) method returns nil.
AddLocationViewModelTests.swift
func testLocationAtIndex_Nil() {
    // Create Subscription
    let observable = viewModel.locationsDriver.asObservable().subscribeOn(scheduler)

    // Set Query
    query.accept("Brus")

    // Fetch Result
    let _ = try! observable.skip(1).toBlocking().first()!

    // Fetch Location
    let result = viewModel.location(at: 1)

    // Assertions
    XCTAssertNil(result)
}
Run the test suite to make sure the unit tests pass.
What's Next?
The unit tests we covered in this episode only cover the happy paths, that is, the geocoding requests performed by the mock location service are successful. It is equally important to write unit tests for the unhappy paths. This isn't difficult since we control the result of the geocoding requests. I hope this episode has shown you that writing unit tests for a view model with bindings isn't that difficult.