The scene-based API has confused many developers, especially those new to the platform. I hope the previous episodes have given you the foundation you need to use the API in your own projects. In this episode, I show you how dependency injection and the coordinator pattern fit into the scene-based API.
Scenes, Windows, and Dependency Injection
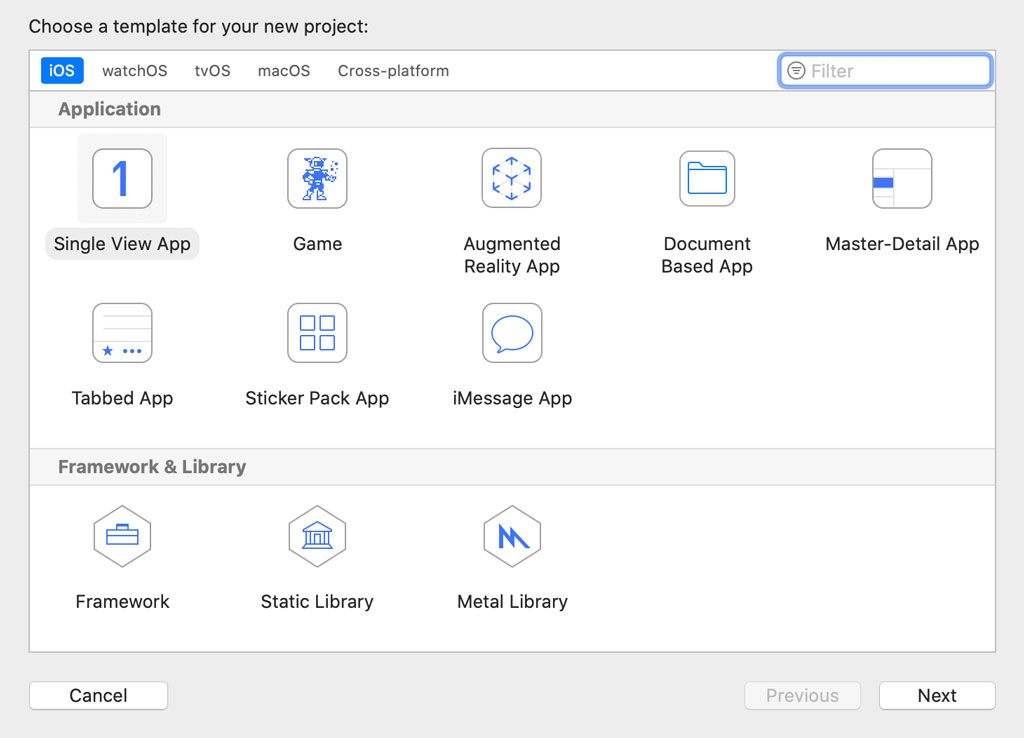
Injecting one or more dependencies into the root view controller of a window in a scene-based project isn't as complex as it seems. I show you how it works with a straightforward example. Create a new project in Xcode by choosing the Single View App template from the iOS > Application section.
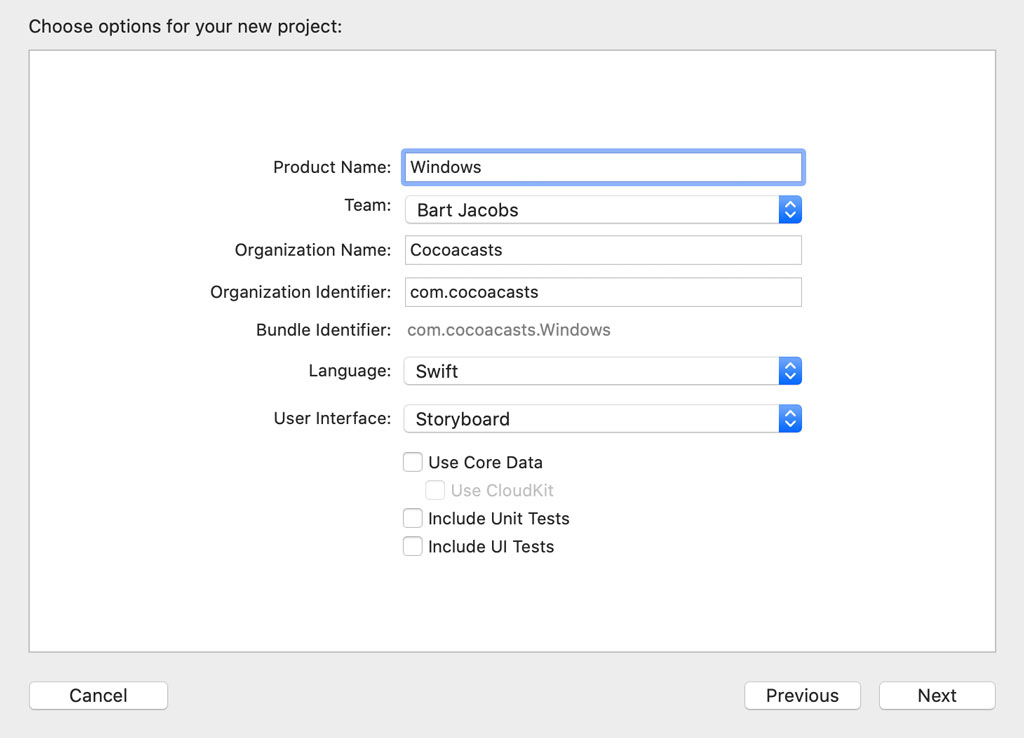
Name the project Windows and set User Interface to Storyboard.
Because we used Xcode 11 to create the project, the project automatically adopts the scene-based API. The target's Info.plist includes a key with name Application Scene Manifest. This should be familiar. Build and run the application. You should see a white view.
When the application launches, the UIKit framework takes care of a few things for us. It asks the application delegate for a scene configuration. It uses the scene configuration to create a scene and a scene delegate. UIKit inspects the scene configuration to figure out which storyboard to load. It instantiates the initial view controller of the storyboard, creates a window for the scene, and sets the view controller as the root view controller of the window. That is why we see a white view when we build and run the application.
Injecting one or more dependencies into the root view controller of the window is simpler than you might think. Open ViewController.swift and define a private outlet for a label with name titleLabel.
import UIKit

class ViewController: UIViewController {

    // MARK: - Properties

    @IBOutlet private var titleLabel: UILabel!

    // MARK: - View Life Cycle

    override func viewDidLoad() {
        super.viewDidLoad()

        // Configure Title Label
        titleLabel.text = title
    }

}
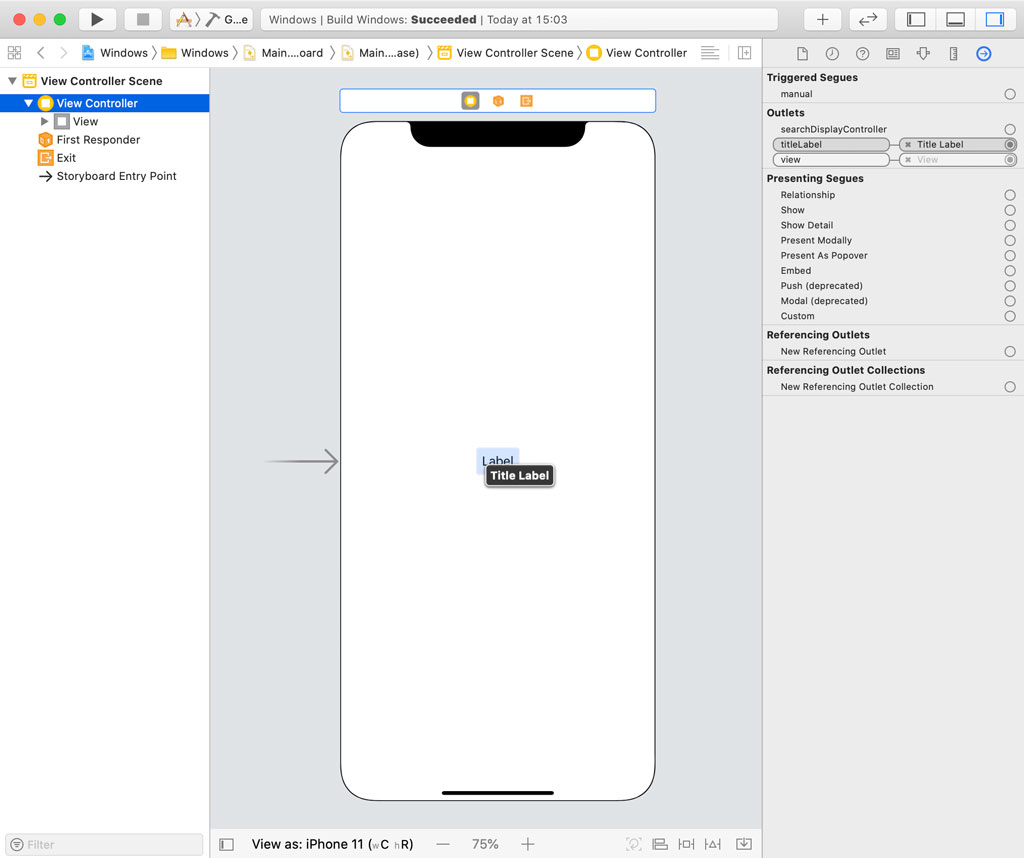
Open Main.storyboard and navigate to the View Controller scene. Open the Object Library, add a label to the view controller's view, and center the label in its superview. Select the view controller, open the Connections Inspector on the right, and connect the titleLabel outlet to the label we added.
Revisit ViewController.swift. In viewDidLoad(), we set the text property of the title label to the view controller's title.
import UIKit

class ViewController: UIViewController {

    // MARK: - Properties

    @IBOutlet private var titleLabel: UILabel!

    // MARK: - View Life Cycle

    override func viewDidLoad() {
        super.viewDidLoad()

        // Configure Title Label
        titleLabel.text = title
    }

}
Let me explain what is happening. The plan is to inject the title of the view controller in the scene delegate when the scene is connected to the scene session. If the title label displays the title we injected, we know that we successfully implemented dependency injection in a scene-based application. This example may seem trivial and it is, but remember that dependency injection is nothing more than giving an object its instance variables. That's it. It doesn't matter whether we inject the title of the view controller or a Core Data manager. The idea is the same.
Let's try it out. Open SceneDelegate.swift and navigate to the scene(_:willConnectTo:options:) method. Because we specified a storyboard in the application scene manifest of the target's Info.plist, UIKit creates the window for the scene, instantiates the initial view controller of the storyboard, and sets the root view controller of the window. This means that we can ask the scene delegate's window for its root view controller. We cast it to a ViewController instance because we expect the root view controller to be of type ViewController. We inject the title of the view controller using property injection. Property injection is a fancy term for injecting a dependency by setting a property.
// MARK: - Scene Life Cycle

func scene(_ scene: UIScene, willConnectTo session: UISceneSession, options connectionOptions: UIScene.ConnectionOptions) {
    guard let _ = (scene as? UIWindowScene) else { return }

    if let viewController = window?.rootViewController as? ViewController {
        viewController.title = "I am the root view controller."
    }
}
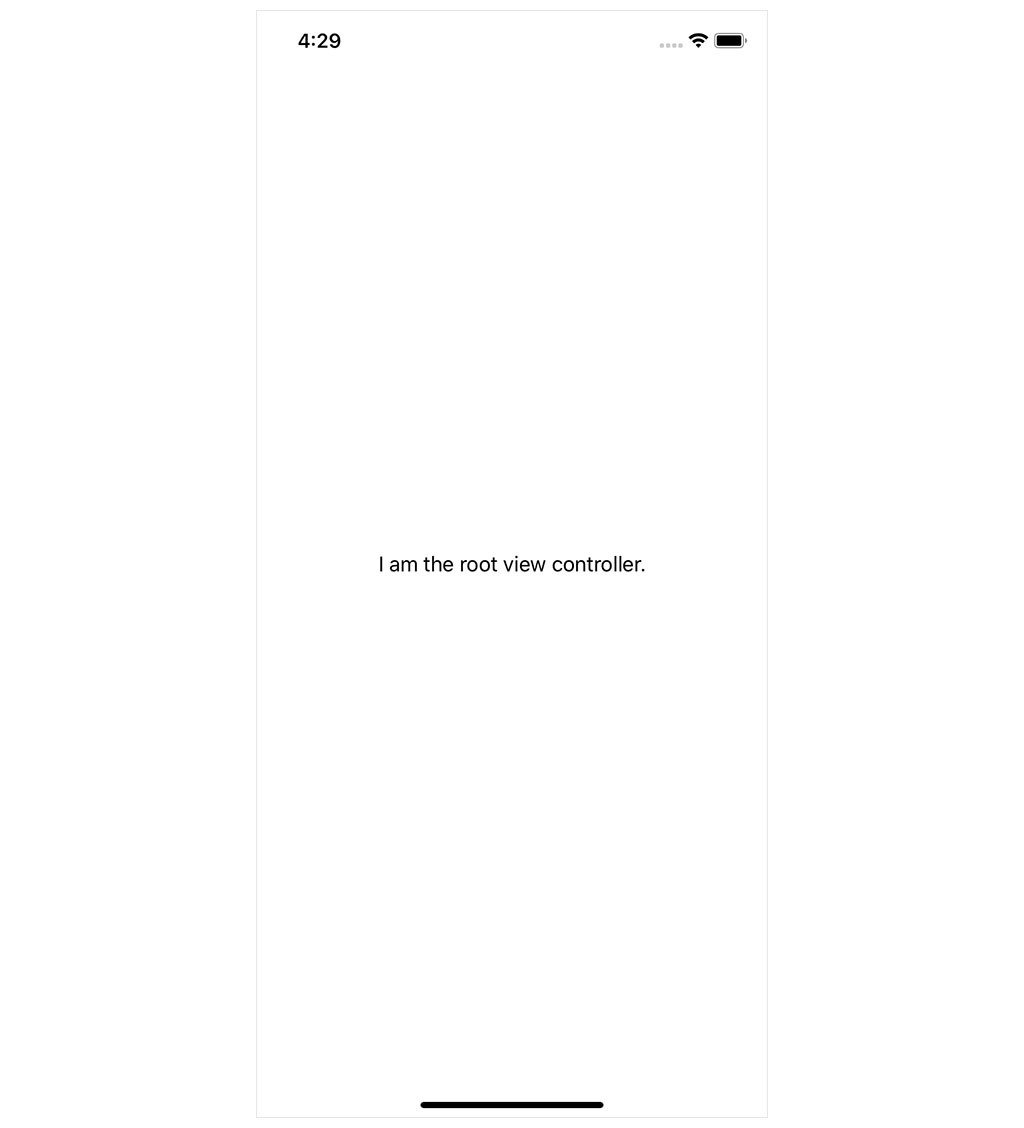
If we successfully injected the title into the view controller, the view controller should display the title in its title label. Build and run the application in the simulator to make sure everything works as expected.
Scenes, Windows, and Coordinators
To illustrate how coordinators fit into the scene-based API, we revisit Photos, the application we refactor in Mastering Navigation With Coordinators. The Photos project isn't scene-based. Let's fix that.
Updating Info.plist
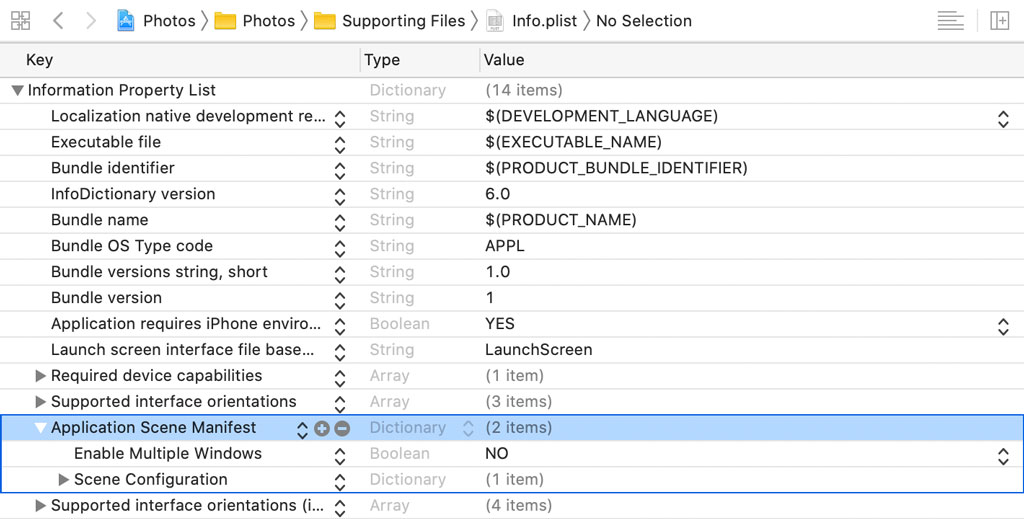
We need to inform the system that the application adopts the scene-based API by updating the target's Info.plist. Remember from the previous episodes that we need to add a key with name Application Scene Manifest to the target's Info.plist. Xcode helps us by adding two key-value pairs to the dictionary, Enable Multiple Windows and Scene Configuration. We covered this earlier in this series.
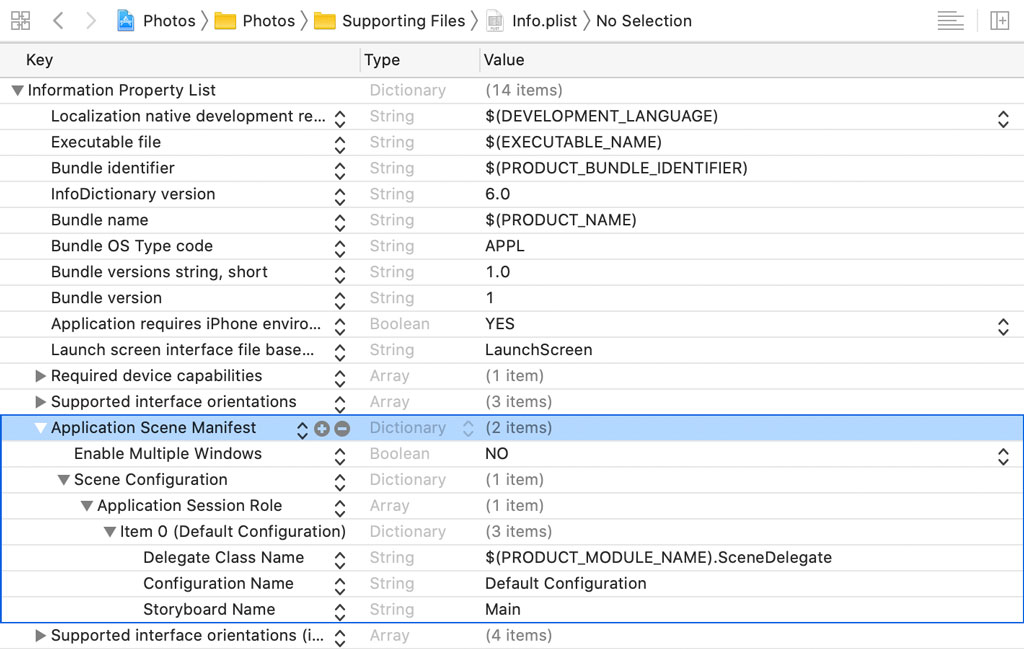
We need to define a scene configuration in the Scene Configuration dictionary that UIKit can use to create and configure a scene. Add a key-value pair to the Scene Configuration dictionary and name the key Application Session Role. The value is an array of scene configurations. Xcode automatically adds a template to helps us. We can remove the Class Name key. If this key is missing, UIKit creates a scene using the UIWindowScene class. That is what we want.
We set Delegate Class Name to $(PRODUCT_MODULE_NAME).SceneDelegate. At compile time, $(PRODUCT_MODULE_NAME) is replaced with the name of the target's module, Photos in this example. We set Configuration to Default Configuration and Storyboard Name to Main.
Build and run the application to see what has changed. We see a black screen, which isn't surprising. The output in Xcode's console clarifies the problem. UIKit tries to instantiate an instance of the SceneDelegate class, but there is no class with that name. Let's fix that.
Implementing the Scene Delegate
Create a Swift file with name SceneDelegate.swift. Add an import statement for the UIKit framework and define a final class with name SceneDelegate. The SceneDelegate class inherits from UIResponder and it adopts the UIWindowSceneDelegate protocol. We covered this in the previous episodes.
import UIKit

final class SceneDelegate: UIResponder, UIWindowSceneDelegate {

}
The UISceneDelegate and UIWindowSceneDelegate protocols have no required methods, but we need to implement at least one method. We need the ability to configure the window of the scene delegate. We do this in the scene(_:willConnectTo:options:) method.
import UIKit

final class SceneDelegate: UIResponder, UIWindowSceneDelegate {

    // MARK: - Scene Life Cycle

    func scene(_ scene: UIScene, willConnectTo session: UISceneSession, options connectionOptions: UIScene.ConnectionOptions) {

    }

}
Before we implement the scene(_:willConnectTo:options:) method, we define a property for the window of the scene. The scene delegate holds a reference to the window. This is similar to the application delegate holding a reference to the window in applications that don't adopt the scene-based API.
import UIKit

final class SceneDelegate: UIResponder, UIWindowSceneDelegate {

    // MARK: - Properties

    var window: UIWindow?

    // MARK: - Scene Life Cycle

    func scene(_ scene: UIScene, willConnectTo session: UISceneSession, options connectionOptions: UIScene.ConnectionOptions) {

    }

}
We have two options. If we designate one of the view controllers in Main.storyboard as the initial view controller, then UIKit instantiates the view controller for us. That is the option we took earlier in this episode. The other option is creating the window and setting the root view controller of the window. That is the option we take and it's also the option we take in Mastering Navigation With Coordinators.
Creating a window in a scene-based application is slightly different. We create a window by invoking the init(windowScene:) initializer, passing in a UIWindowScene instance. The scene that is passed to the scene(_:willConnectTo:options:) method is of type UIScene, the superclass of UIWindowScene. We use a guard statement to cast scene to a UIWindowScene instance.
// MARK: - Scene Life Cycle

func scene(_ scene: UIScene, willConnectTo session: UISceneSession, options connectionOptions: UIScene.ConnectionOptions) {
    guard let windowScene = scene as? UIWindowScene else {
        return
    }

    // Initialize Window
    window = UIWindow(windowScene: windowScene)
}
We use the UIWindowScene instance to create a window and store a reference to the window in the window property of the scene delegate.
Configuring the Window
The next step is simple. Open AppDelegate.swift in the Assistant Editor on the right. We can move most of the code from the AppDelegate class to the SceneDelegate class. We start by moving the appCoordinator property to the SceneDelegate class. We can also remove the window property in AppDelegate.swift. The deployment target of the target is iOS 13 so it relies exclusively on the scene-based API.
import UIKit

final class SceneDelegate: UIResponder, UIWindowSceneDelegate {

    // MARK: - Properties

    var window: UIWindow?

    // MARK: -

    private let appCoordinator = AppCoordinator()

    // MARK: - Scene Life Cycle

    func scene(_ scene: UIScene, willConnectTo session: UISceneSession, options connectionOptions: UIScene.ConnectionOptions) {
        guard let windowScene = scene as? UIWindowScene else {
            return
        }

        // Initialize Window
        window = UIWindow(windowScene: windowScene)
    }

}
In the scene(_:willConnectTo:options:) method, we ask the application coordinator for the root view controller and set the rootViewController property of the window.
import UIKit

final class SceneDelegate: UIResponder, UIWindowSceneDelegate {

    // MARK: - Properties

    var window: UIWindow?

    // MARK: -

    private let appCoordinator = AppCoordinator()

    // MARK: - Scene Life Cycle

    func scene(_ scene: UIScene, willConnectTo session: UISceneSession, options connectionOptions: UIScene.ConnectionOptions) {
        guard let windowScene = scene as? UIWindowScene else {
            return
        }

        // Initialize Window
        window = UIWindow(windowScene: windowScene)

        // Configure Window
        window?.rootViewController = appCoordinator.rootViewController

        // Make Key and Visible
        window?.makeKeyAndVisible()

        // Start Coordinator
        appCoordinator.start()
    }

}
We show the window and make it the key window by invoking makeKeyAndVisible(). Remember from Mastering Navigation With Coordinators that we need to invoke start() on the application coordinator to initiate the flow managed by the coordinator. You can ignore this detail if you are not familiar with the coordinator pattern.
import UIKit

final class SceneDelegate: UIResponder, UIWindowSceneDelegate {

    // MARK: - Properties

    var window: UIWindow?

    // MARK: -

    private let appCoordinator = AppCoordinator()

    // MARK: - Scene Life Cycle

    func scene(_ scene: UIScene, willConnectTo session: UISceneSession, options connectionOptions: UIScene.ConnectionOptions) {
        guard let windowScene = scene as? UIWindowScene else {
            return
        }

        // Initialize Window
        window = UIWindow(windowScene: windowScene)

        // Configure Window
        window?.rootViewController = appCoordinator.rootViewController

        // Make Key and Visible
        window?.makeKeyAndVisible()

        // Start Coordinator
        appCoordinator.start()
    }

}
Before we can build and run the application in the simulator, we need to clean up the application delegate. The AppDelegate class has no properties and its application(_:didFinishLaunchingWithOptions:) method returns true. That's it.
import UIKit

@UIApplicationMain
class AppDelegate: UIResponder, UIApplicationDelegate {

    // MARK: - Application Life Cycle

    func application(_ application: UIApplication, didFinishLaunchingWithOptions launchOptions: [UIApplication.LaunchOptionsKey: Any]?) -> Bool {
        return true
    }

}
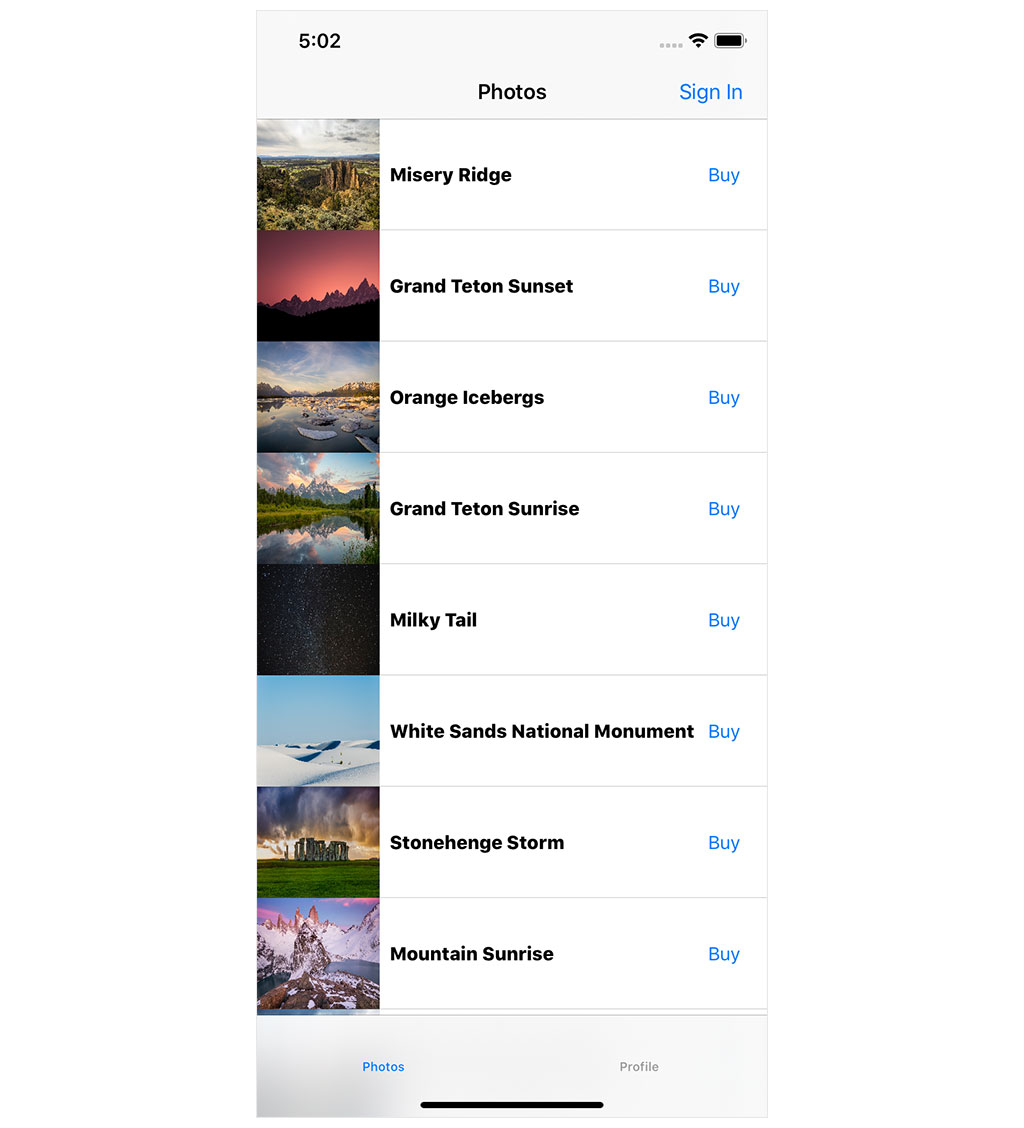
Build and run the application in the simulator. You should see a collection of photos if everything is set up correctly.
What's Next?
Remember from the previous episodes that each scene of an application has its own view hierarchy and user interface life cycle. This is essential to understand. I hope this series has cleared up some of the confusion introduced by the scene-based API. Dependency injection and the coordinator pattern work seamlessly with the scene-based API. The difference for the coordinator pattern is that each scene has its own coordinator and child coordinators. It's the scene delegate that keeps a reference to the main or application coordinator, not the application delegate.