In this series, I show you how to unit test Core Data models. Before we start, though, I’d like to challenge you. How would you unit test a Core Data model? Pause the video for a moment and try to come up with a strategy. Remember what we covered in Core Data Fundamentals. Which ingredients do we need to create an NSManagedObject instance?
Revisiting Notes
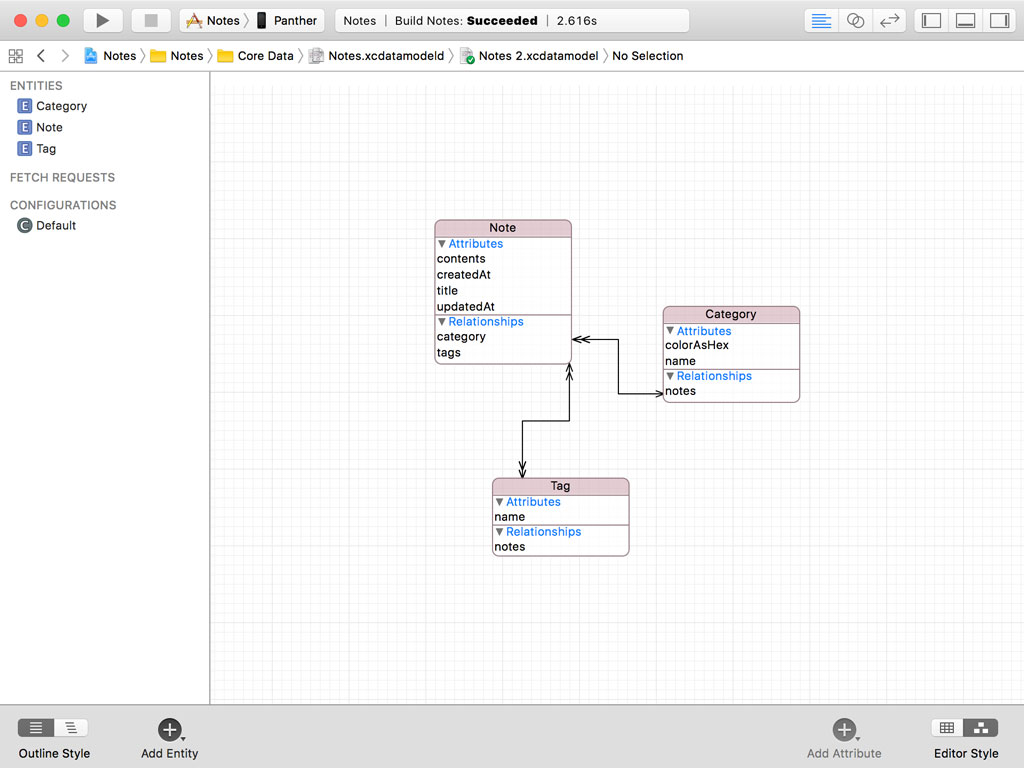
In Core Data Fundamentals, we built an application, Notes. The data model of Notes defines three entities, Note, Category, and Tag. In this episode, we unit test the Note and Category entities. Open the starter project of this episode in Xcode and take a look at the data model to freshen up your mind.
What to Unit Test
It’s important to understand what we need to unit test. For example, there’s no need to unit test the attributes and relationships of the entities. Why is that? It’s not our task to unit test the Core Data framework. Apple has already taken care of that for us.
What we need to unit test is the custom behavior we added to the NSManagedObject subclasses Xcode generated for us. That’s why we only need to unit test the Note and Category classes. We didn’t add any custom behavior to the Tag class.
The custom behavior we added to the Note and Category classes is located in Note.swift and Category.swift in the Core Data > Extensions group. We created extensions for the Note and Category classes to add custom behavior to these NSManagedObject subclasses. This is what the extensions look like.
Note.swift
import Foundation

extension Note {

    // MARK: - Dates

    var updatedAtAsDate: Date {
        return updatedAt ?? Date()
    }

    var createdAtAsDate: Date {
        return createdAt ?? Date()
    }

    // MARK: - Tags

    var alphabetizedTags: [Tag]? {
        guard let tags = tags as? Set<Tag> else {
            return nil
        }

        return tags.sorted(by: {
            guard let tag0 = $0.name else { return true }
            guard let tag1 = $1.name else { return true }
            return tag0 < tag1
        })
    }

    var alphabetizedTagsAsString: String? {
        guard let tags = alphabetizedTags, tags.count > 0 else {
            return nil
        }

        let names = tags.flatMap { $0.name }
        return names.joined(separator: ", ")
    }

}
Category.swift
import UIKit

extension Category {

    var color: UIColor? {
        get {
            guard let hex = colorAsHex else { return nil }
            return UIColor(hex: hex)
        }

        set(newColor) {
            if let newColor = newColor {
                colorAsHex = newColor.toHex
            }
        }
    }

}
The goal of this episode is to unit test the computed properties defined in these extensions. Before we can do that, we need to create a unit test target. Let’s do that first.
Adding a Unit Test Target
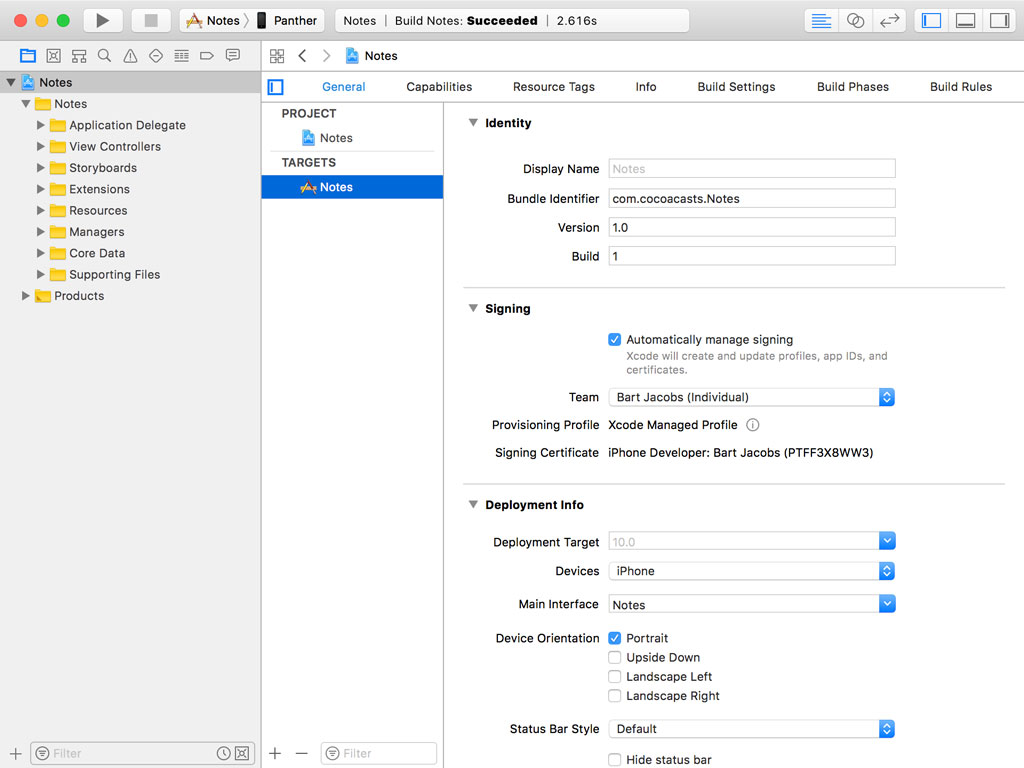
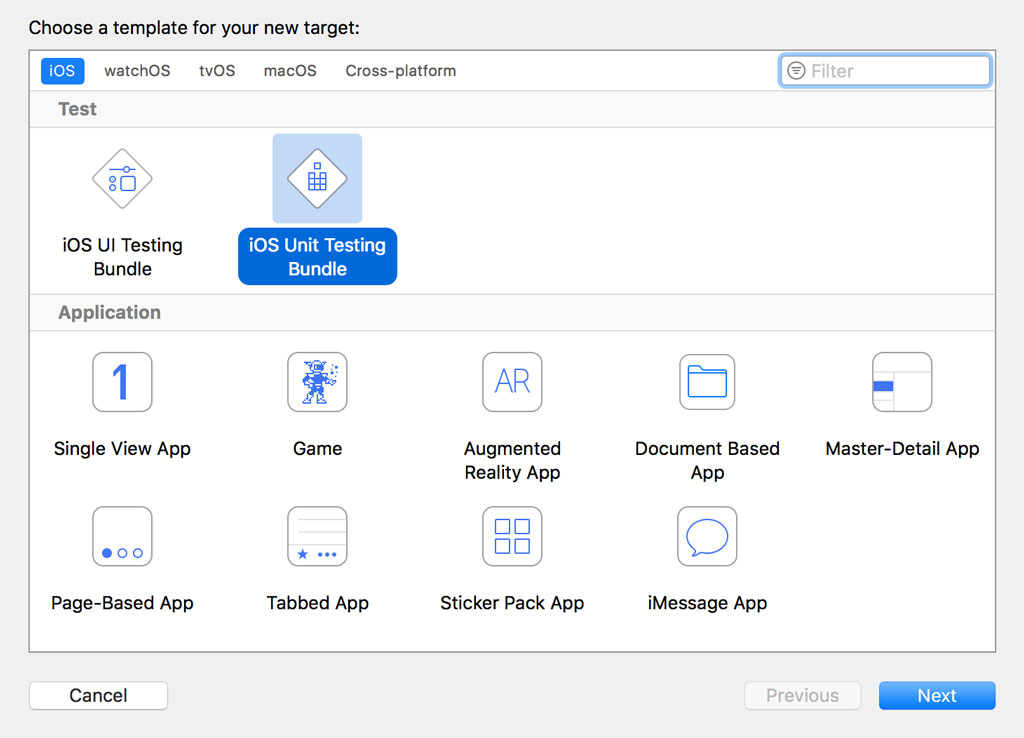
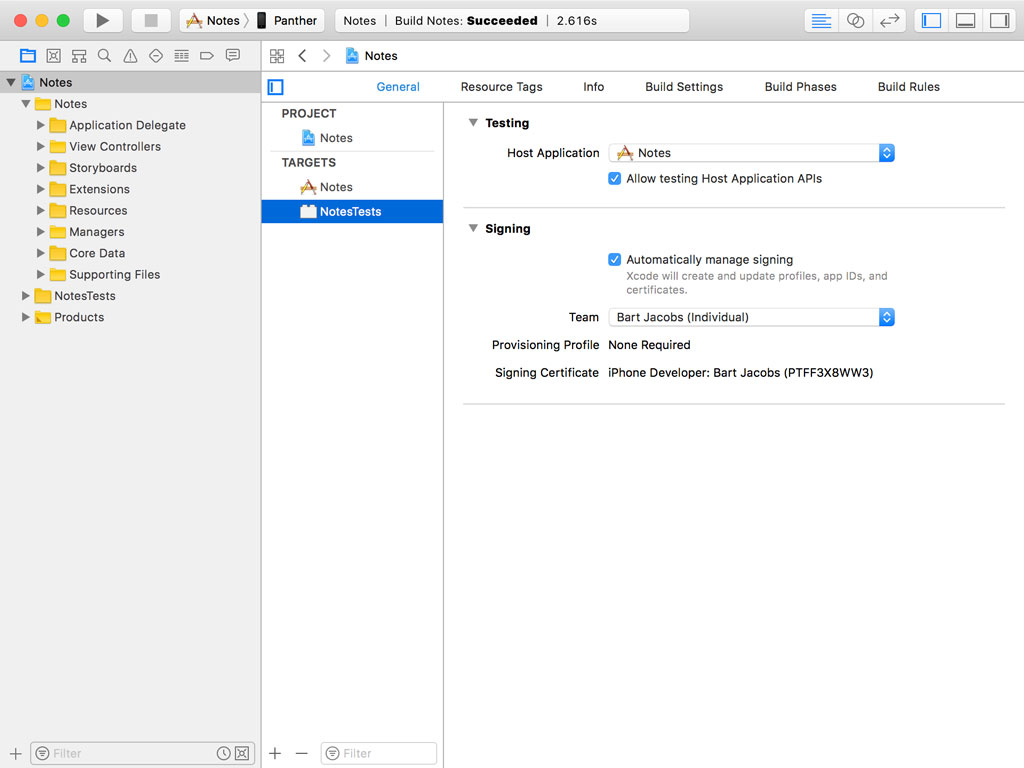
Select the project in the Project Navigator, click the plus button at the bottom, and choose iOS Unit Testing Bundle.
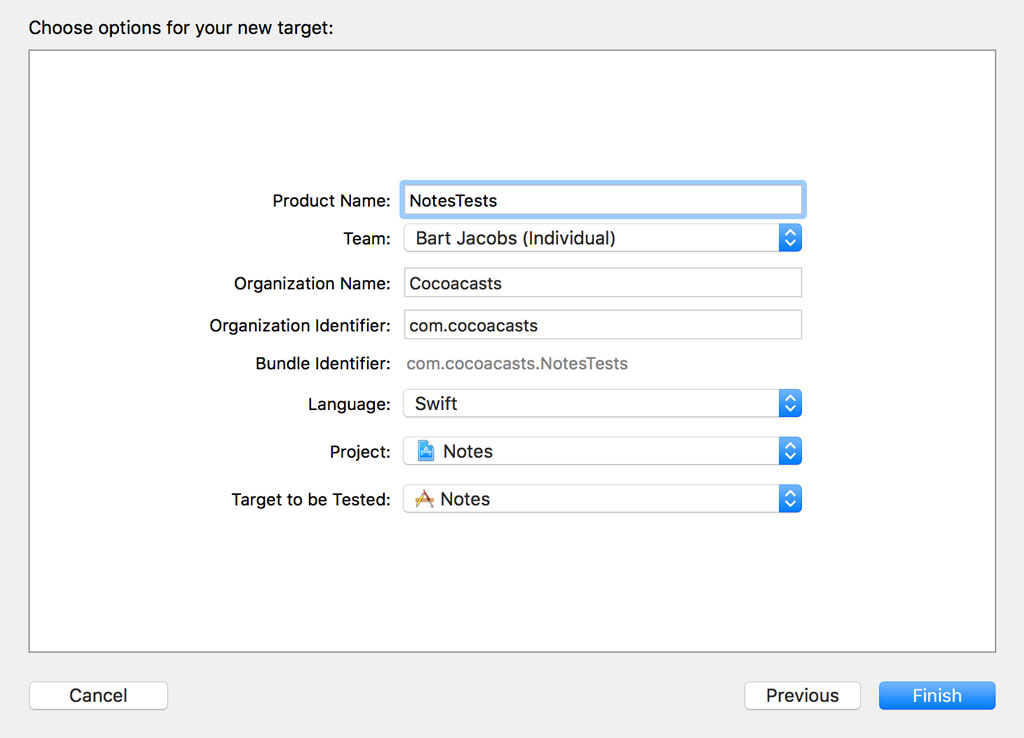
The defaults are just fine. Make sure Language is set to Swift and Target to be Tested is set to Notes.
The Notes project should now have two targets, Notes and NotesTests.
Organizing the Unit Testing Bundle
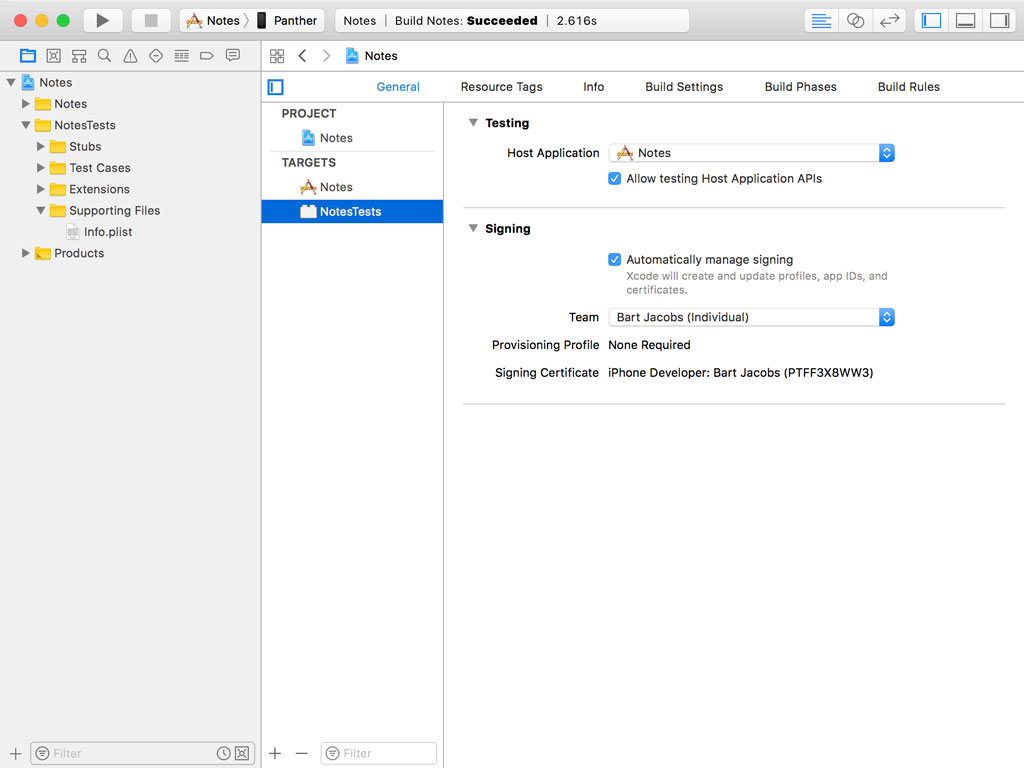
Before we continue, I’d like to organize the unit testing bundle to keep files and folders nice and tidy. I usually create four groups, Supporting Files for the Info.plist file, a group for stubs, a group for extensions, and a group for the test cases. This is what you should end up with. Notice that I also removed the test case Xcode created for us, NotesTests.swift. We won’t be needing it.
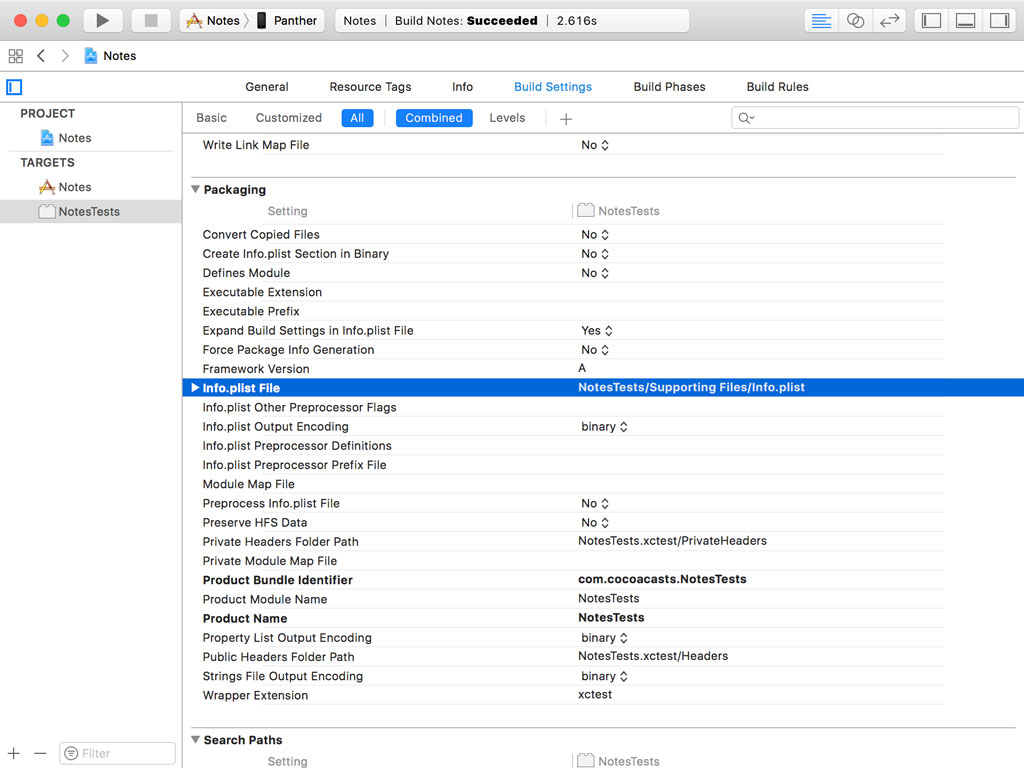
If you take this approach and move the Info.plist file into the Supporting Files group, make sure you tell Xcode about this change. It means we need to update the path to the Info.plist file in the build settings of the NotesTests target.
Choose the NotesTests target from the list of targets, select Build Settings at the top, and search for the Info.plist File build setting in the Packaging section. Change the path from NotesTests/Info.plist to NotesTests/Supporting Files/Info.plist.
Let’s run the test suite to make sure the unit test target is correctly configured. We don’t have any unit tests yet, but that isn’t a problem. We only want to verify that the unit test target is properly configured.
Choose a simulator from the list of devices and run the test suite by choosing Test from Xcode’s Product menu. Xcode installs the application in the simulator and runs the test suite. No errors or warnings should be visible.
What’s Next
Remember from Core Data Fundamentals that we need a managed object context to instantiate a managed object. This implies that we need access to a Core Data stack. In the next episode, we set up the Core Data stack.