In this episode, we set up the project for Thunderstorm, the weather application we build in this series. We make a few changes to prepare the project for the MVVM pattern.
Creating the Project in Xcode
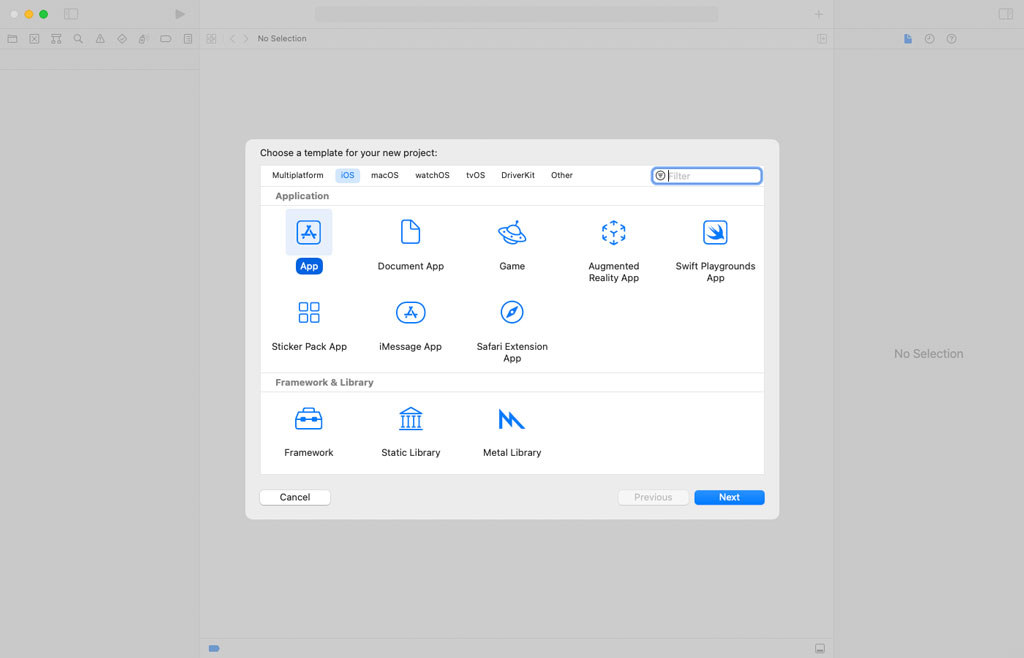
Fire up Xcode and create a project by choosing the App template from the iOS > Application section.
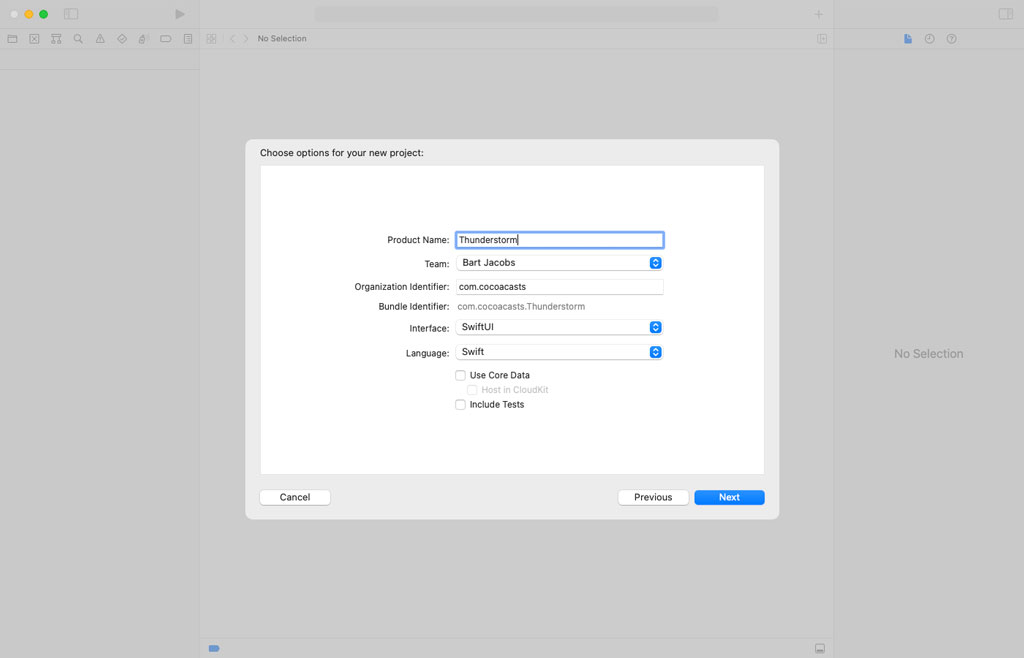
Name the project Thunderstorm and set Interface to SwiftUI. We leave the checkboxes at the bottom unchecked. Choose a location for the project and hit Create.
Adding Structure to the Project
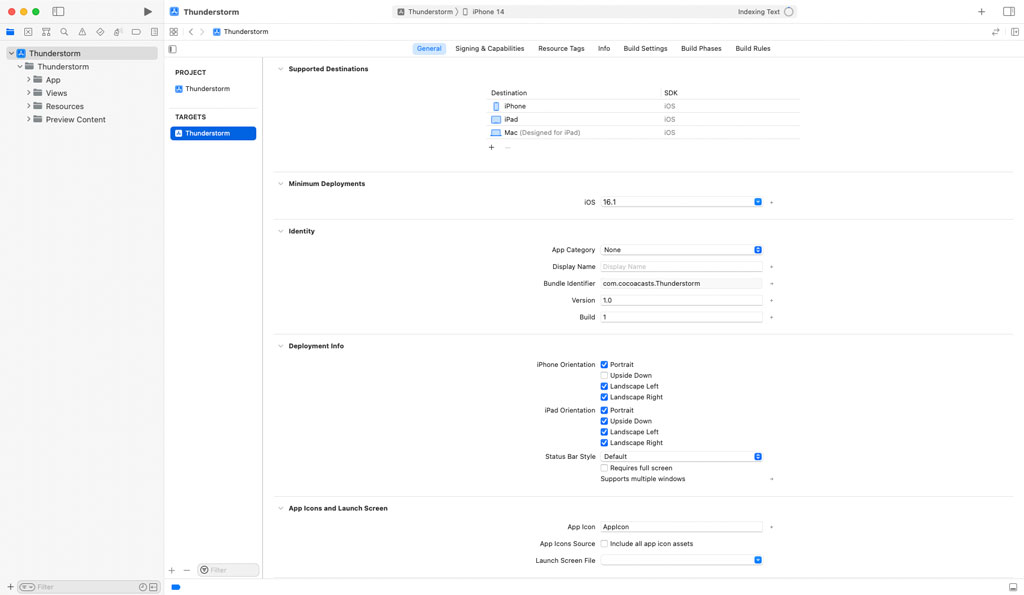
Let's add a bit of structure to the project. Create a group with name Resources and add the asset catalog to it. Create another group with name Views and add ContentView.swift to it. Because I don't like files at the root of the project, I create one more group with name App for ThunderstormApp.swift. We now have four groups, App, Views, Resources, and Preview Content.
Build and run the application to make sure we didn't break anything.

Creating a View Model
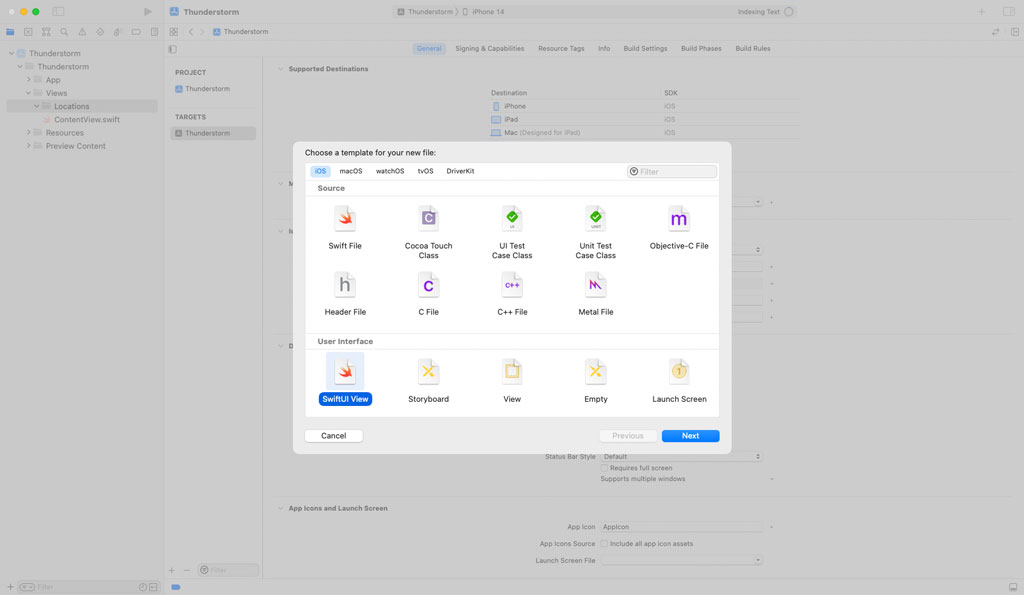
The view the user sees when they launch the application is the locations view. Let's create that view and replace the content view. Add a group to the Views group and name it Locations. Add a file to the Locations group by choosing the SwiftUI View template from the iOS > User Interface section. Name the view LocationsView.
The locations view lists the locations the user adds to the application. Tapping a location takes the user to the location view. To make that possible, we wrap the contents of the locations view in a navigation view.
struct LocationsView: View {

    // MARK: - View

    var body: some View {
        NavigationView {
            Text("Hello, World!")
        }
    }

}
Remember that a view displays data and responds to user interaction. It doesn't know what it displays. It is the view's view model that provides the data the view displays. Let's create a view model for the locations view.
Add a group with name View Models to the Locations group. Add a Swift file to the View Models group and name it LocationsViewModel.swift. Declare a struct with name LocationsViewModel. The struct defines a computed property, title, of type String. The computed property returns the name of the application, Thunderstorm.
import Foundation

struct LocationsViewModel {

    // MARK: - Properties

    var title: String {
        "Thunderstorm"
    }

}
Revisit LocationsView.swift and declare a private, constant property with name viewModel. We create a LocationsViewModel object and assign it to the view's viewModel property.
struct LocationsView: View {

    // MARK: - Properties

    private let viewModel = LocationsViewModel()

    // MARK: - View

    var body: some View {
        NavigationView {
            Text("Hello, World!")
        }
    }

}
To display the title at the top of the locations view, we apply the navigationTitle modifier to the text view, passing in the value of the view model's computed title property.
var body: some View {
    NavigationView {
        Text("Hello, World!")
            .navigationTitle(viewModel.title)
    }
}
Before we build and run the application, we need to make a few changes. Remove ContentView.swift. We no longer need it. Open ThunderstormApp.swift and create a LocationsView object in the content closure of the window group.
import SwiftUI

@main
struct ThunderstormApp: App {
    var body: some Scene {
        WindowGroup {
            LocationsView()
        }
    }
}
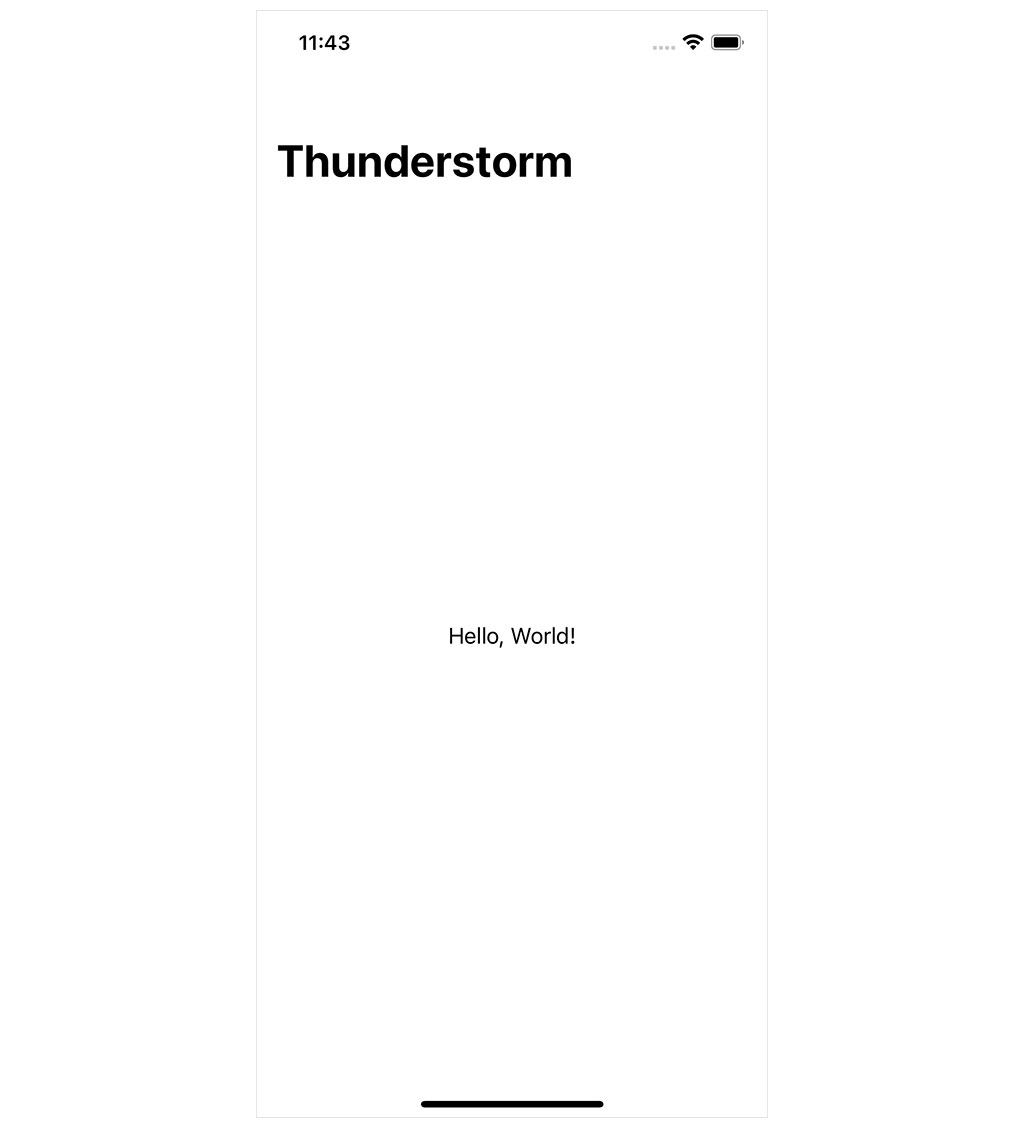
Build and run the application. The name of the application, Thunderstorm, should be visible at the top of the locations view.
Injecting the View Model
Earlier in this series, you learned that a view model should be injected into the view it drives. A view shouldn't create its own view model. Injecting the view model has a number of benefits, which we explore later in this series.
Revisit LocationsView.swift and change the declaration of the viewModel property. To inject the view model into the view, we declare the viewModel property as internal by removing the private keyword. The view should no longer create a LocationsViewModel object. That is the responsibility of the object that creates the locations view.
import SwiftUI

struct LocationsView: View {

    // MARK: - Properties

    let viewModel: LocationsViewModel

    // MARK: - View

    var body: some View {
        NavigationView {
            Text("Hello, World!")
                .navigationTitle(viewModel.title)
        }
    }

}
We could declare the viewModel property as private if we implement an initializer that accepts the view model as an argument. We won't take that approach in this series.
Because the view no longer creates the view model, we need to create a locations view model and pass it to the memberwise initializer of the LocationsView struct. We need to make this change twice, in the static previews property of the LocationsView_Previews struct and in the ThunderstormApp struct.
struct LocationsView_Previews: PreviewProvider {
    static var previews: some View {
        LocationsView(viewModel: .init())
    }
}
import SwiftUI

@main
struct ThunderstormApp: App {
    var body: some Scene {
        WindowGroup {
            LocationsView(viewModel: .init())
        }
    }
}
This change, injecting the view model, is important for several reasons. As I mentioned earlier, a view shouldn't create its own view model. That is the responsibility of the object that creates the view. Injecting the view model is also essential to take advantage of previews in Xcode. We need to control the data the view uses to create the preview. This ensures the preview is fast, reliable, and not dependent on, for example, the network.
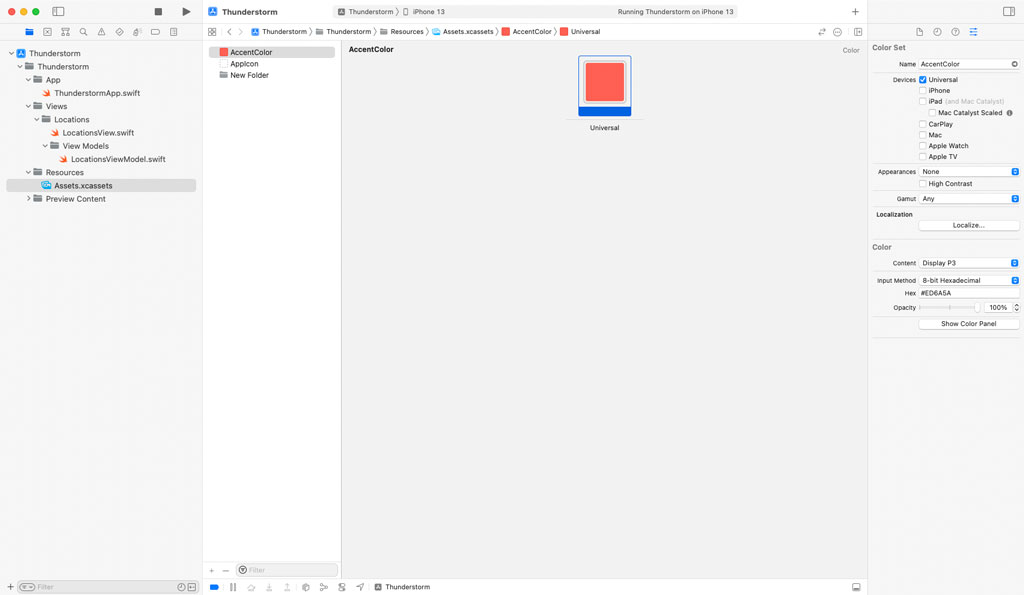
Defining an Accent Color
Before we end this episode, I want to change the accent color of the application. This isn't strictly tied to the Model-View-ViewModel pattern, but it makes the application we are building a bit prettier.
Open the asset catalog and select AccentColor. Open the Attributes Inspector on the right and set Content to Display P3. Set Input Method to 8-bit Hexadecimal and set Hex to a color of your choice.
What's Next?
We set up the project for Thunderstorm and created the first view model. The view model is basic at the moment, but that changes in the coming episodes.