In the previous episode, we wrote quite a bit of code that we wouldn't have written if we were building a SwiftUI application without the Model-View-ViewModel pattern. This is fine since we have laid a foundation we can take advantage of in the next few episodes. In this episode, we continue to build out the user interface of the locations view by displaying weather data.
Creating the Location Cell
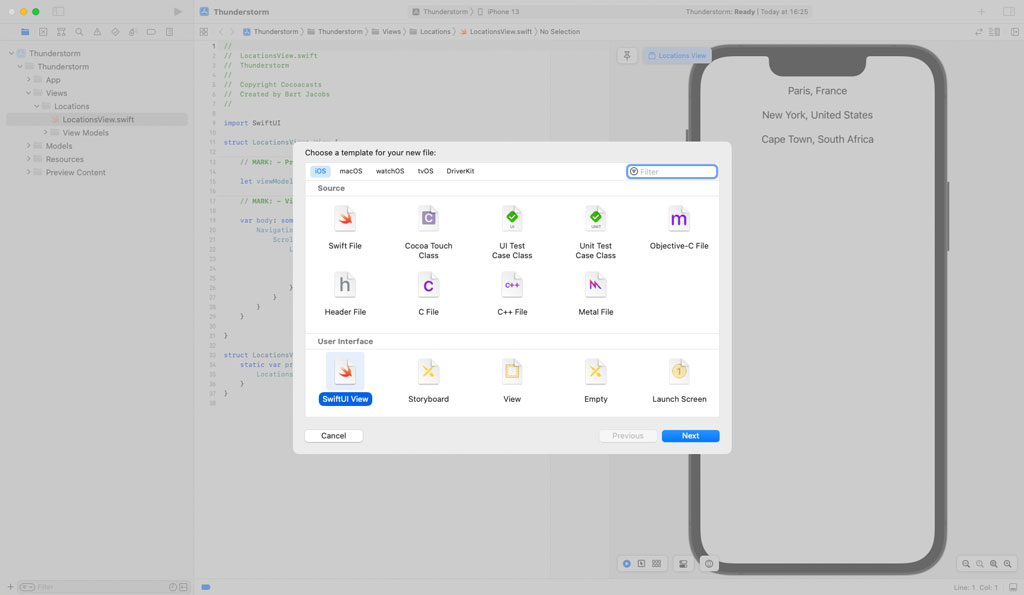
Before we add weather data to the locations view, we extract the code for an item of the vertical grid into a separate view. This is a common and recommended pattern in SwiftUI projects. Add a Swift file to the Locations group by choosing the SwiftUI View template from the iOS > User Interface section. Name the file LocationCell.swift.
Because we apply the MVVM pattern, a location cell is driven by a view model. We declare a variable property, viewModel, of type LocationCellViewModel. We move the Text view of LocationsView to LocationCell.
struct LocationCell: View {

    // MARK: - Properties

    var viewModel: LocationCellViewModel

    // MARK: - View

    var body: some View {
        Text("\(viewModel.locationName), \(viewModel.locationCountry)")
    }
}
In the view builder of the ForEach struct in LocationsView.swift, we create a LocationCell object, passing a LocationCellViewModel object to the initializer.
var body: some View {
    NavigationView {
        ScrollView {
            LazyVGrid(columns: [GridItem()], spacing: 20.0) {
                ForEach(viewModel.locationCellViewModels) { viewModel in
                    LocationCell(viewModel: viewModel)
                }
            }
        }
    }
}
Before we continue, we need to fix the preview of LocationCell. Open Location.swift and declare a static, variable property with name preview of type Location. In the body of the preview property, we return the first location of the array returned by the static previews property.
extension Location {

    static var preview: Location {
        previews[0]
    }

	...

}
Revisit LocationCell.swift. In the body of the previews property of the LocationCell_Previews struct, we create a LocationCellViewModel object, using the static preview property of the Location struct we declared a moment ago. We pass the view model to the initializer of the LocationCell struct to create and return the view.
struct LocationCell_Previews: PreviewProvider {
    static var previews: some View {
        let viewModel = LocationCellViewModel(
            location: .preview
        )

        return LocationCell(viewModel: viewModel)
    }
}
This change fixes the preview of LocationCell and LocationsView.
Extending the API of the View Model
A location cell displays the name and country of the location, but it also displays the weather data, a summary of the current weather conditions, the wind speed, and the temperature. Open LocationCellViewModel.swift and define a computed property with name summary of type String?. We return a string literal for now.
var summary: String? {
    "Clear"
}
We repeat this pattern for the wind speed and the temperature. Define a computed property with name windSpeed of type String? and a computed property with name temperature of type String?. Both computed properties return a string literal for now.
var summary: String? {
    "Clear"
}

var windSpeed: String? {
    "10 mi/h"
}

var temperature: String? {
    "90 °F"
}
You may be wondering why the computed properties have an optional type. Later in this series, the LocationCellViewModel struct will be fetching the weather data for the location it manages. Because fetching weather data is an asynchronous operation, the computed properties that return weather data only have a value if the view model has access to weather data. How that works becomes clear later in this series.
Displaying Weather Data
Revisit LocationCell.swift. Remove the body of the computed body property. We start with a clean slate. We start with an HStack and add a bit of padding.
var body: some View {
    HStack {

    }
    .padding()
}
To display the location's name and country, we add a VStack with a leading alignment. The VStack houses two Text views. The first Text view displays the location's name. We set the Text view's font to tit le and its foreground color to the application's accent color. The second Text view displays the location's country. We set the Text view's font to body and its foreground color to gray.
var body: some View {
    HStack {
        VStackLayout(alignment: .leading) {
            Text(viewModel.locationName)
                .font(.title)
                .foregroundColor(.accentColor)
            Text(viewModel.locationCountry)
                .font(.body)
                .foregroundColor(.gray)
        }
    }
    .padding()
}
We display the summary of the current weather conditions below the Text views. We add a spacer and safely unwrap the value of the computed summary property. We display the summary of the current weather conditions in a Text view. That's it for the VStack.
var body: some View {
    HStack {
        VStackLayout(alignment: .leading) {
            Text(viewModel.locationName)
                .font(.title)
                .foregroundColor(.accentColor)
            Text(viewModel.locationCountry)
                .font(.body)
                .foregroundColor(.gray)
            Spacer()
            if let summary = viewModel.summary {
                Text(summary)
            }
        }
    }
    .padding()
}
In the HStack, we add a spacer below the VStack. We use an if-else statement to safely unwrap the values of the computed temperature and windSpeed properties. In the else clause, we create a ProgressView. I talk more about this in a moment.
var body: some View {
    HStack {
        VStackLayout(alignment: .leading) {
            ...
        }

        Spacer()

        if
            let temperature = viewModel.temperature,
            let windSpeed = viewModel.windSpeed
        {

        } else {
            ProgressView()
        }
    }
    .padding()
}
The temperature and wind speed are displayed in a VStack with a trailing alignment. In the VStack, we create two HStacks. Each HStack houses an Image view and a Text view. In the first HStack, we create an Image view that displays a system image with name thermometer. This image is defined and provided by SF Symbols. The Text view displays the value stored in temperature. In the second HStack, we create an Image view that displays a system image with name wind. The Text view displays the value stored in windSpeed. We set the foreground color of the Image views to gray. We add a spacer below the HStacks to push them to the top of the VStack.
if
    let temperature = viewModel.temperature,
    let windSpeed = viewModel.windSpeed
{
    VStackLayout(alignment: .trailing) {
        HStack {
            Image(systemName: "thermometer")
                .foregroundColor(.gray)
            Text(temperature)
        }
        HStack {
            Image(systemName: "wind")
                .foregroundColor(.gray)
            Text(windSpeed)
        }
        Spacer()
    }
} else {
    ProgressView()
}
As we discussed earlier, the view model fetches the weather data for the location it manages asynchronously. We use an if-else statement to display a progress view as long as the view model has no weather data the view can display.
I would like to finish up the location cell with a subtle border. We apply the overlay view modifier to the outermost HStack. The overlay view modifier accepts a view builder, a closure. In the view builder, we create and return a rounded rectangle with a corner radius of 10.0 points. We apply the stroke view modifier to the rounded rectangle, setting its color to gray. To make the border a bit more subtle, we apply the opacity view modifier to the rounded rectangle, setting its opacity to 0.25.
var body: some View {
    HStack {
        ...
    }
    .padding()
    .overlay {
        RoundedRectangle(cornerRadius: 10.0)
            .stroke(Color.gray)
            .opacity(0.25)
    }
}
Revisit LocationsView.swift. We need to add a bit of padding to the vertical grid to make sure the location cells don't stick to the edges of the locations view.
var body: some View {
    NavigationView {
        ScrollView {
            LazyVGrid(columns: [GridItem()], spacing: 20.0) {
                ForEach(viewModel.locationCellViewModels) { viewModel in
                    LocationCell(viewModel: viewModel)
                }
            }
            .padding()
        }
    }
}
We also apply the navigationTitle view modifier to the scroll view to display the name of the application at the top.
var body: some View {
    NavigationView {
        ScrollView {
            LazyVGrid(columns: [GridItem()], spacing: 20.0) {
                ForEach(viewModel.locationCellViewModels) { viewModel in
                    LocationCell(viewModel: viewModel)
                }
            }
            .padding()
        }
        .navigationTitle("Thunderstorm")
    }
}
That's it. The locations view displays a list of locations and each location displays the current weather conditions.
What's Next?
We are already seeing the benefits of the MVVM pattern. The view isn't concerned with the model layer and extending the view model that drives the location cell is trivial. I hope you can appreciate how clean and focused the LocationCell struct is. It simply asks its view model for data. The view doesn't need to know what data it displays or where the data comes from. We're only scratching the surface, though. In the next few episodes, we continue to see the benefits of view models driving the views of the application.