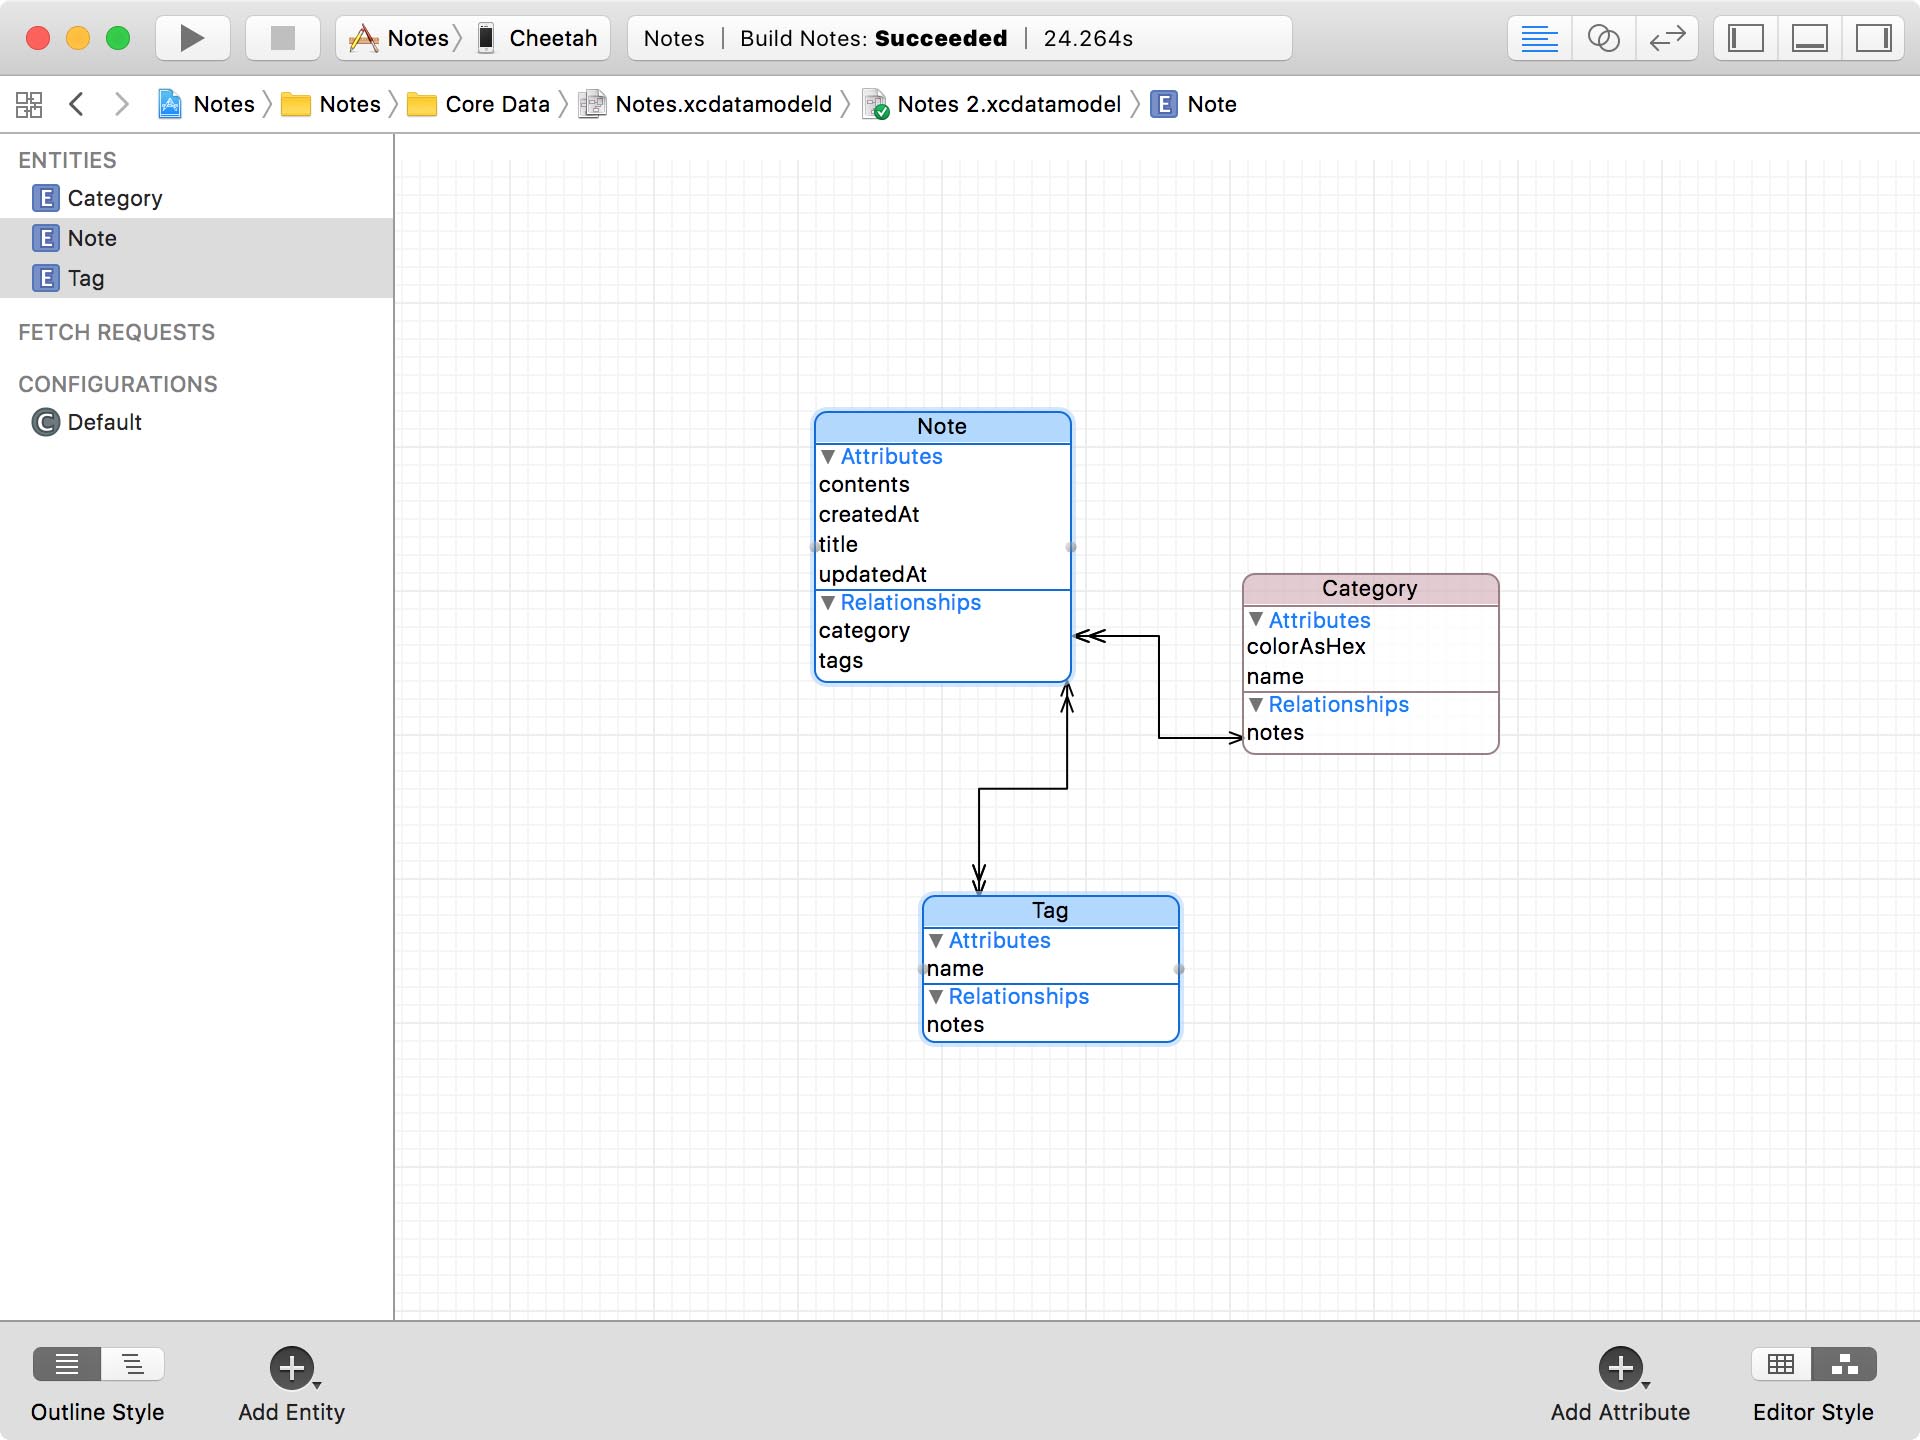
The last feature I want to add is the ability to tag notes. This feature is interesting because of the Many-To-Many relationship of the Note and Tag entities. In this episode, you learn how to work with such a relationship.
Before We Start
I already created view controllers for creating, updating, and deleting tags. This is very similar to managing notes and categories. This should be familiar by now.
The TagsViewController class displays the tags in a table view. It uses a fetched results controller under the hood.

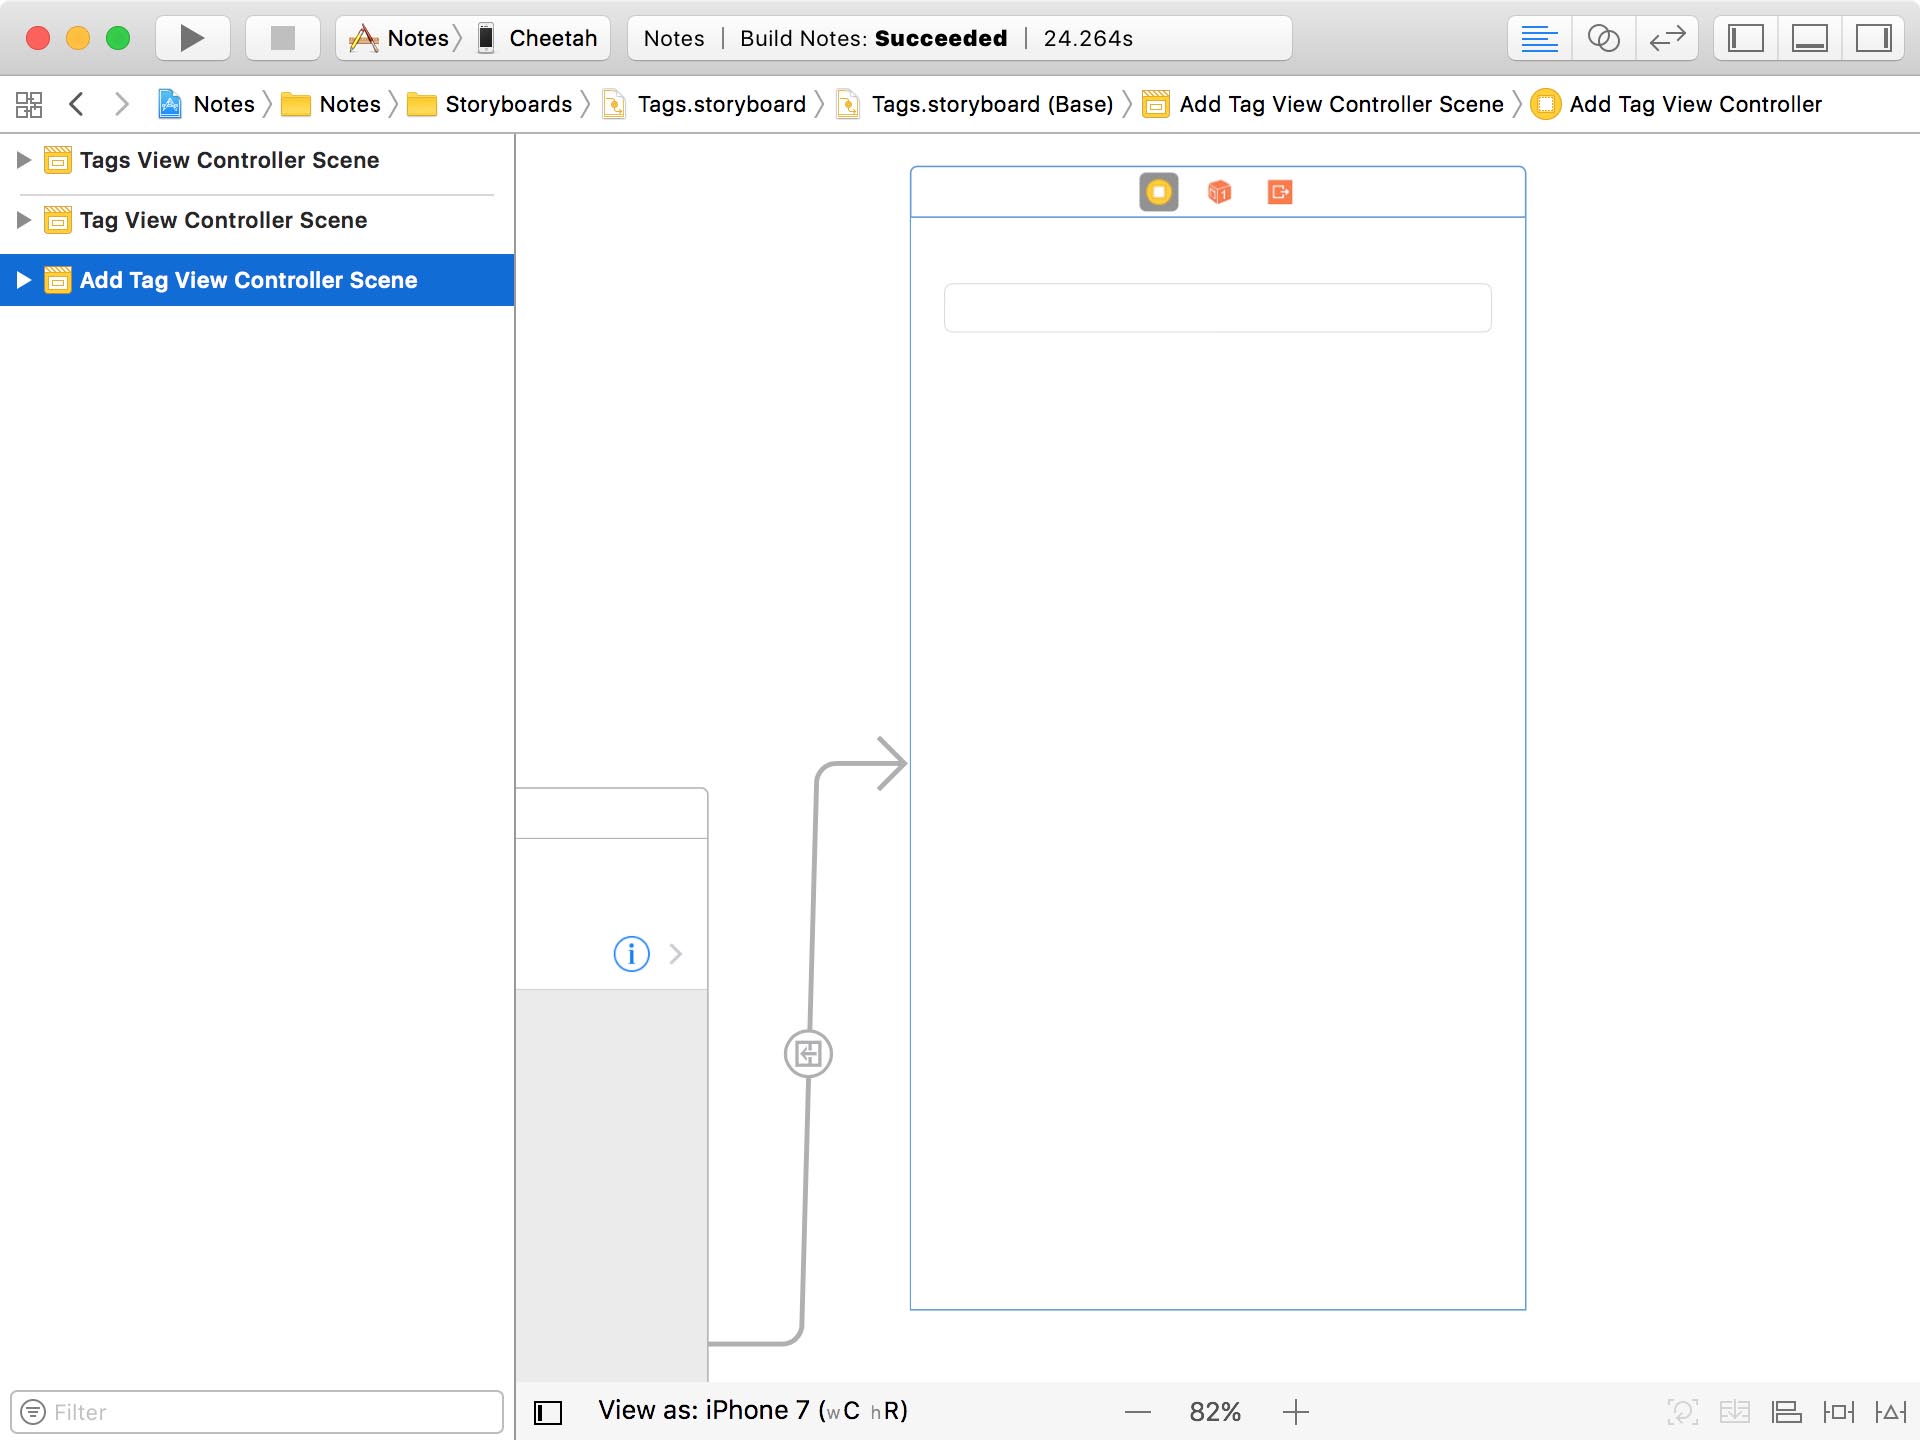
The AddTagViewController class is responsible for creating new tags.
The TagViewController class is in charge of updating existing tags.
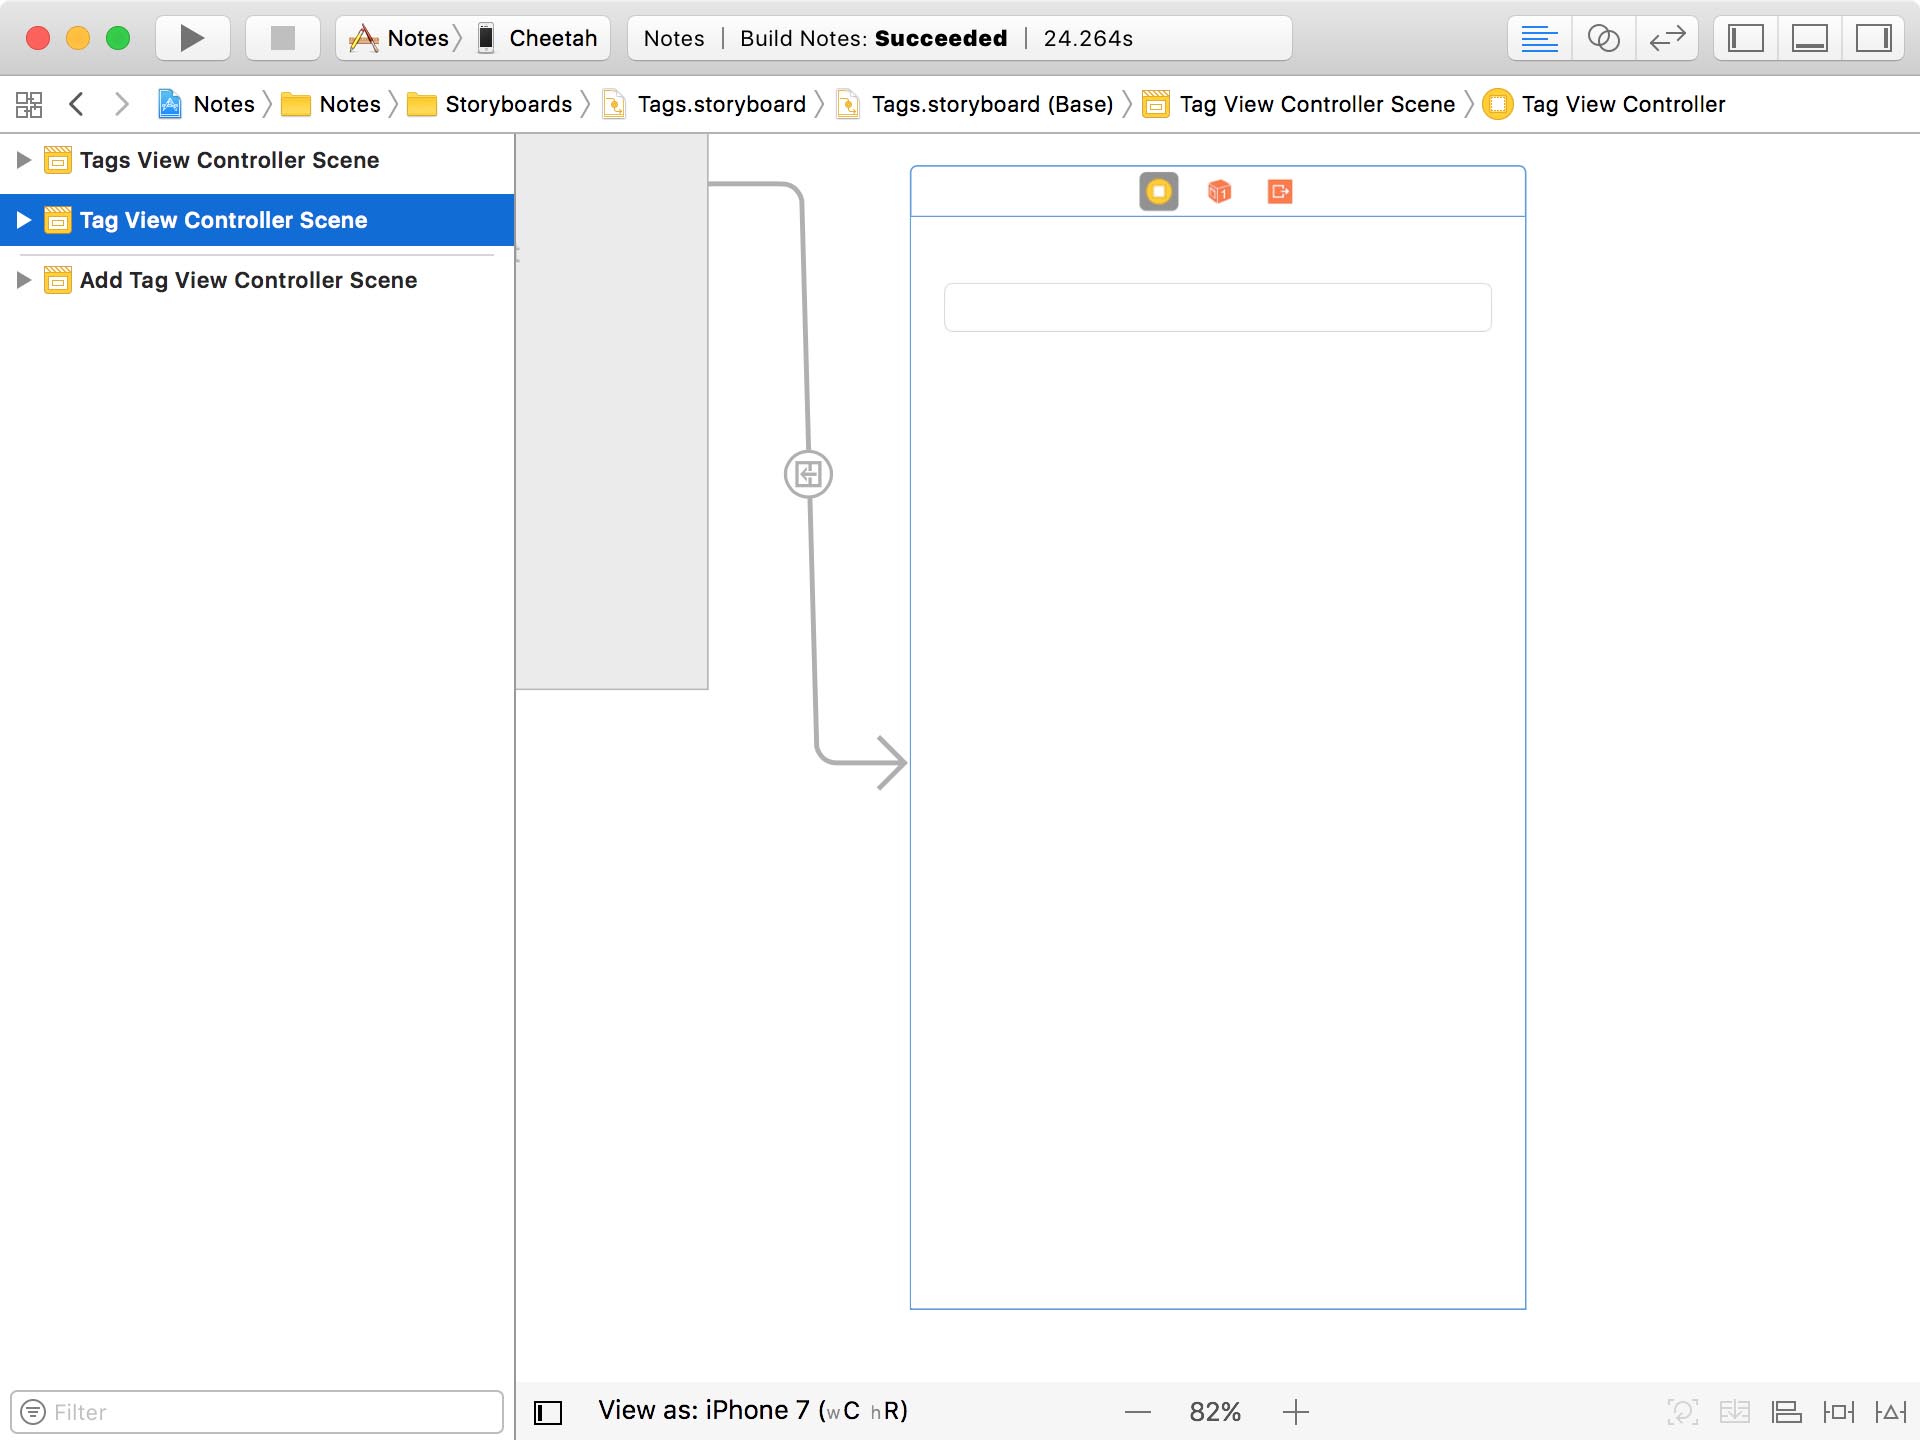
The scenes for these view controllers are located in the Tags storyboard. We use another storyboard reference to navigate from the Notes storyboard to the Tags storyboard.
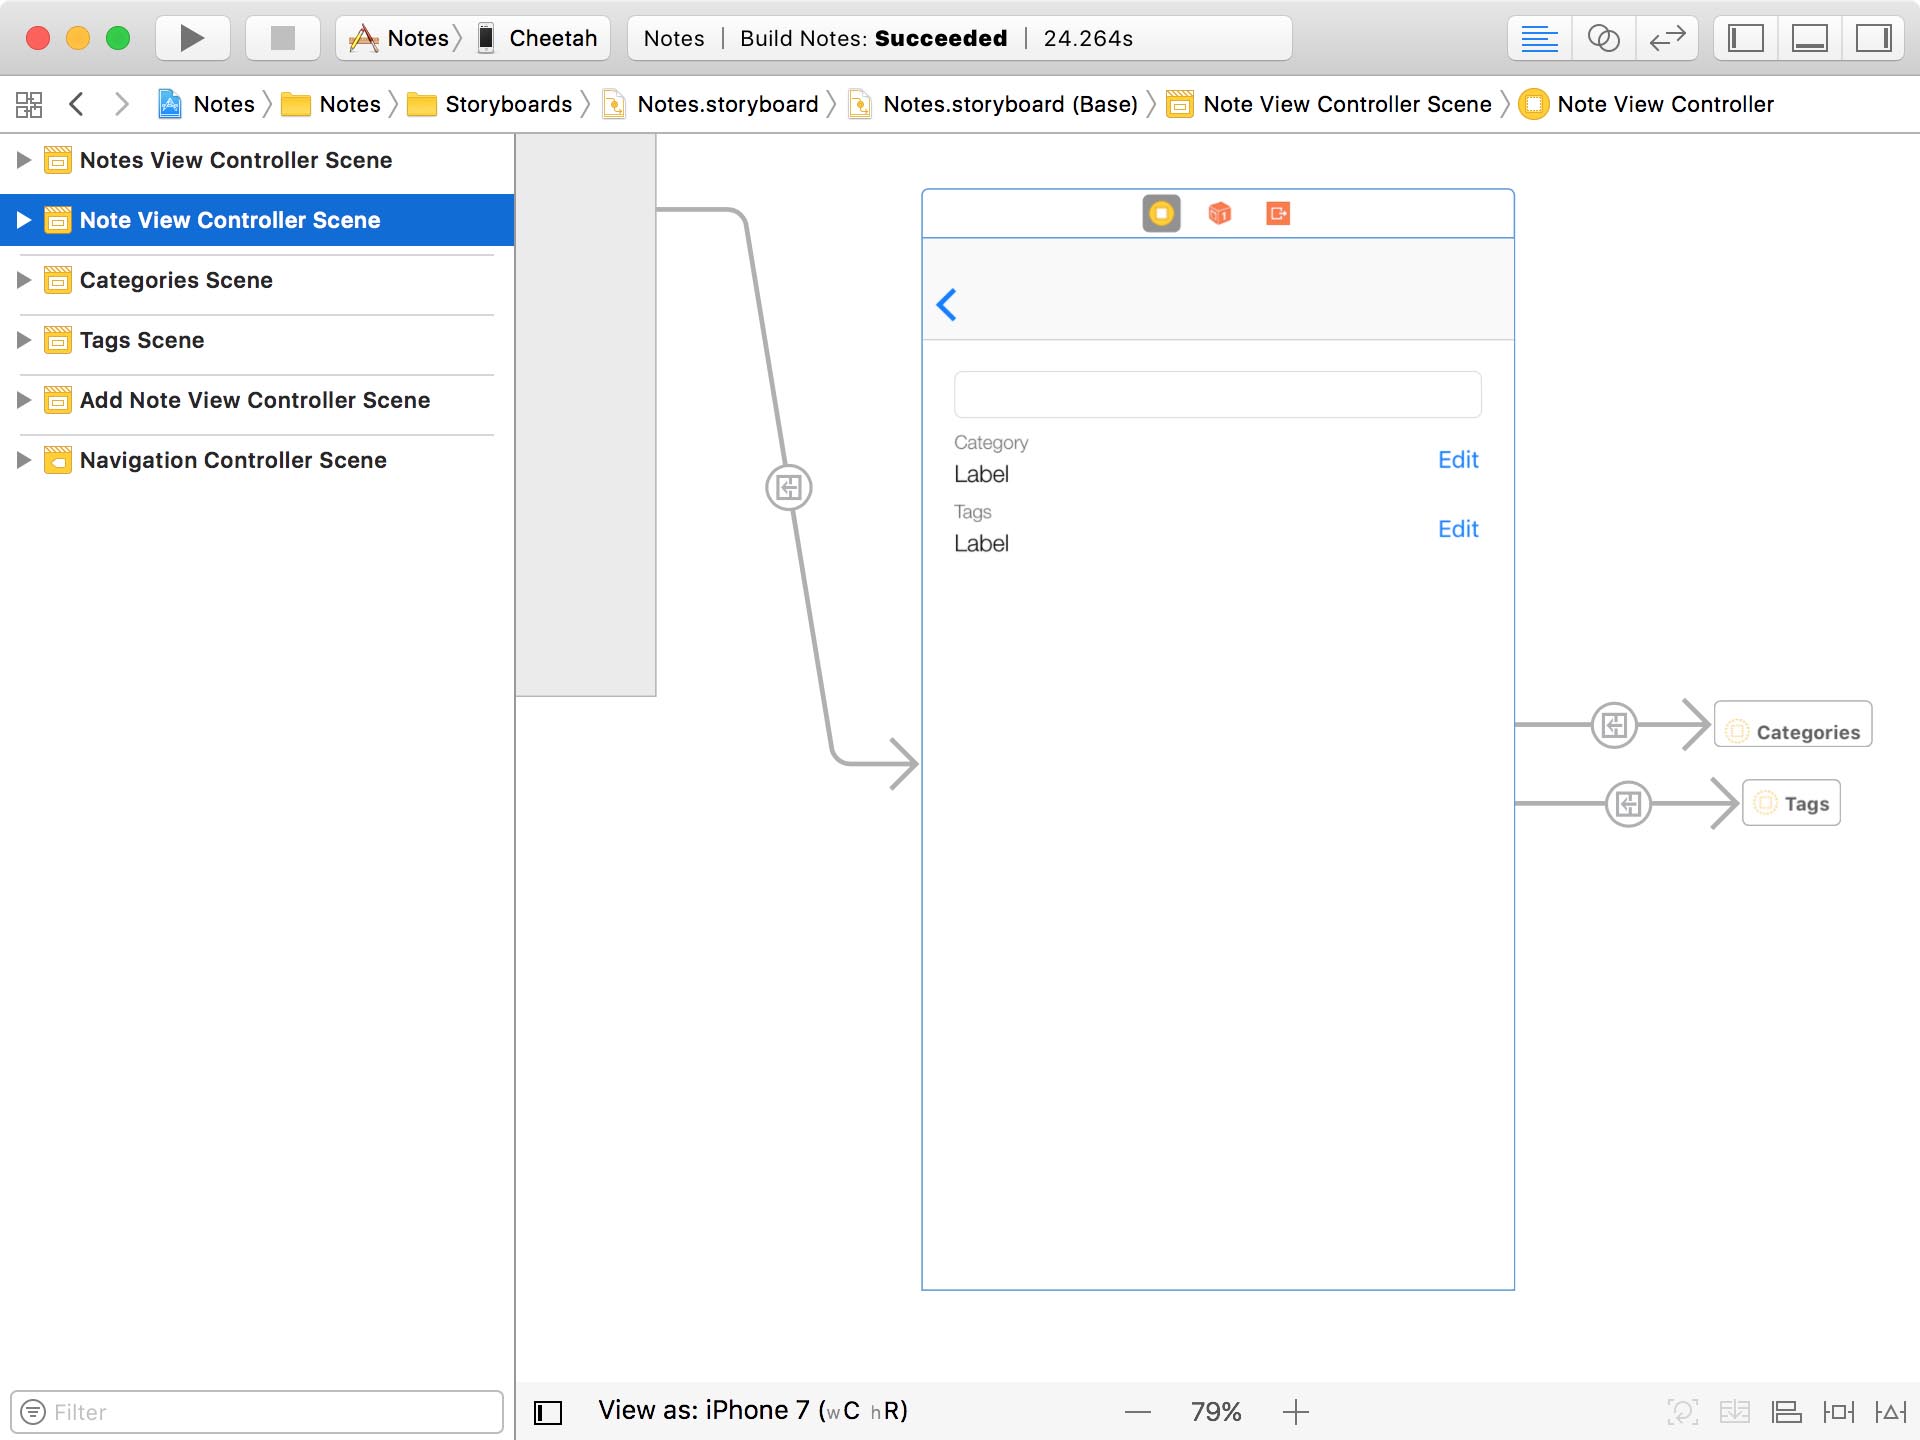
I also updated the user interface of the note view controller. In addition to the category of the note, it displays the tags of the note. If a note doesn't have any tags, we show a message saying that it doesn't have any tags yet. The Edit button on the right takes the user to the tags view controller.
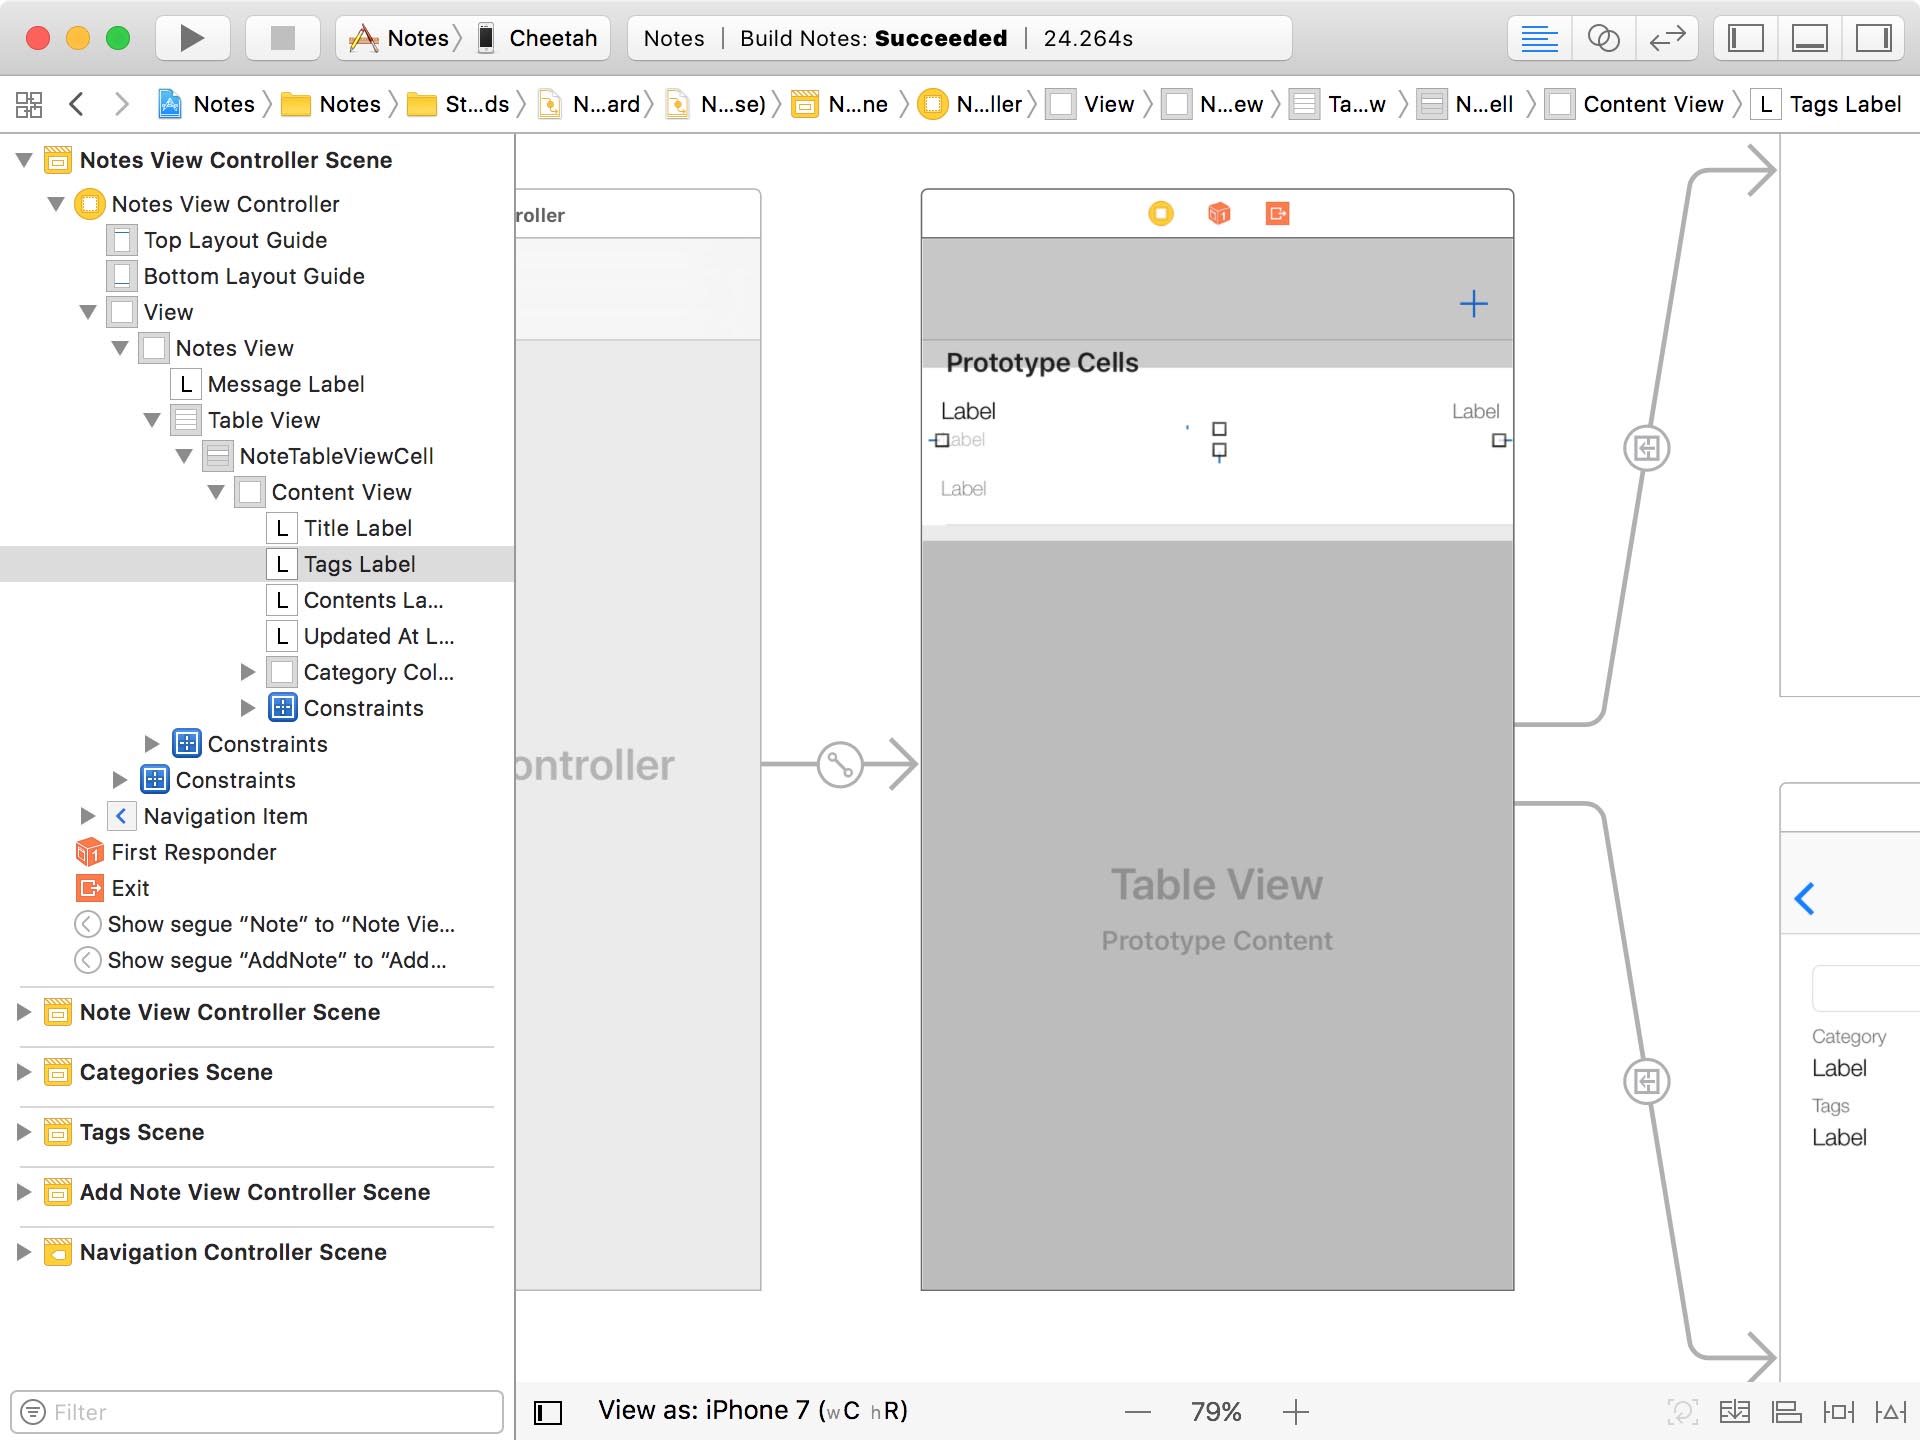
We also display the tags of a note in the notes view controller, below the title of the note. To make this work, I added a label to the NoteTableViewCell class, below the title label.
Preparing the Note Class
Before we update the notes view controller and the note view controller, I'd like to add two convenience computed properties to the extension for the Note class. Remember that we created this extension in Note.swift in the Core Data > Extensions group. You may be wondering why we need these computed properties.
Note.swift
import Foundation

extension Note {

    // MARK: - Dates

    ...

    // MARK: - Tags

    var alphabetizedTags: [Tag]? {

    }

    var alphabetizedTagsAsString: String? {

    }

}
Remember that the items of a To-Many relationship are unordered. The type of the tags property, for example, is a NSSet? instance of NSManagedObject instances. In the user interface, however, I'd like to show the tags in alphabetical order. That's why we need a few computed properties. We don't want to repeat ourselves every time we need an alphabetical list of the tags of a note.
The first computed property we implement returns an optional alphabetized array of tags. We name the computed property alphabetizedTags and its of type [Tag]?.
Note.swift
var alphabetizedTags: [Tag]? {

}
First, we make sure the tags property of the note isn't equal to nil. We also cast the value of the tags property to a set of Tag instances.
Note.swift
var alphabetizedTags: [Tag]? {
    guard let tags = tags as? Set<Tag> else {
        return nil
    }
}
We then sort the set of tags. We need to jump through a few hoops to make this work. Remember that, even though the name attribute of the Tag entity is required, the name property of the Tag class is an optional. We discussed the reason for this earlier in this series. The optionality of the name property makes the closure of the sorted(by:) method a bit verbose. But, thanks to the syntax of the Swift language, the result doesn't look too bad.
Note.swift
var alphabetizedTags: [Tag]? {
    guard let tags = tags as? Set<Tag> else {
        return nil
    }

    return tags.sorted(by: {
        guard let tag0 = $0.name else { return true }
        guard let tag1 = $1.name else { return true }
        return tag0 < tag1
    })
}
Now that we have access to an alphabetized array of tags, we can turn that array into a string. We implement another computed property, alphabetizedTagsAsString, of type String?. The tags in the string should be separated by commas.
Note.swift
var alphabetizedTagsAsString: String? {

}
If a note doesn't have any tags, we return nil. We could return a placeholder string, for example, "No Tags", but I prefer to keep implementation details like that out of the model layer. That's the responsibility of the controller or, if you're using MVVM, the view model. If the computed property returns nil, it's up to the controller or the view model to decide how to respond.
Note.swift
var alphabetizedTagsAsString: String? {
    guard let tags = alphabetizedTags, tags.count > 0 else {
        return nil
    }
}
In the next step, we convert the array of tags to an array of strings. We use flatMap(_:) to extract the name of each tag from the array of tags. The advantage of using flatMap(_:) is that it automatically skips any tags that don't have a name. This shouldn't happen, but remember that the name property is of type String?.
Note.swift
var alphabetizedTagsAsString: String? {
    guard let tags = alphabetizedTags, tags.count > 0 else {
        return nil
    }

    let names = tags.flatMap { $0.name }
}
We turn the array of strings into a string using the joined(separator:) method.
Note.swift
var alphabetizedTagsAsString: String? {
    guard let tags = alphabetizedTags, tags.count > 0 else {
        return nil
    }

    let names = tags.flatMap { $0.name }
    return names.joined(separator: ", ")
}
Updating the Notes View Controller
We can immediately put the alphabetizedTagsAsString computed property to use in the notes view controller and the note view controller.
Open NotesViewController.swift and navigate to the configure(_:at:) method. In this method, we set the text property of the tagsLabel to the value of the alphabetizedTagsAsString computed property we implemented a moment ago.
NotesViewController.swift
func configure(_ cell: NoteTableViewCell, at indexPath: IndexPath) {
    // Fetch Note
    let note = fetchedResultsController.object(at: indexPath)

    // Configure Cell
    cell.titleLabel.text = note.title
    cell.contentsLabel.text = note.contents
    cell.tagsLabel.text = note.alphabetizedTagsAsString ?? "No Tags"
    cell.updatedAtLabel.text = updatedAtDateFormatter.string(from: note.updatedAtAsDate)

    ...
}
We use Swift's nil-coalescing operator to show a default value if a note doesn't have any tags.
Updating the Note View Controller
Open NoteViewController.swift and navigate to the updateTagsLabel() method. In this method, we set the text property of the tagsLabel using the same approach we used in the notes view controller.
NoteViewController.swift
private func updateTagsLabel() {
    // Configure Tags Label
    tagsLabel.text = note?.alphabetizedTagsAsString ?? "No Tags"
}
Updating the Tags View Controller
Most interesting are the changes we need to make to the tags view controller. The first method we update is the configure(_:at:) method. We ask the note whether it contains the tag that corresponds with the index path. If it does, we highlight the name of the tag by updating the text color of the name label. If the note doesn't contain the tag, we set the text color of the name label to black. This shows the user which tags are assigned to the current note.
TagsViewController.swift
func configure(_ cell: TagTableViewCell, at indexPath: IndexPath) {
    // Fetch Tag
    let tag = fetchedResultsController.object(at: indexPath)

    // Configure Cell
    cell.nameLabel.text = tag.name

    if let containsTag = note?.tags?.contains(tag), containsTag == true {
        cell.nameLabel.textColor = .bitterSweet
    } else {
        cell.nameLabel.textColor = .black
    }
}
The user should be able to add and remove tags by tapping a tag in the table view. To add this ability, we update the implementation of the tableView(_:didSelectRowAt:) method of the UITableViewDelegate protocol.
We fetch the tag that corresponds with the value of the indexPath parameter and ask the note if it contains that tag. If it does, we remove it by invoking removeFromTags(_:), one of the convenience methods that's automatically generated for us by Xcode. If the note doesn't contain the tag, we add it by invoking addToTags(_:), passing in the tag.
TagsViewController.swift
func tableView(_ tableView: UITableView, didSelectRowAt indexPath: IndexPath) {
    tableView.deselectRow(at: indexPath, animated: true)

    // Fetch Tag
    let tag = fetchedResultsController.object(at: indexPath)

    if let containsTag = note?.tags?.contains(tag), containsTag == true {
        note?.removeFromTags(tag)
    } else {
        note?.addToTags(tag)
    }
}
Because the tags view controller is powered by a fetched results controller, the table view is automatically updated for us. The same is true for the notes view controller. The fetched results controller detects the addition or deletion of a tag and automatically updates the table view.
Tweaking the Note View Controller
This isn't true for the note view controller. We need to make a tiny change. Revisit NoteViewController.swift and navigate to the managedObjectContextObjectsDidChange(_:) method. If the note of the note view controller was modified, we invoke updateTagsLabel(). This is the method we implemented earlier in this episode.
NoteViewController.swift
@objc private func managedObjectContextObjectsDidChange(_ notification: Notification) {
    guard let userInfo = notification.userInfo else { return }
    guard let updates = userInfo[NSUpdatedObjectsKey] as? Set<NSManagedObject> else { return }

    if (updates.filter { return $0 == note }).count > 0 {
        updateTagsLabel()
        updateCategoryLabel()
    }
}
That's it. That's how easy it is to work with a Many-To-Many relationship using the Core Data framework. Run the application and create a few tags. Assign a tag to a note to see the result of the changes we made.