The data model is a key component of the Core Data stack and an integral part of a Core Data application. In this episode, we explore the data model and learn about entities and attributes.
Compiling the Data Model
When the application sets up the Core Data stack, the managed object model loads the data model from the application bundle. The code responsible for this lives in the closure of the managedObjectModel property of the CoreDataManager class.
CoreDataManager.swift
private lazy var managedObjectModel: NSManagedObjectModel = {
    // Fetch Model URL
    guard let modelURL = Bundle.main.url(forResource: self.modelName, withExtension: "momd") else {
        fatalError("Unable to Find Data Model")
    }

    // Initialize Managed Object Model
    guard let managedObjectModel = NSManagedObjectModel(contentsOf: modelURL) else {
        fatalError("Unable to Load Data Model")
    }

    return managedObjectModel
}()
The file that's loaded from the application bundle is named Notes and has an momd extension. The extension stands for managed object model document. The file extension of the data model in the Project Navigator is different, though, xcdatamodeld. And yet if you run the application, the Core Data stack is set up without issues. How is that possible?
When the application is built, the data model file you see in the Project Navigator is compiled into an momd file. Why is that necessary? Why does the data model need to be compiled?
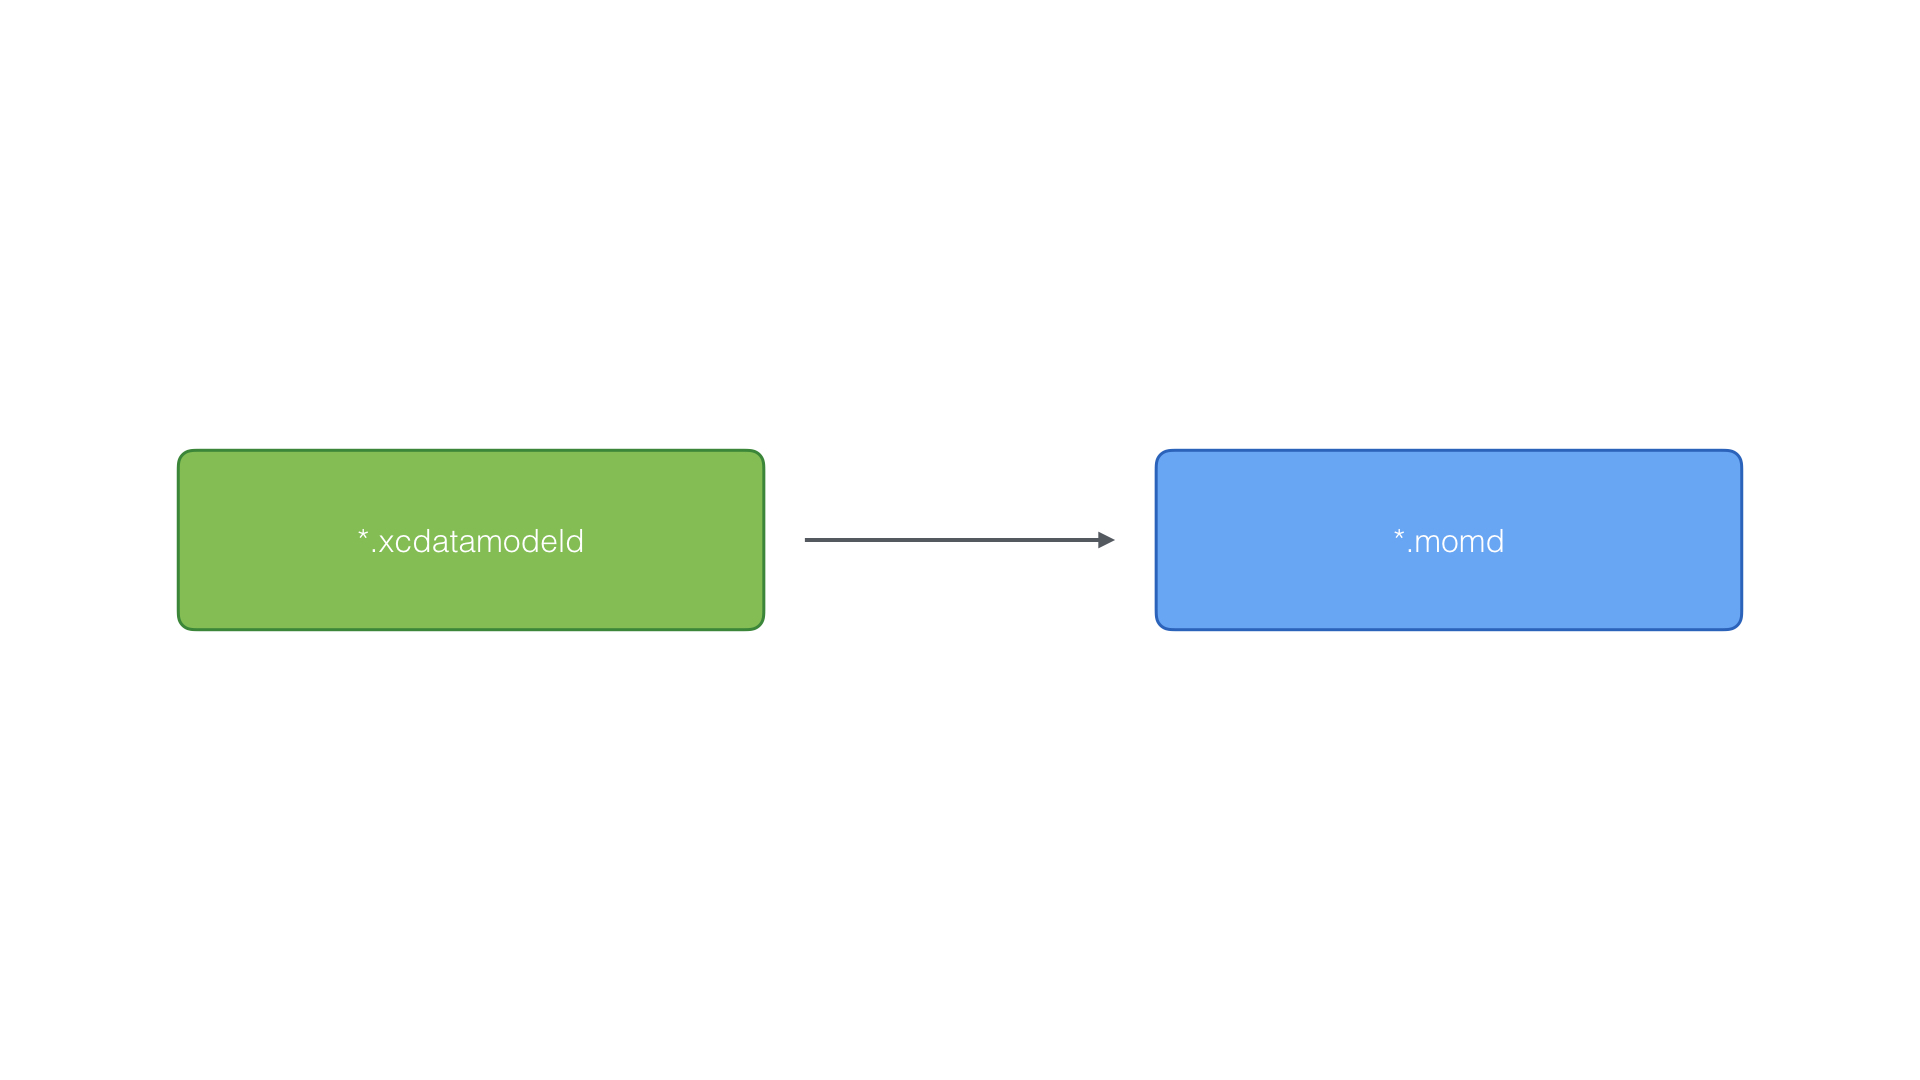
The xcdatamodeld file is the file we edit and work with during development. We use it for defining the application's data model. It shows us a visual representation of the data model as we'll see in a moment. Much of the information in the xcdatamodeld file isn't needed for Core Data to do its work.
At compile time, Xcode collects the data it needs from the xcdatamodeld file and creates an momd file. It's the momd file that's included in the compiled application. The resulting momd file is much smaller and it only contains what's absolutely essential for Core Data to infer the data model.
Exploring the Data Model Editor
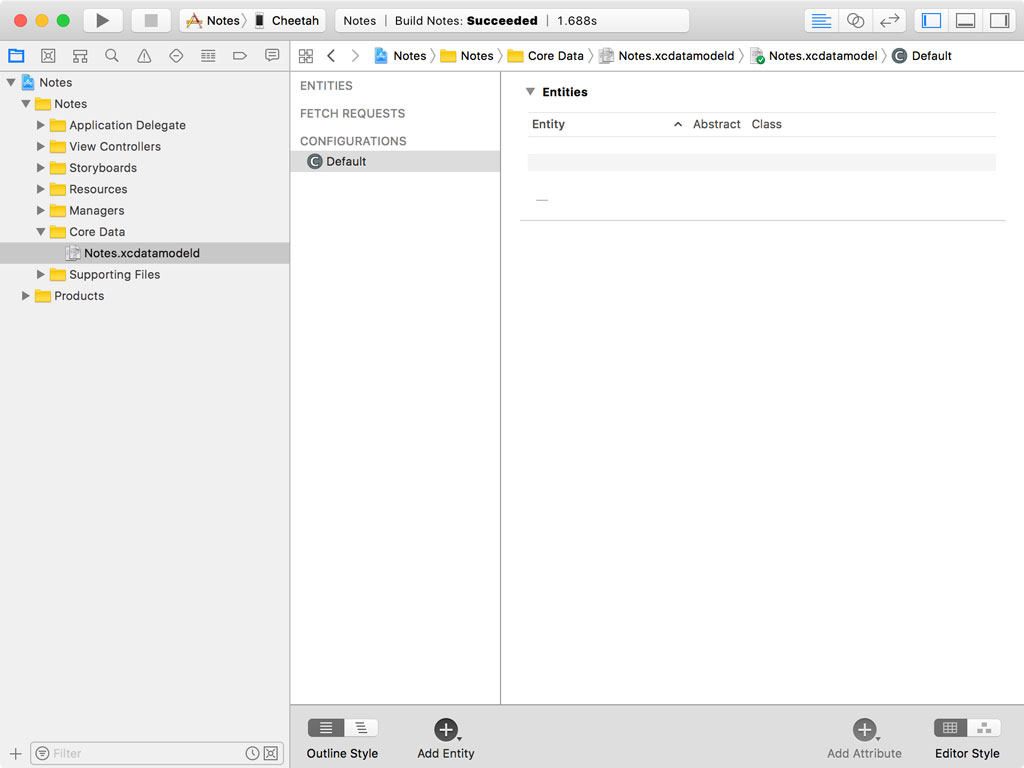
To edit the data model, Xcode ships with a powerful data model editor. In the Project Navigator on the left, select Notes.xcdatamodeld. The data model editor should automatically open, showing us the data model.
The data model editor has two styles, table and graph. The control in the lower right of the data model editor allows you to toggle between these styles.
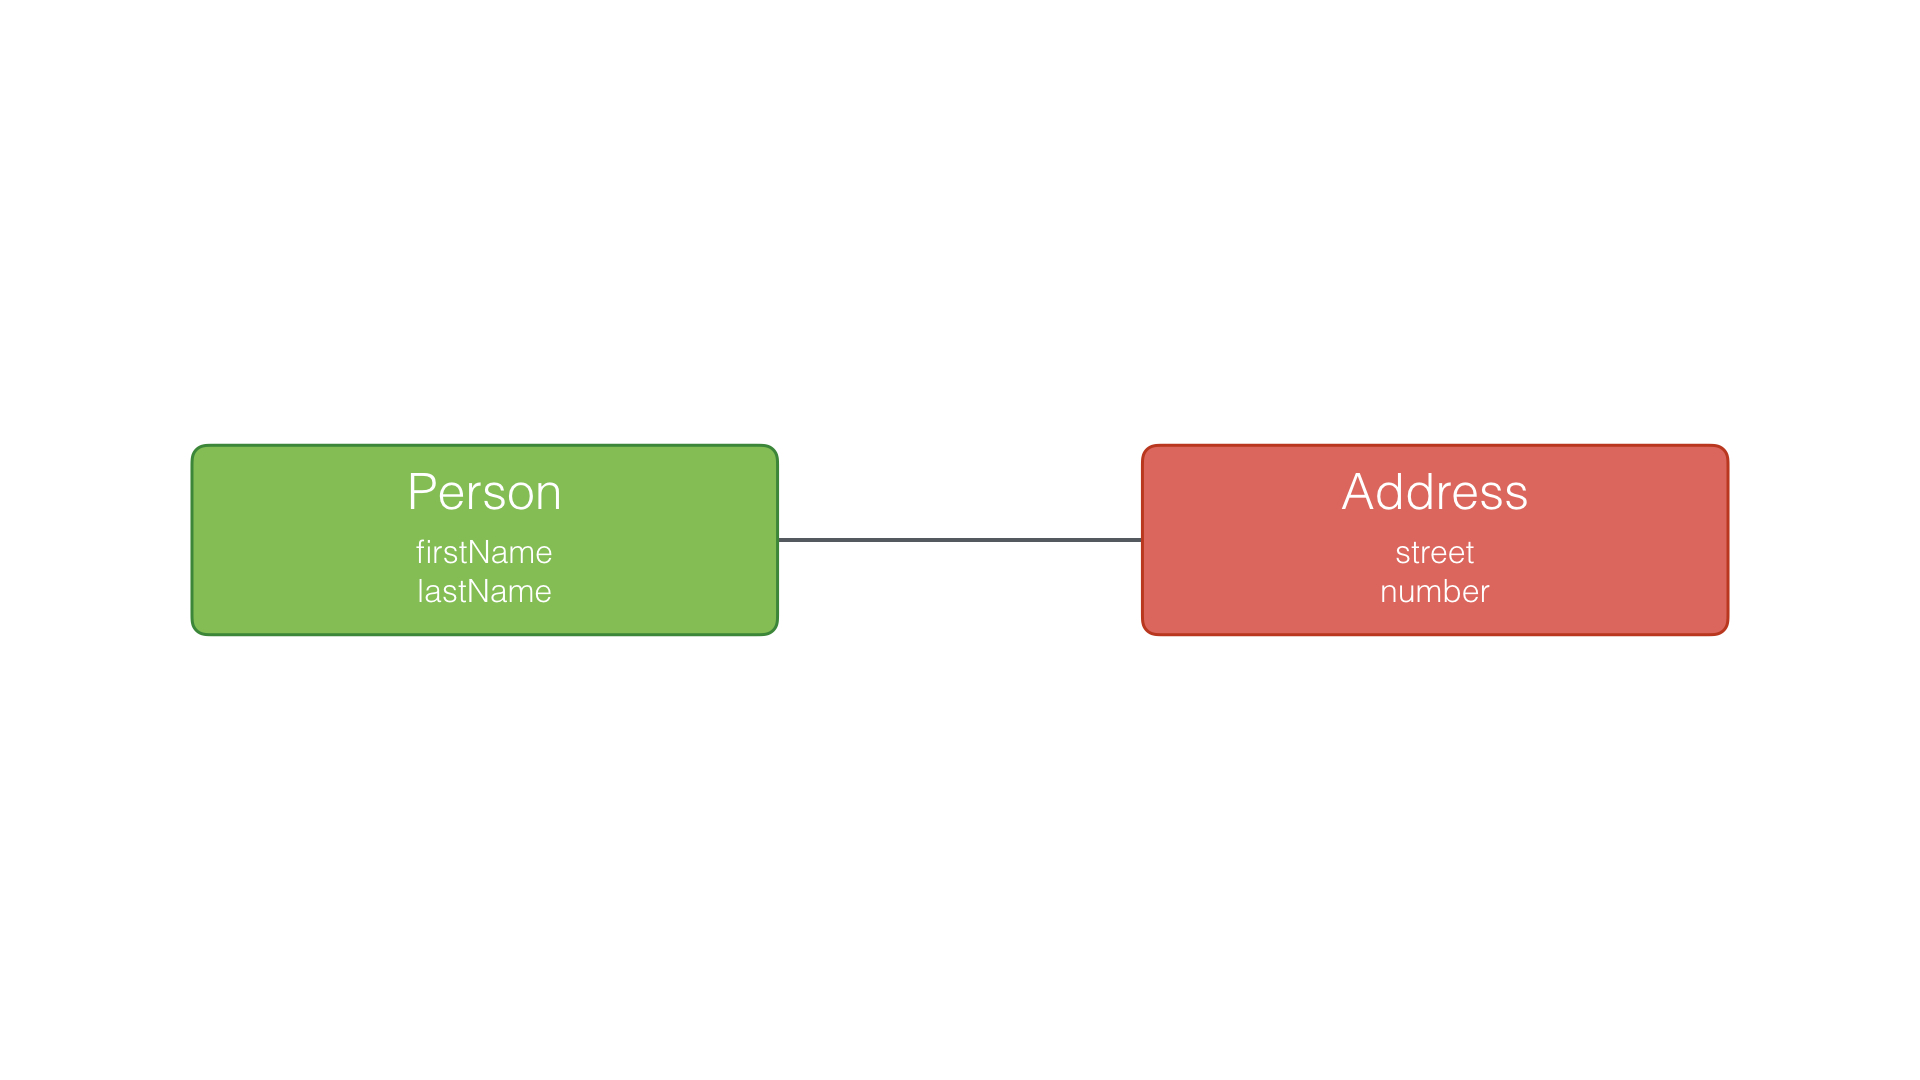
The table style is useful for adding and editing entities, attributes, and relationships. Most of your time is spent in the table style. The graph style is ideal for visualizing relationships between entities. But we first need to answer the question "What is an entity?"
What Is an Entity
Even though Core Data isn't a database, you can think of an entity as a table in a database. An entity has a name and properties. A property is either an attribute or a relationship. For example, an entity named Person can have an attribute firstName and lastName. It could also have a relationship address that points to an Address entity. We discuss relationships in more detail in the next episode.
Creating an Entity
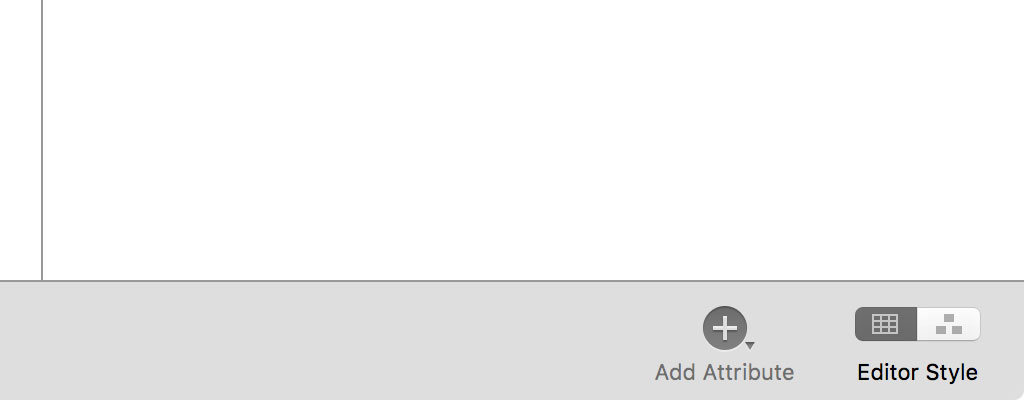
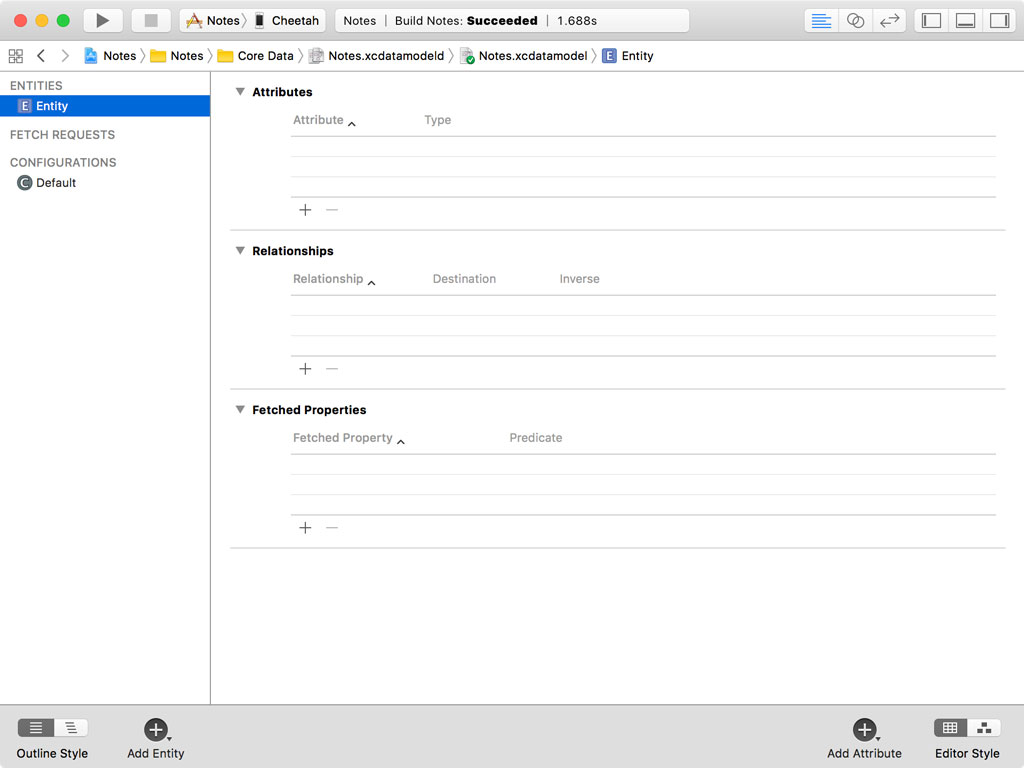
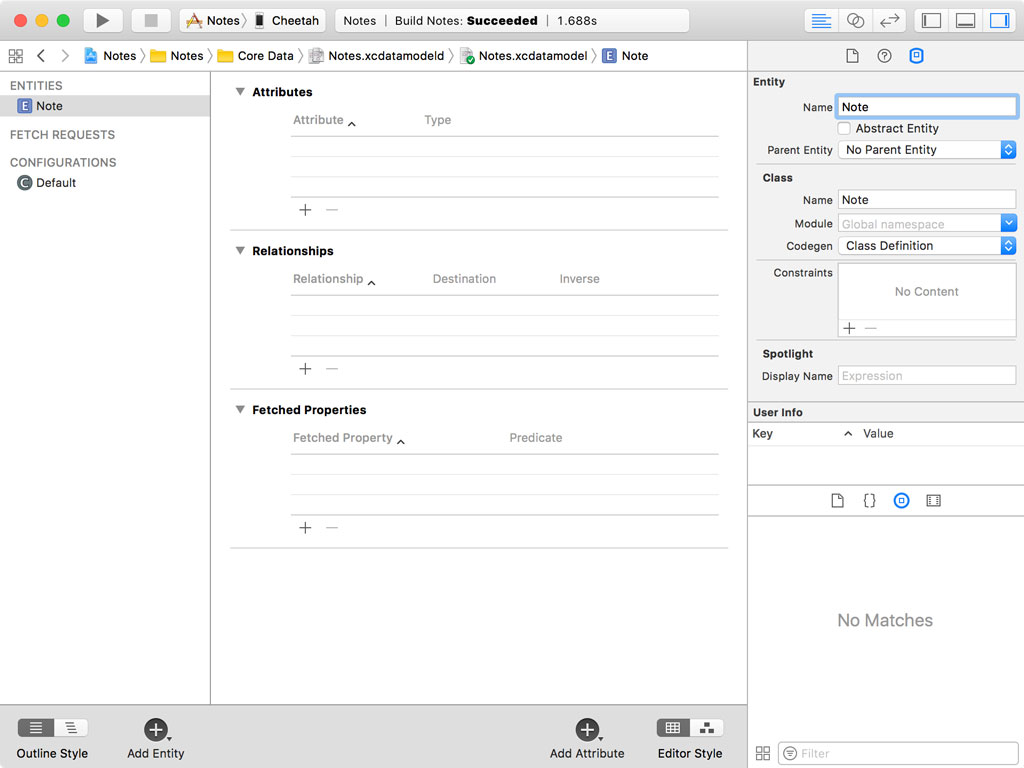
You can add an entity by clicking the Add Entity button at the bottom of the data model editor. The editor's table style is split into a navigator on the left and a detail view on the right. In the Entities section of the navigator, you should see an entity named Entity.
Select the entity, open the Utilities pane on the right, and select the Data Model Inspector. The inspector shows the details of the entity. Set the name of the entity to Note.
Creating an Attribute
With the Note entity selected, click the Add Attribute button at the bottom to add an attribute to the entity. In the Attributes table, set Attribute to title and Type to String. You can inspect the details of an attribute by selecting it and opening the Data Model Inspector in the Utilities pane on the right.
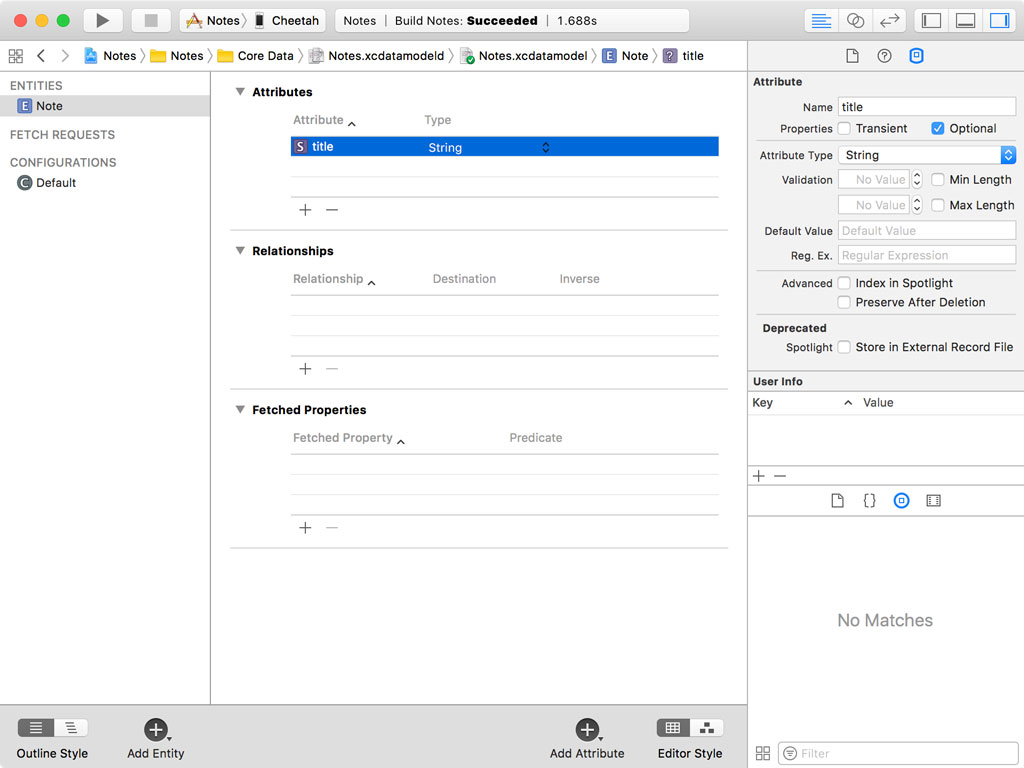
In the Data Model Inspector, you can see that an attribute has a number of configuration options, such as validation rules, a default value, and indexing options. Some of the options differ from type to type.
The checkbox Optional is checked by default. This indicates that the attribute title is optional for the Note entity. What does that mean?
If we create a note and the value of the title attribute isn't set, Core Data won't complain because the attribute is marked as optional. It's fine if the note record doesn't have a title. If you make the attribute required by unchecking the checkbox, Core Data throws an error if you try to save a note that doesn't have a title.
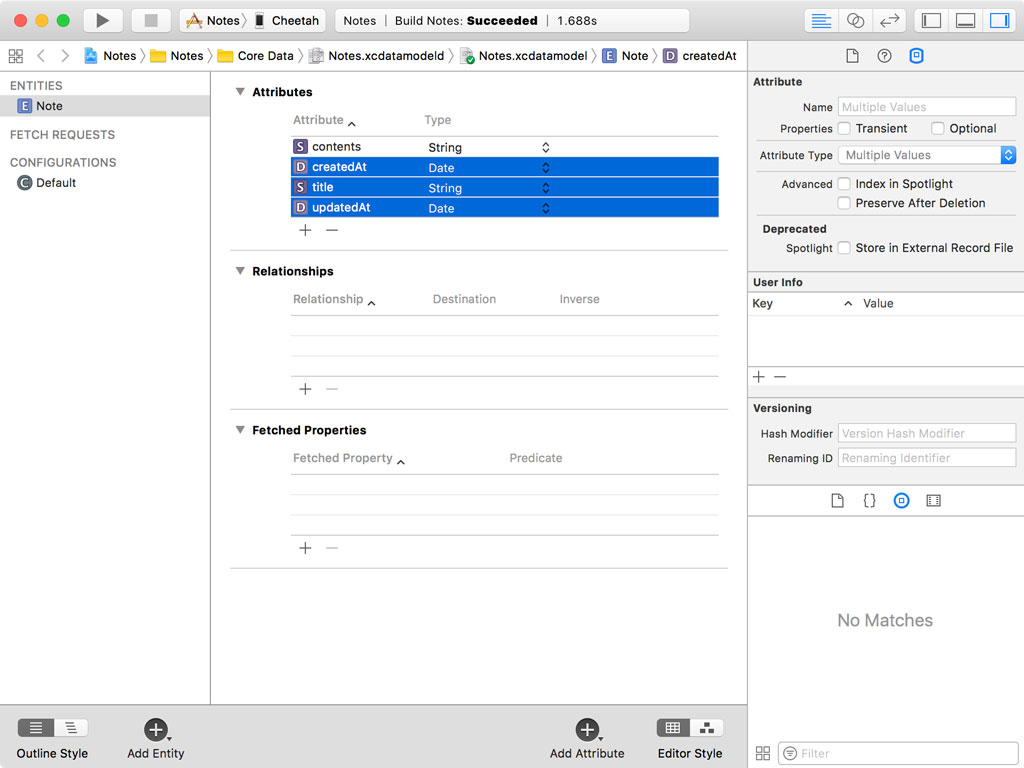
Before we move, we're going to add three more attributes:
- contents of type String
- createdAt of type Date
- and updatedAt of type Date

We make the title, createdAt, and updatedAt attributes required by unchecking the Optional checkbox in the Data Model Inspector on the right.
In the next episode, we focus on relationships, another powerful feature of Core Data.