The root view controller is currently in charge of fetching weather data from the Dark Sky API. Having a view controller that performs network requests isn't uncommon if the project adopts the Model-View-Controller pattern. The current implementation of the RootViewController class isn't complicated, but that can change as the project grows and evolves. It can eventually lead to a fat and overweight view controller. That's something we absolutely want to avoid.
Even though the RootViewController class isn't complicated, there's something about it that bothers me. The RootViewController class is a UIViewController subclass and, as the name implies, it controls a view and that should be its only responsibility. If that's the only task of the view controller, it can stay focused and lightweight.
A few years ago, I started to investigate the Model-View-ViewModel pattern. It was a bit confusing at first, but after a few failed attempts, I came up with a variation of the pattern I was happy with and that I use in every project I work on. I don't intend to discuss the Model-View-ViewModel pattern in detail in this series. If you'd like to learn more about MVVM, I recommend watching or reading Mastering MVVM With Swift. That series takes a closer look at the pattern and it shows you how it compares to the Model-View-Controller pattern.
The goal of this episode is simple. The RootViewController class should no longer be responsible for fetching weather data from the Dark Sky API. We delegate that task to another object, a view model. The name view model often confuses developers that are new to the MVVM pattern. Don't let the name confuse you. The idea isn't complex.
The view model helps the view controller populate its view. I almost always create a separate view model for each view controller, but it's possible to have one view model for several view controllers if they have something in common. Let's start by creating a view model for the RootViewController class. That should clarify a few things.
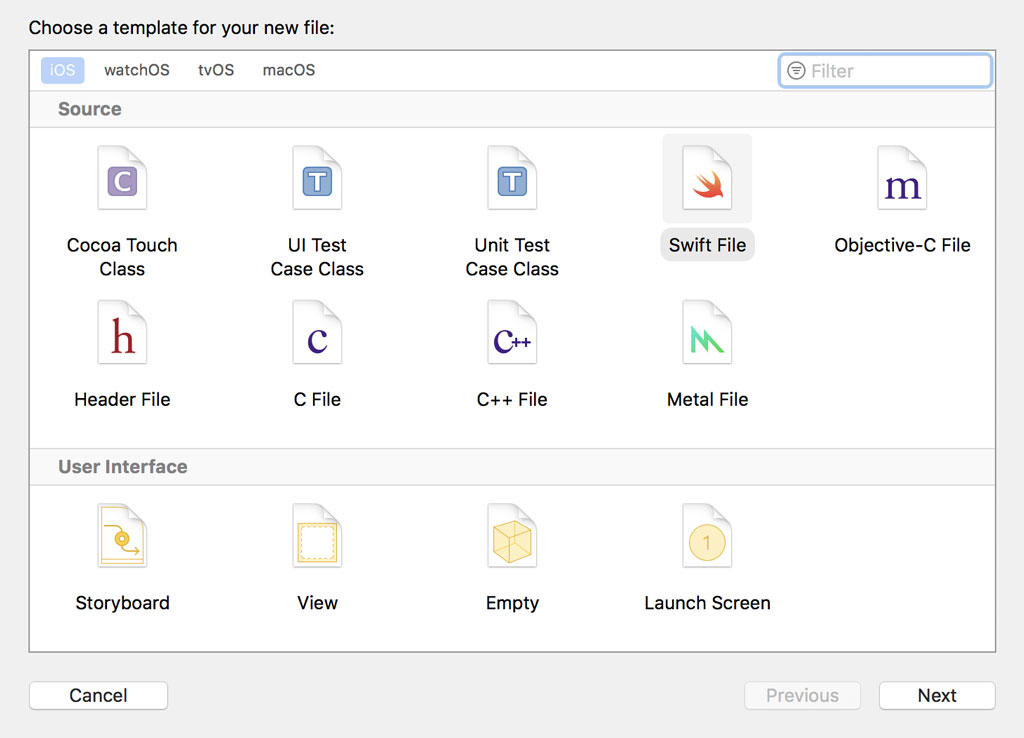
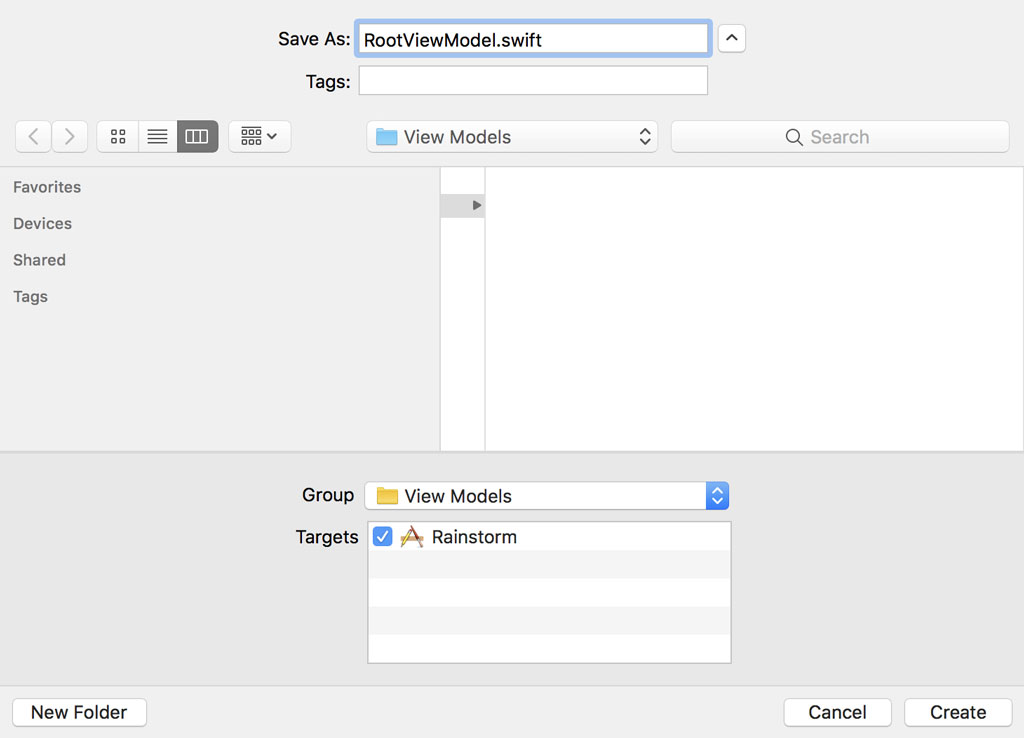
Creating the View Model
Create a new group in the Root View Controller group and name it View Models. Add a new file by choosing the Swift File template from the iOS section. Name the file RootViewModel.swift. It doesn't matter how you name the file or the view model. Make sure the name makes sense and be consistent.
Define a class and name it RootViewModel. Before we implement the RootViewModel class, we need to tie the view model to its view controller, the RootViewController class.
import Foundation

class RootViewModel {

}
There are a few rules you need to keep in mind if you implement the Model-View-ViewModel pattern. If you're new to MVVM, I recommend sticking to these rules. Only break them if you have a valid reason for doing so and if you know why you're breaking them. Never break a rule unless you understand why and what the consequences are.
First, the view model is owned by the view controller. Second, the view model doesn't know about the view controller it is owned by. Third, the view model manages the data the view controller presents to the user. This means that the RootViewController class doesn't have direct access to the weather data the application fetches from the Dark Sky API. Fourth, the view model hands the view controller the data it needs to present to the user in its view. The view and the view model don't know about each other's existence.
Let's start with the first rule. The view model is owned by the view controller, which means we need to define a property for the view model in the RootViewController class.
import UIKit

class RootViewController: UIViewController {

    // MARK: - Properties

    var viewModel: RootViewModel?

    ...

}
Notice that the viewModel property isn't declared private and that it is of an optional type. We could simplify the implementation by making it a private constant property.
import UIKit

class RootViewController: UIViewController {

    // MARK: - Properties

    private let viewModel = RootViewModel()

    ...

}
This implementation has several advantages, but there's one important drawback. The RootViewController class is now responsible for the instantiation of its view model. While this may not seem terrible, it's an implementation detail I don't like. What happens, for example, if the initializer of the RootViewModel class takes one or more arguments? Let's assume the initializer accepts a model. That means the RootViewController class knows about the model. Remember that the view controller shouldn't have direct access to the model.
The view controller shouldn't need to know about the implementation details of its view model. It should only know about the public interface it uses to populate its view.
You may think that we can make an exception in this scenario because the initializer of the RootViewModel class doesn't accept any arguments. Even though it's sometimes impossible or impractical to hide the instantiation of the view model from the view controller, I recommend delegating the instantiation of the view model to another object whenever possible.
Let's stick with the original implementation by declaring the viewModel property as an internal, variable property of an optional type. This means we need to decide when and where the view model is instantiated. When should we set the viewModel property of the RootViewController instance? The root view controller is instantiated when the application is launched by the operating system and it may seem as if we have no opportunity to set the viewModel property. The solution is simpler than you might think.
Injecting the View Model
The RootViewController instance is automatically created and set as the root view controller of the application's window when the application is launched by the operating system. This means that we can create and inject the RootViewModel instance in the application(_:didFinishLaunchingWithOptions:) method of the AppDelegate class.
We ask the window property of the AppDelegate class for the value of its rootViewController property. We expect the root view controller to be of type RootViewController. If that isn't true, we throw a fatal error. While this may seem drastic, this event should never take place. We made a silly mistake if it does.
If we're unable to access the RootViewController instance and set its viewModel property, the application won't be of much use to the user anyway. That's why we throw a fatal error if the application delegate is unable to access the RootViewController instance in its application(_:didFinishLaunchingWithOptions:) method.
import UIKit

@UIApplicationMain
class AppDelegate: UIResponder, UIApplicationDelegate {

    // MARK: - Properties

    var window: UIWindow?

    // MARK: - Application Life Cycle

    func application(_ application: UIApplication, didFinishLaunchingWithOptions launchOptions: [UIApplicationLaunchOptionsKey: Any]?) -> Bool {
        guard let rootViewController = window?.rootViewController as? RootViewController else {
            fatalError("Unexpected Root View Controller")
        }

        // Initialize Root View Model
        let rootViewModel = RootViewModel()

        // Configure Root View Controller
        rootViewController.viewModel = rootViewModel

        return true
    }

    ...

}
We initialize the RootViewModel instance and inject it into the RootViewController instance by setting its viewModel property. This is what dependency injection looks like. This type of dependency injection is better known as property injection because we inject a dependency by setting a property. Dependency injection isn't as complicated as it sounds.
We can verify that the implementation is working by printing the value of the viewModel property to the console in the viewDidLoad() method of the RootViewController class.
// MARK: - View Life Cycle

override func viewDidLoad() {
    super.viewDidLoad()

    // Setup Child View Controllers
    setupChildViewControllers()

    // Fetch Weather Data
    fetchWeatherData()

    print(viewModel ?? "No View Model Injected")
}
Run the application and inspect the contents of the console. The viewModel property shouldn't be equal to nil.
Rainstorm.RootViewModel
Moving Code
With the RootViewModel class in place and tied to the RootViewController class, it's time to move some code from the RootViewController class to the RootViewModel class. Open RootViewController.swift and move the fetchWeatherData() method to the RootViewModel class.
import Foundation

class RootViewModel {

    // MARK: - Helper Methods

    private func fetchWeatherData() {
        // Initialize Weather Request
        let weatherRequest = WeatherRequest(baseUrl: WeatherService.authenticatedBaseUrl, location: Defaults.location)

        // Create Data Task
        URLSession.shared.dataTask(with: weatherRequest.url) { (data, response, error) in
            if let error = error {
                print("Request Did Fail (\(error)")
            } else if let response = response {
                print(response)
            }
            }.resume()
    }

}
We also need to remove the reference to the fetchWeatherData() method in the viewDidLoad() method of the RootViewController class.
// MARK: - View Life Cycle

override func viewDidLoad() {
    super.viewDidLoad()

    // Setup Child View Controllers
    setupChildViewControllers()
}
Open RootViewModel.swift and implement an initializer that doesn't take any arguments. In the initializer, we invoke the fetchWeatherData() method.
import Foundation

class RootViewModel {

    // MARK: - Initialization

    init() {
        // Fetch Weather Data
        fetchWeatherData()
    }

    // MARK: - Helper Methods

    private func fetchWeatherData() {
        ...
    }

}
That's a good start. The RootViewController class is no longer performing any network requests. We're not done yet. The RootViewModel class needs to notify the RootViewController class when it has data for the root view controller to present. Delegation is one option. A simpler and more elegant solution is a closure. Let me show you how that works.
The RootViewModel class defines a property, didFetchWeatherData, in which it stores a reference to a closure. The closure accepts two arguments, an optional Data instance and an optional Error instance. The closure returns Void or an empty tuple. The property is of an optional type. The closure is invoked when the network request is completed, successfully or unsuccessfully.
import Foundation

class RootViewModel {

    // MARK: - Properties

    var didFetchWeatherData: ((Data?, Error?) -> Void)?

    // MARK: - Initialization

    init() {
        // Fetch Weather Data
        fetchWeatherData()
    }

    // MARK: - Helper Methods

    private func fetchWeatherData() {
        ...
    }

}
Let's make the implementation a bit prettier by defining a type alias for type of the property. At the top, we define a type alias and name it DidFetchWeatherDataCompletion. Type aliases are very useful for making your code more readable.
import Foundation

class RootViewModel {

    // MARK: - Type Aliases

    typealias DidFetchWeatherDataCompletion = (Data?, Error?) -> Void

    // MARK: - Properties

    var didFetchWeatherData: DidFetchWeatherDataCompletion?

    // MARK: - Initialization

    init() {
        // Fetch Weather Data
        fetchWeatherData()
    }

    // MARK: - Helper Methods

    private func fetchWeatherData() {
        ...
    }

}
We invoke the closure stored in the didFetchWeatherData property in the fetchWeatherData() method. If the network request is unsuccessful, we pass the error object to the closure. If the network request is successful, we pass the Data instance to the closure. If no Error or Data instance is returned, we pass nil for both arguments. Even though this event shouldn't take place, it isn't an elegant solution and we improve the implementation later in this series.
private func fetchWeatherData() {
    // Initialize Weather Request
    let weatherRequest = WeatherRequest(baseUrl: WeatherService.authenticatedBaseUrl, location: Defaults.location)

    // Create Data Task
    URLSession.shared.dataTask(with: weatherRequest.url) { [weak self] (data, response, error) in
        if let error = error {
            self?.didFetchWeatherData?(nil, error)
        } else if let data = data {
            self?.didFetchWeatherData?(data, nil)
        } else {
            self?.didFetchWeatherData?(nil, nil)
        }
    }.resume()
}
Because the didFetchWeatherData property is of an optional type, we use optional chaining. We don't want to strongly reference the view model in the completion handler of dataTask(with:completionHandler:). We resolve this by weakly capturing self using a capture list.
The implementation is still rough. We don't intend to pass a Data instance to the root view controller and we only want to propagate errors that make sense to the root view controller. We fix these issues later. At this point, we only want to make sure the view model and its view controller are tied together.
Completing the Puzzle
You probably know what the last piece of the puzzle is. We need to set the didFetchWeatherData property of the RootViewModel instance to make sure the RootViewController instance is notified when there's data to present to the user or if it needs to handle an error.
The viewModel property of the RootViewController class is of an optional type, which means we can't be sure if or when it has a valid value. That's the nature of optionals. There's a simple solution to this problem.
We implement a didSet property observer in which we invoke a helper method, setupViewModel(with:), passing in the view model. We only invoke this method if the viewModel property has a value.
import UIKit

class RootViewController: UIViewController {

    // MARK: - Properties

    var viewModel: RootViewModel? {
        didSet {
            guard let viewModel = viewModel else {
                return
            }

            // Setup View Model
            setupViewModel(with: viewModel)
        }
    }

    ...

}
The implementation of setupViewModel(with:) is basic for the time being. We set the didFetchWeatherData property of the view model and print the Data or Error instance to the console, depending on the result of the network request.
private func setupViewModel(with viewModel: RootViewModel) {
    // Configure View Model
    viewModel.didFetchWeatherData = { (data, error) in
        if let error = error {
            print("Unable to Fetch Weather Data (\(error)")
        } else if let data = data {
            print(data)
        }
    }
}
Run the application and inspect the output in the console. You should see the description of the Data instance printed to the console.
29666 bytes
What Did We Gain?
What did we gain by adding a view model to the project? The RootViewController instance no longer performs any network requests. Its only responsibility should be presenting data to the user and responding to user interaction. We achieved that goal by adding a view model that takes care of fetching weather data.
There's another more subtle benefit that becomes clear later in this series. The view model can invoke the closure stored in its didFetchWeatherData property whenever it deems appropriate. The view controller doesn't and shouldn't need to worry about reachability or location changes. These responsibilities are shifted to the view model. It's the view model that decides when it's appropriate to fetch weather data and the view controller is automatically notified when there's weather data available. The benefits of the Model-View-ViewModel pattern will become more obvious as the series progresses.
In the next episode, we shift focus to data modeling. The Dark Sky API sends the application a JSON response. It's time to decode and inspect the JSON response. The last thing we want is hand a chunk of data to the root view controller.