Because a view model isn't or shouldn't be coupled to the user interface, it's easy to write unit tests for a view model. I'd like to illustrate that in this episode by writing a handful of unit tests for the DayViewModel struct. If you're new to unit testing, then this episode is an excellent start.
Creating a Target
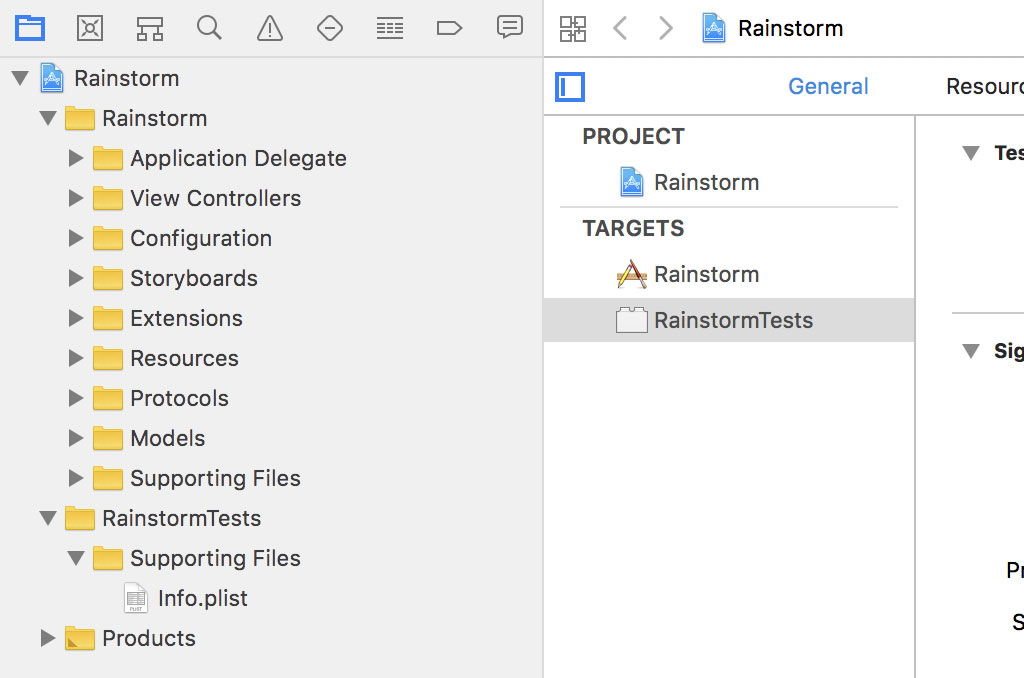
Before we start, we need to create a unit test target. Select the project in the Project Navigator. The project has one target at the moment, Rainstorm. Click the + button at the bottom and choose iOS Unit Testing Bundle from the Test section under the iOS tab.

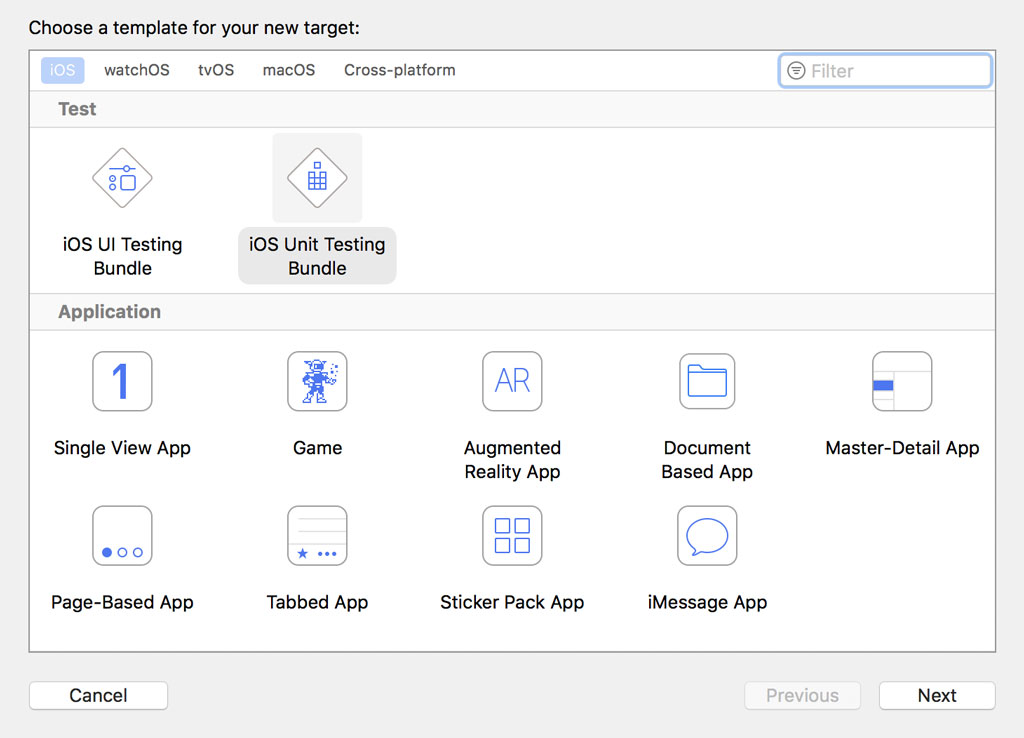
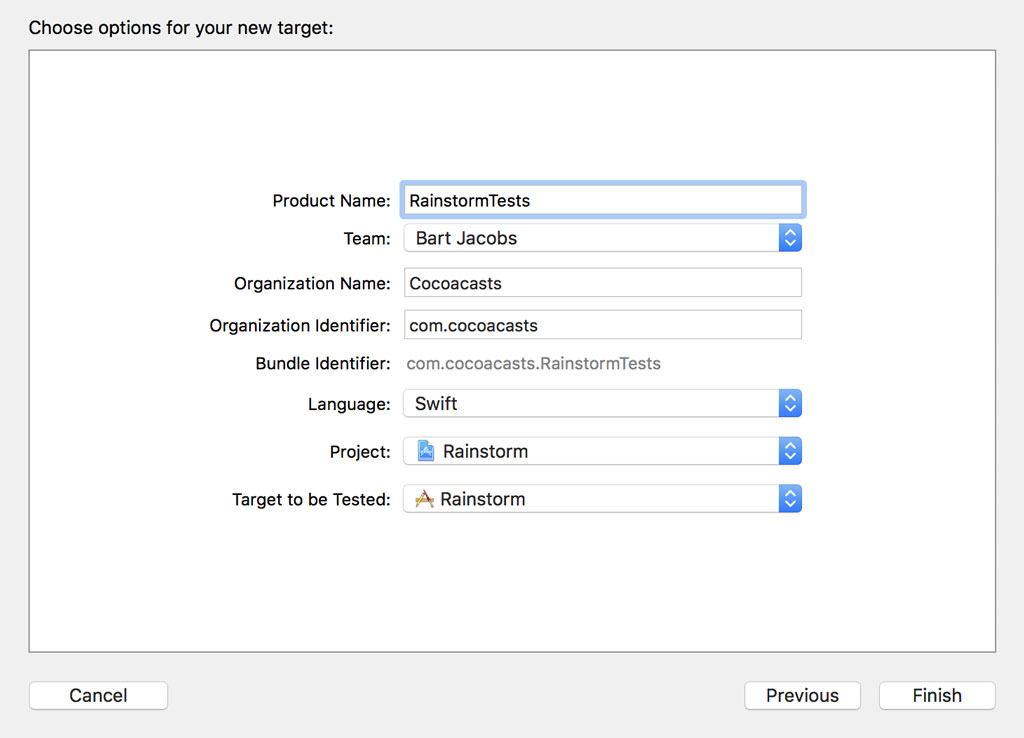
The default options are fine. Verify that Language is set to Swift, Project is set to Rainstorm, and Target to be Tested is set to Rainstorm. Click Finishto add the target to the Rainstorm project.
Xcode automatically creates a new group, RainstormTests. The group includes an Info.plist file and a file named RainstormTests.swift.
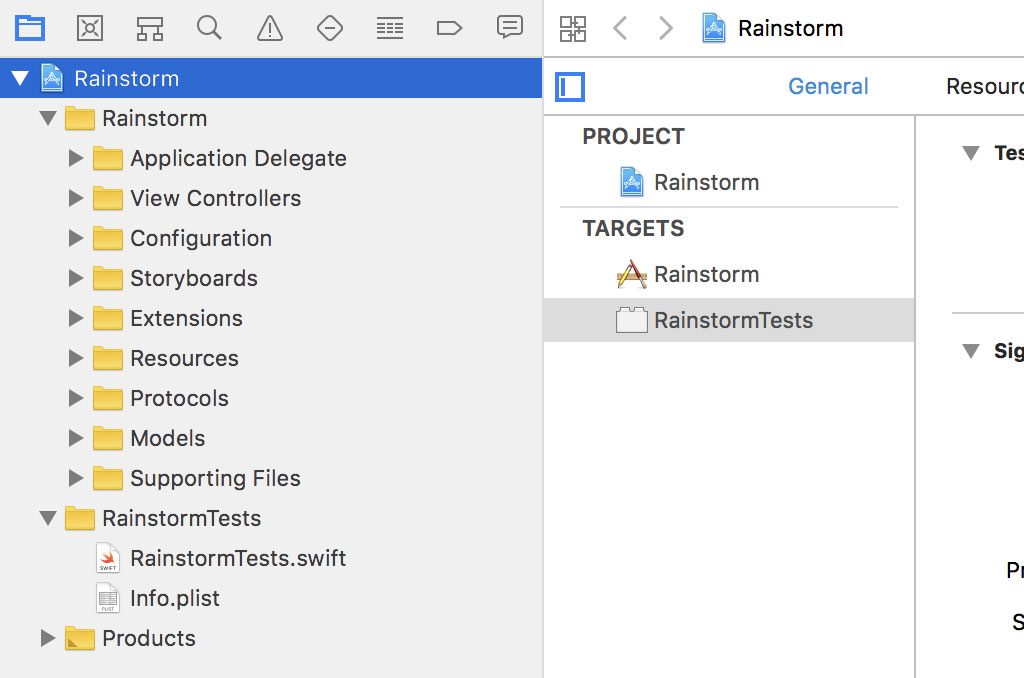
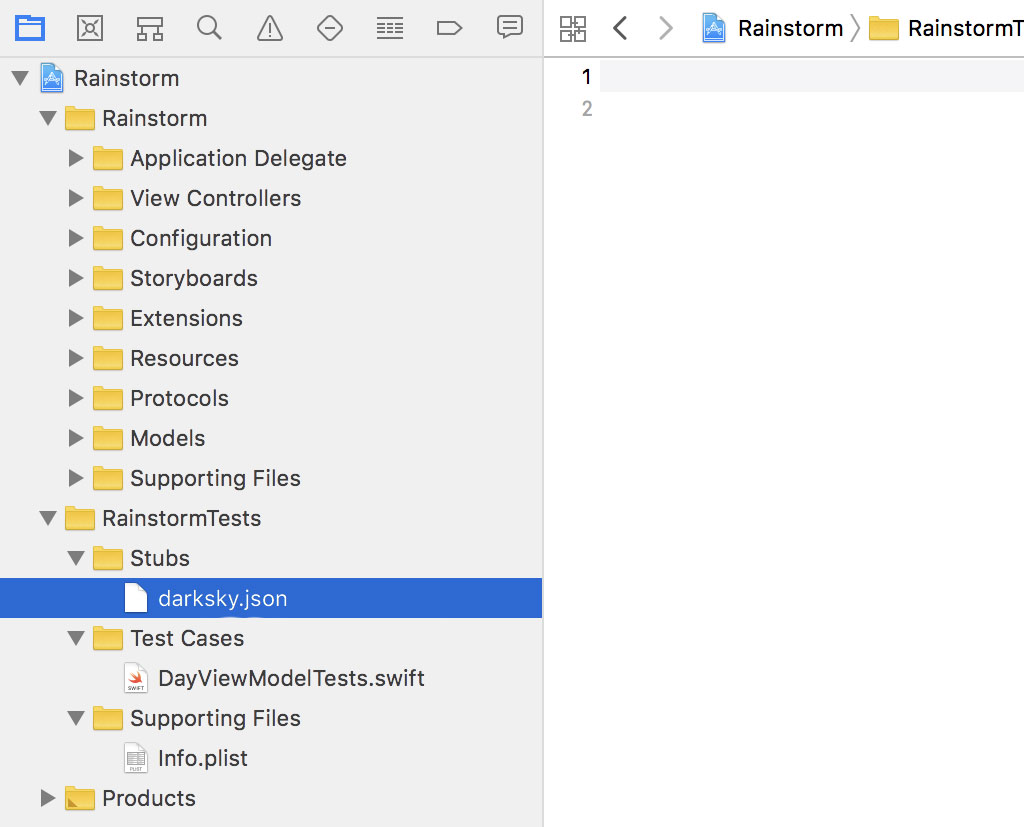
Before we continue, I'd like to add a bit of structure to the RainstormTests group. Start by deleting RainstormTests.swift. The file contains a few examples, but we don't need it. We start from scratch.
Create a group Supporting Files and drag Info.plist into the newly created group.
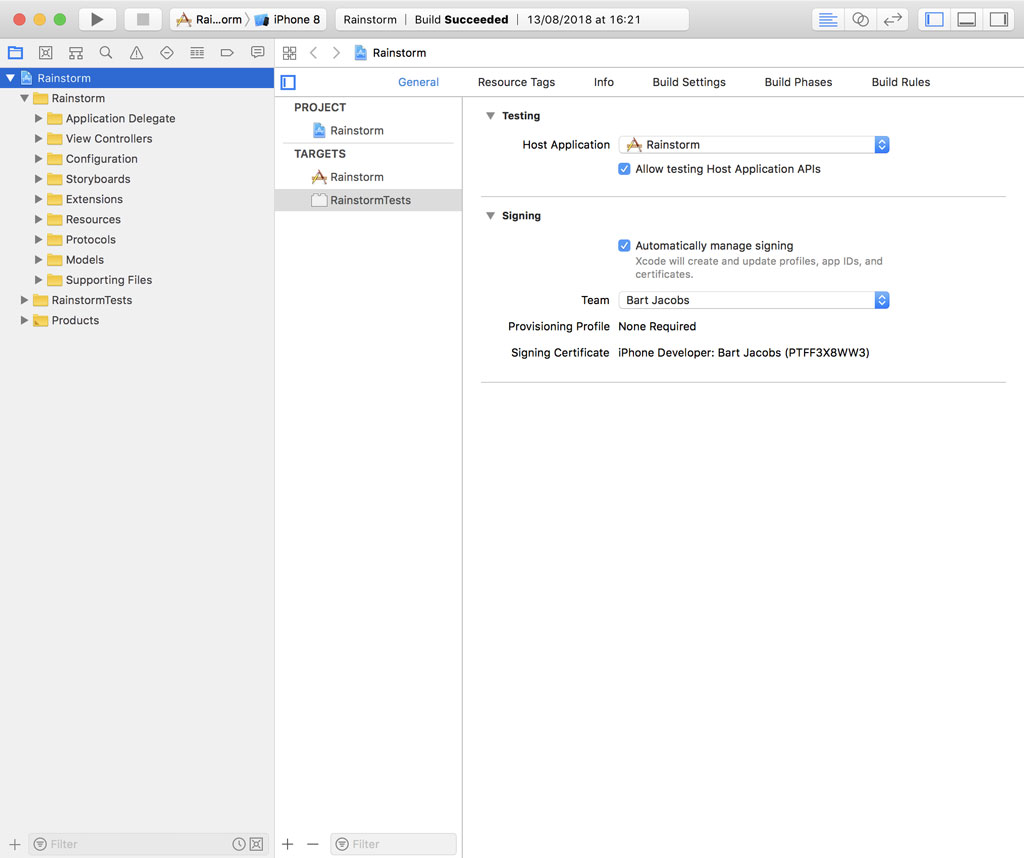
Remember from earlier in this series that we need to update the build settings of the target if we move the Info.plist file to a different location.
With the RainstormTests target selected, open Build Settings at the top. Search for Info.plist and update the path to RainstormTests/Supporting Files/Info.plist.
Even though we don't have any unit tests yet, we can run the test suite to make sure everything is correctly configured. Set the destination to a simulator and press Command + U or choose Product > Test from Xcode's menu. Make sure no errors or warnings pop up.
Subclassing XCTestCase
To write unit tests, we need to subclass XCTestCase. This isn't difficult. Create a group in the RainstormTests group and name it Test Cases. Add a new file to the group by choosing the Unit Test Case Class template from the iOS section.

Name the file DayViewModelTests.swift. I recommend creating a separate file for each type you're unit testing. It keeps the project's unit tests organized and it also makes naming much easier. I simply append Tests to the type I'm testing.

Depending on the version of Xcode you're using, Xcode might offer to create an Objective-C bridging header. Click Don't Create because we won't be needing one in this episode.

Xcode has populated DayViewModelTests.swift with a few methods. The file includes an import statement for the XCTest framework and it define an XCTestCase subclass, DayViewModelTests. The class defines a setUp() and a tearDown() method as well as a few examples. Remove the comments and the examples included in the file.
import XCTest

class DayViewModelTests: XCTestCase {

    // MARK: - Set Up & Tear Down

    override func setUp() {
        super.setUp()
    }

    override func tearDown() {
        super.tearDown()
    }

}
The setUp() method is run before every unit test while the tearDown() method is run after every unit test. As their names imply, these methods are convenient for setting up and tearing down resources you need in the unit tests you write.
Writing a Unit Test
Let's write a unit test. Every method starting with the word test and accepting no arguments is a unit test. Let's try it out by writing a unit test for the date computed property of the DayViewModel struct. Define a method in the DayViewModelTests class and name it testDate().
import XCTest

class DayViewModelTests: XCTestCase {

    // MARK: - Set Up & Tear Down

    override func setUp() {
        super.setUp()
    }

    override func tearDown() {
        super.tearDown()
    }

    // MARK: - Tests for Date

    func testDate() {

    }

}
To unit test the date computed property of the DayViewModel struct, we need a DayViewModel instance. DayViewModel is defined in the Rainstorm module. To access the DayViewModel struct, we need to add an import statement for the Rainstorm module. We prefix the import statement with the testable attribute to gain access to the internal entities of the Rainstorm module. Remember that an entity is internal by default.
import XCTest
@testable import Rainstorm

class DayViewModelTests: XCTestCase {

    // MARK: - Set Up & Tear Down

    override func setUp() {
        super.setUp()
    }

    override func tearDown() {
        super.tearDown()
    }

    // MARK: - Tests for Date

    func testDate() {

    }

}
With the import statement in place, we can instantiate an instance of the DayViewModel struct. There's one problem, though. To instantiate a DayViewModel instance we need to pass the initializer weather data. This isn't a big issue, but it requires a bit of work.
The idea is simple and it involves three steps. We need to fetch data from the Dark Sky API, create a DarkSkyResponse instance, and use the DarkSkyResponse object to instantiate an instance of the DayViewModel struct. The idea sounds great, but there's a potential problem. Fetching data from the Dark Sky API implies making a request. That's something we want to avoid. It slows down the test suite and, even worse, it could potentially break the test suite. If the machine running the test suite has a poor connection, the request could fail. The test suite would also fail if the Dark Sky API isn't available for some reason.
There's another important caveat. We can't predict what the Dark Sky API returns. The Dark Sky API returns the current weather conditions and a weather forecast of the coming days. The weather is unpredictable and so is the data returned by the Dark Sky API.
To speed up the test suite and to improve its reliability, we make use of a stub. We include a response of the Dark Sky API in the unit testing bundle, which we use to create a DarkSkyResponse instance. There's another benefit. Because we include a Dark Sky response in the unit testing bundle, we know exactly what the response looks like and that makes writing unit tests much easier.
Stubbing the Dark Sky Response
To stub the Dark Sky response, we need a response from the Dark Sky API. We covered several options earlier in this series. Let's use the curl command and the command line. Open Terminal and execute the following command.
curl -o ~/Desktop/darksky.json https://api.darksky.net/forecast/be203ca9c3c2bb7ab9bdc348ec93e25f/37.8267,-122.4233
Make sure to replace the Dark Sky API key in the request URL with your own. The -o option writes the output to a location we specify.
Create a group in the unit testing bundle, Stubs, and add the Dark Sky response to the group.
Loading the Dark Sky Response
Because we plan to use stubs in several test cases, it makes sense to create a helper method to make it easier to load a stub from the unit testing bundle. Create a new group, Extensions, and add a Swift file to the group. Name the file XCTestCase.swift.
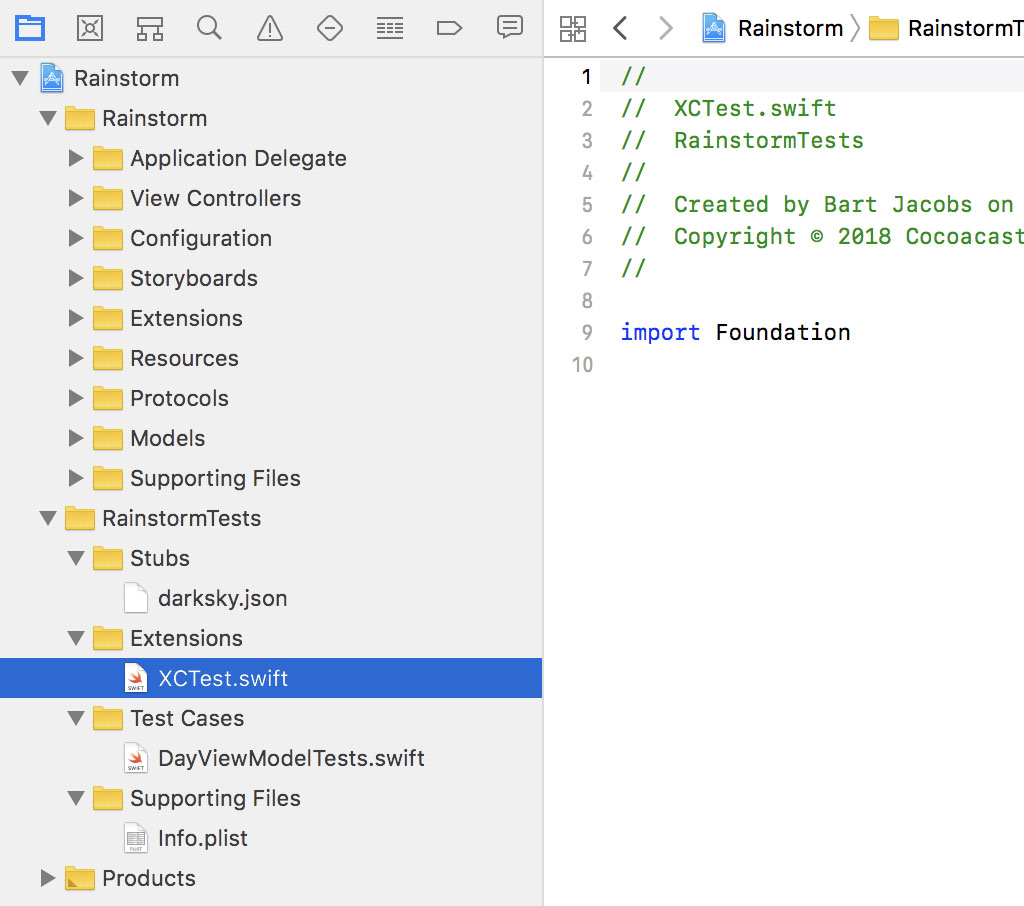
Replace the import statement for Foundation with an import statement for XCTest and define an extension for the XCTestCase class.
import XCTest

extension XCTestCase {

}
Define an instance method, loadStub(name:extension:). The method accepts the name and extension of the file that contains the data for the stub. It returns a Data instance.
import XCTest

extension XCTestCase {

    func loadStub(name: String, extension: String) -> Data {

    }

}
In loadStub(name:extension:), we fetch a reference to the unit testing bundle, ask it for the URL of the file we're interested in, and use the URL to instantiate a Data instance.
import XCTest

extension XCTestCase {

    func loadStub(name: String, extension: String) -> Data {
        let bundle = Bundle(for: classForCoder)
        let url = bundle.url(forResource: name, withExtension: `extension`)

        return try! Data(contentsOf: url!)
    }

}
You may be surprised that we force unwrap the value stored in url and use the try keyword with an exclamation mark. This is something I only ever do when I write unit tests. You have to understand that we're only interested in the results of the unit tests. If anything else goes wrong, we made a trivial mistake we need to fix. In other words, I'm not interested in error handling or safety when writing and running unit tests. If something goes wrong, the unit tests fail anyway.
With the helper method in place, we can continue writing the unit test for the date computed property. Open DayViewModelTests.swift. To simplify the unit tests, we don't instantiate a view model in each unit test. We define a property for the view model, assign a value in the setUp() method, and use it in the unit tests.
By defining a property for the view model, every unit test has access to a fully initialized view model. This allows the unit test to focus on what needs to be tested in the unit test.
import XCTest
@testable import Rainstorm

class DayViewModelTests: XCTestCase {

    // MARK: - Properties

    var viewModel: DayViewModel!

    // MARK: - Set Up & Tear Down

    override func setUp() {
        super.setUp()
    }

    override func tearDown() {
        super.tearDown()
    }

    // MARK: - Tests for Date

    func testDate() {

    }

}
The type of the property is an implicitly unwrapped optional. I use implicitly unwrapped optionals very sparingly and for good reason. Remember that the primary focus of the test suite isn't error handling or safety. If the test suite crashes, then we made a mistake we need to fix. This is really important to understand. When we're running the unit tests, we're interested in the test results. We often use shortcuts for convenience to improve the clarity and readability of the unit tests.
In the setUp() method, we invoke the loadStub(name:extension:) method to load the contents of the stub. We create a DarkSkyResponse instance by passing the Data object to a JSONDecoder instance. Don't forget to set the dateDecodingStrategy of the JSONDecoder instance to secondsSince1970. The DarkSkyResponse instance is used to create the DayViewModel instance.
override func setUp() {
    super.setUp()

    // Load Stub
    let data = loadStub(name: "darksky", extension: "json")

    // Initialize JSON Decoder
    let decoder = JSONDecoder()

    // Configure JSON Decoder
    decoder.dateDecodingStrategy = .secondsSince1970

    // Initialize Dark Sky Response
    let darkSkyResponse = try! decoder.decode(DarkSkyResponse.self, from: data)

    // Initialize View Model
    viewModel = DayViewModel(weatherData: darkSkyResponse.current)
}
The setUp() method runs before every unit test, which means we have access to a DayViewModel instance in the testDate() method. In testDate(), we assert that the value of the date computed property is equal to the value we expect.
What value do we expect? Open darksky.json in a text editor and search for the time field of the currently object. Copy the value of the time field.
{
    "latitude": 37.8267,
    "longitude": -122.4233,
    "timezone": "America/Los_Angeles",
    "currently": {
        "time": 1535461363,
        "summary": "Overcast",
        "icon": "cloudy",
        "nearestStormDistance": 1,
        "nearestStormBearing": 129,
        "precipIntensity": 0,
        "precipProbability": 0,
        "temperature": 57.66,
        "apparentTemperature": 57.66,
        "dewPoint": 54,
        "humidity": 0.88,
        "pressure": 1013.38,
        "windSpeed": 5.33,
        "windGust": 9.46,
        "windBearing": 239,
        "cloudCover": 0.97,
        "uvIndex": 0,
        "visibility": 10,
        "ozone": 297.93
    },
    ...
}
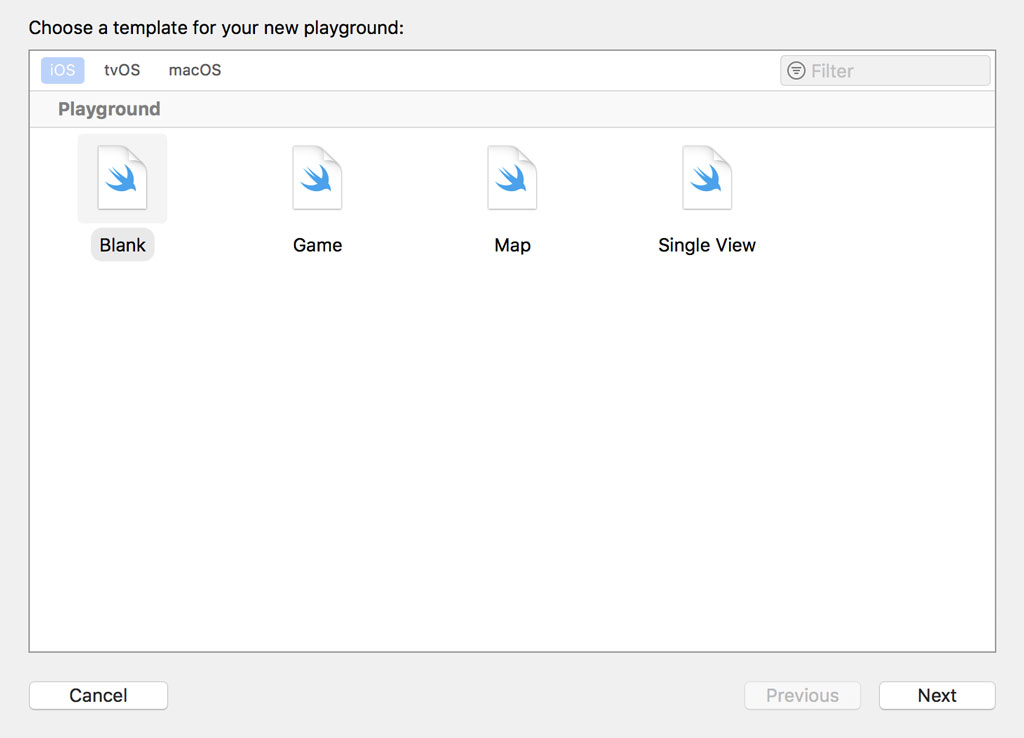
Create a playground by choosing the Blank template under the iOS tab.
Remove the contents of the playground and add an import statement for the Foundation framework. We use the timestamp to instantiate a Date instance. The value of the Date instance is displayed on the right.
import Foundation

let date = Date(timeIntervalSince1970: 1535537049)

We now know what value we expect. Revisit the testDate() method and define the assertion for the unit test. We assert that the value of the date computed property is equal to Wednesday, August 29 2018.
// MARK: - Tests for Date

func testDate() {
    XCTAssertEqual(viewModel.date, "Wed, August 29 2018")
}
We can keep the unit test this simple because we control the stub. If we were to fetch a response from the Dark Sky API, we wouldn't know what the data would look like. It would be slow, asynchronous, and unpredictable, like the weather.
The second unit test we write is for the time computed property of the DayViewModel struct. The unit test looks very similar to the previous one. We assert that the value of the time computed property is equal to the value we expect.
// MARK: - Tests for Time

func testTime() {
    XCTAssertEqual(viewModel.time, "12:04 PM")
}
The remaining unit tests for the DayViewModel struct follow the same pattern. Pause the video and give it a try.
// MARK: - Tests for Summary

func testSummary() {
    XCTAssertEqual(viewModel.summary, "Overcast")
}

// MARK: - Tests for Temperature

func testTemperature() {
    XCTAssertEqual(viewModel.temperature, "57.7 °F")
}

// MARK: - Tests for Wind Speed

func testWindSpeed() {
    XCTAssertEqual(viewModel.windSpeed, "5 MPH")
}
The unit test for the image computed property is a bit more complicated. Comparing images isn't straightforward. We first make an assertion that the value of the image computed property isn't nil because image is of type UIImage?.
// MARK: - Tests for Image

func testImage() {
    let viewModelImage = viewModel.image

    XCTAssertNotNil(viewModelImage)
}
We convert the UIImage instace to a Data object and compare it to a reference image, loaded from the application bundle. You can go as far as you like. For example, I also added assertions for the dimensions of the image. This isn't critical for this application, but it shows you what's possible.
// MARK: - Tests for Image

func testImage() {
    let viewModelImage = viewModel.image
    let imageDataViewModel = UIImagePNGRepresentation(viewModelImage!)!
    let imageDataReference = UIImagePNGRepresentation(UIImage(named: "cloudy")!)!

    XCTAssertNotNil(viewModelImage)
    XCTAssertEqual(viewModelImage!.size.width, 45.0)
    XCTAssertEqual(viewModelImage!.size.height, 33.0)
    XCTAssertEqual(imageDataViewModel, imageDataReference)
}
Press Command + U to run the test suite and verify that the unit tests for the DayViewModel struct pass.

What's Next?
Unit testing a view model isn't difficult as long as you make sure you keep the number of variables to a minimum. By stubbing the request of the Dark Sky API, we control the weather data that drive the unit tests. This is essential if you want to create a fast and reliable test suite.
In the next episode, we populate the week view. We implement the WeekViewModel struct and the WeekViewController class.