View controller containment is an indispensable pattern in iOS projects. Several key components of the UIKit framework take advantage of view controller containment, including the UINavigationController class, the UITabBarController class, and the UISplitViewController class. As I mentioned earlier in this series, view controller containment is a pattern I adopt in every iOS project and Rainstorm is no exception.
The idea is simple. A parent or container view controller contains one or more child view controllers. View controller containment ensures that each child view controller is notified of important view life cycle events. The root view controller we added in the previous episode acts as the parent or container view controller.
The user interface of Rainstorm is simple. The application displays the current weather conditions at the top and it shows the user a weather forecast of the coming days at the bottom. We could include both views as subviews of the root view controller's view, but that would result in a fat view controller. It would add complexity we can avoid with ease. View controller containment is straightforward to implement and it helps to keep view controllers lightweight and focused.
Let's start by creating a class for each of the child view controllers.
Day View Controller
Create a group in the View Controllers group and name it Weather View Controllers. Create a group in the Weather View Controllers group and name it Day View Controller.
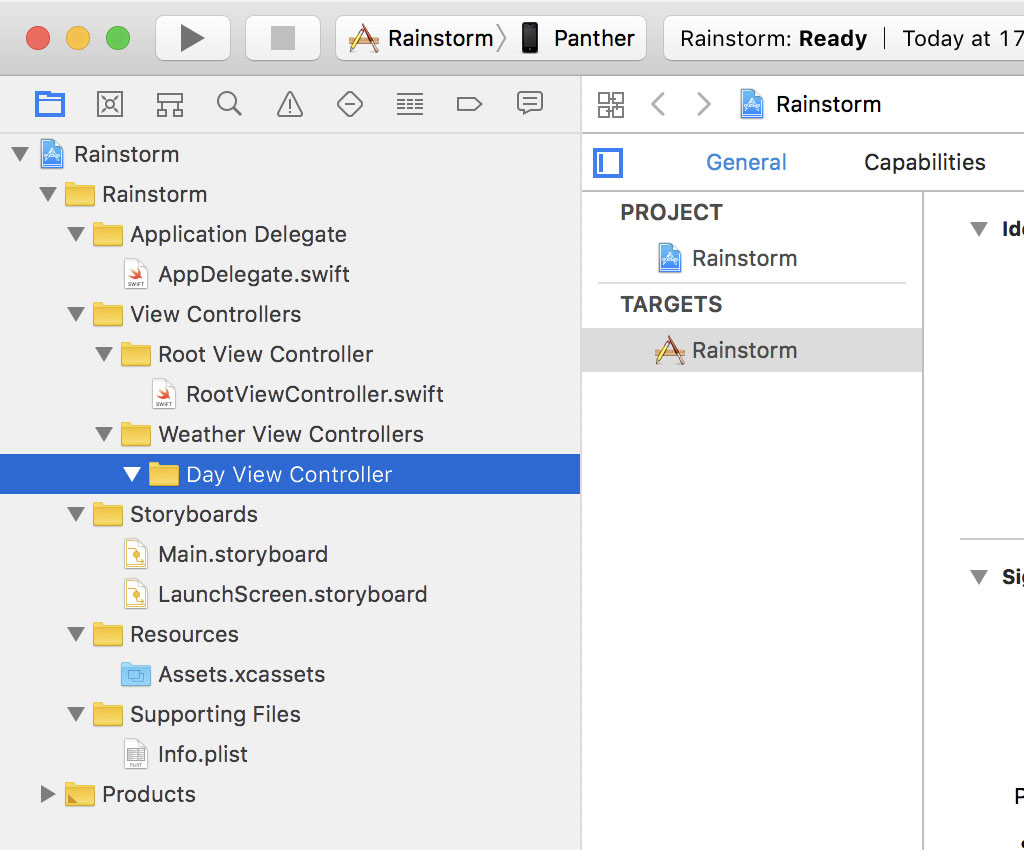
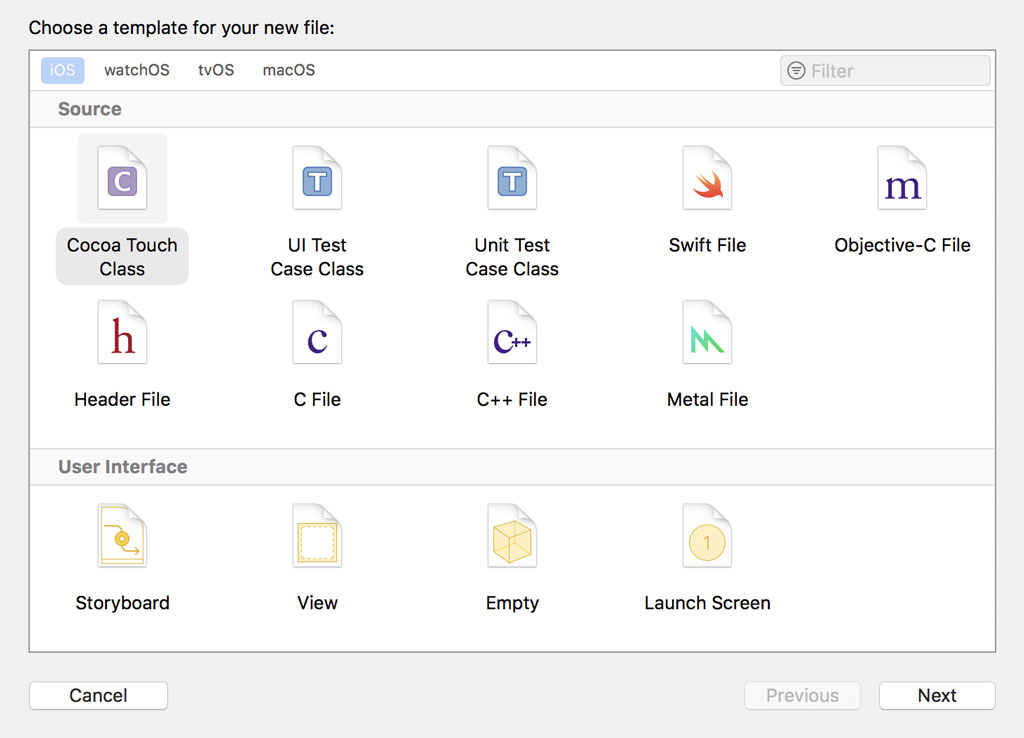
Create a new file in the Day View Controller group by choosing the Cocoa Touch Class template from the iOS section.

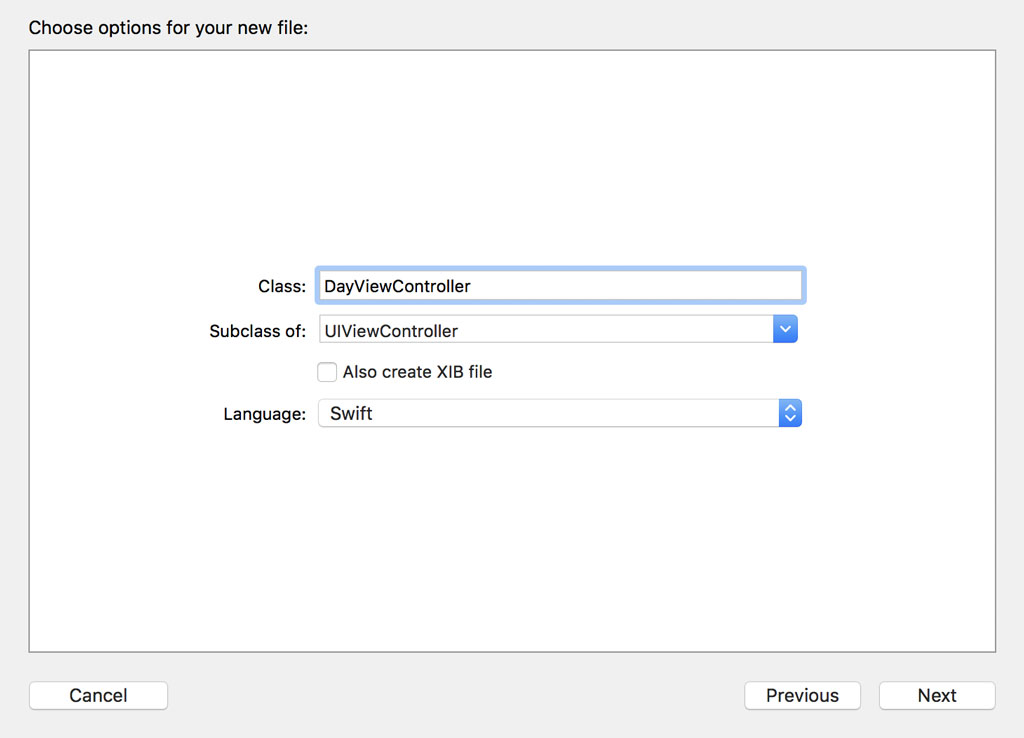
Name the class DayViewController and set its subclass to UIViewController. There's no need to create a XIB file. Make sure Language is set to Swift.
The DayViewController class is responsible for showing the current weather conditions at the top of the user interface. Remove the implementation of the DayViewController class with the exception of the viewDidLoad() method.
We mark the DayViewController class as final, which means it cannot be subclassed. It also results in a tiny performance improvement.
import UIKit

final class DayViewController: UIViewController {

    // MARK: - View Life Cycle

    override func viewDidLoad() {
        super.viewDidLoad()
    }

}
I always keep the viewDidLoad() method short to make sure it's easy to see what's happening. The first helper method I create in almost every view controller is setupView(). In this private helper method, we configure the view and its subviews. Let's give the view controller's view a bright background color to make sure it stands out.
import UIKit

final class DayViewController: UIViewController {

    // MARK: - View Life Cycle

    override func viewDidLoad() {
        super.viewDidLoad()

        // Setup View
        setupView()
    }

    // MARK: - View Methods

    private func setupView() {
        // Configure View
        view.backgroundColor = .green
    }

}
Week View Controller
It's time to create the view controller that shows the user a weather forecast of the coming days. Create a group in the Weather View Controllers group and name it Week View Controller.
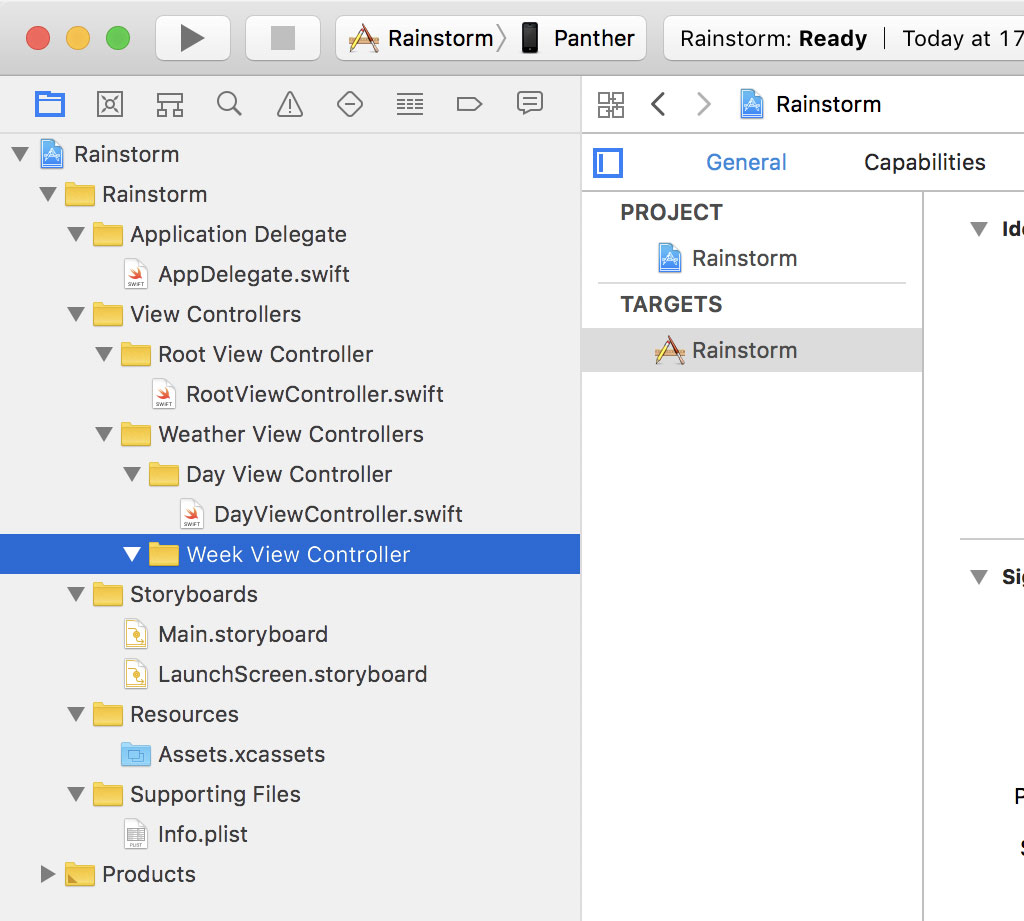
Create a new file and choose the Cocoa Touch Class template from the iOS section.
Name the class WeekViewController and set its subclass to UIViewController. There's no need to create a XIB file. Make sure Language is set to Swift.

Remove the implementation of the WeekViewController class with the exception of the viewDidLoad() method. We mark the WeekViewController class as final.
import UIKit

final class WeekViewController: UIViewController {

    // MARK: - View Life Cycle

    override func viewDidLoad() {
        super.viewDidLoad()
    }

}
We take the same approach in the WeekViewController class. We implement a private helper method, setupView(), in which we configure the view controller's view. We set its background color to a bright red color. We invoke setupView() in the view controller's viewDidLoad() method.
import UIKit

final class WeekViewController: UIViewController {

    // MARK: - View Life Cycle

    override func viewDidLoad() {
        super.viewDidLoad()

        // Setup View
        setupView()
    }

    // MARK: - View Methods

    private func setupView() {
        // Configure View
        view.backgroundColor = .red
    }

}
View Controller Containment
I won't cover view controller containment in detail in this series. If you'd like to learn more about view controller containment, I recommend reading Managing View Controllers With Container View Controllers. You can find it on the Cocoacasts website. Even though Interface Builder supports view controller containment, in this series I show you how to adopt the pattern in code.
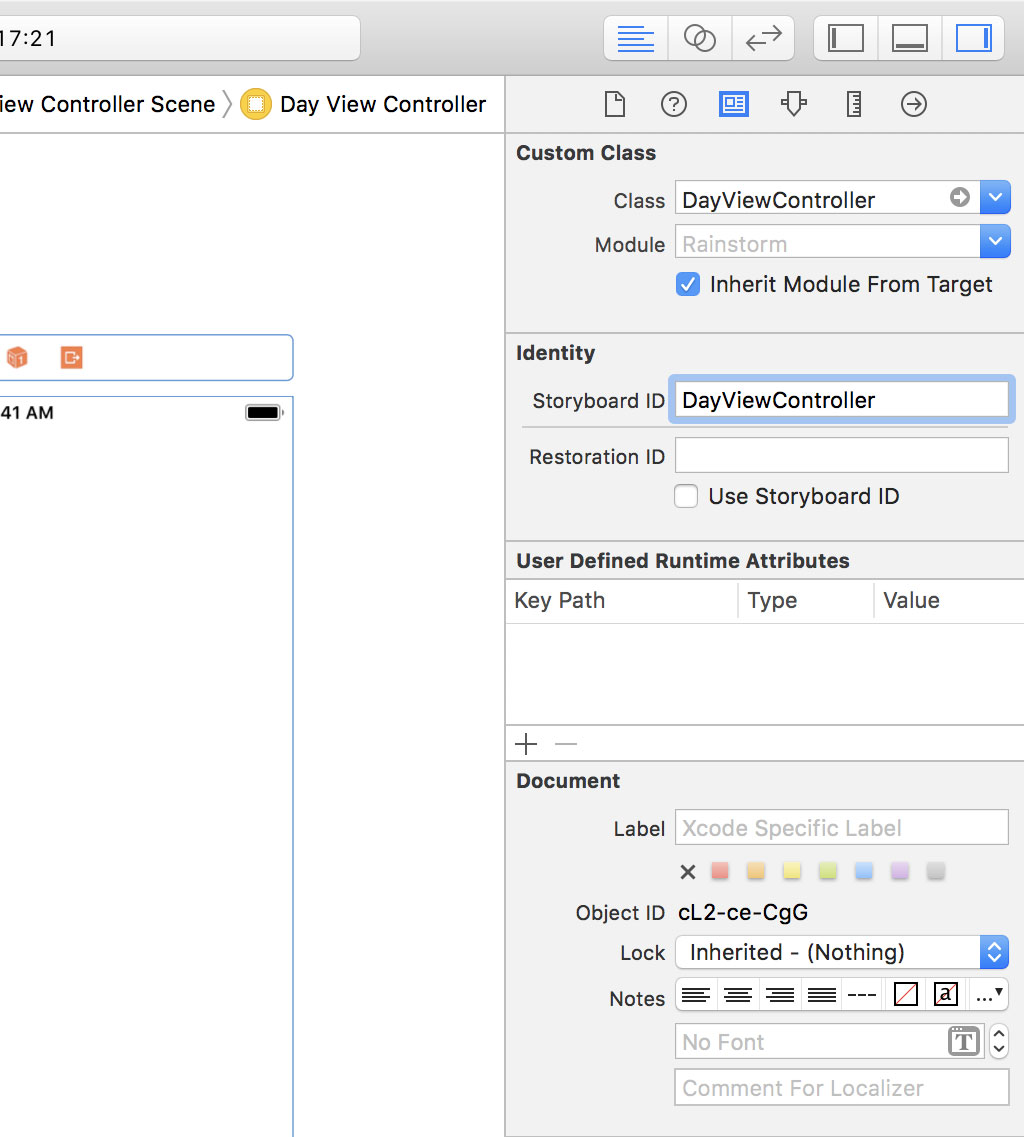
Let's start by adding the day and week view controllers to the main storyboard. Open Main.storyboard and drag a view controller from the Object Library to the canvas. With the view controller selected, open the Identity Inspector on the right and set Class and Storyboard ID to DayViewController. We need the storyboard identifier to load the view controller from the storyboard.
We add another view controller to the storyboard. In the Identity Inspector, we set Class and Storyboard ID to WeekViewController.
Before we revisit the RootViewController class, I want to make sure we don't need to rely on string literals to load the view controllers from the storyboard. Let me show you what I have in mind.
Create a new group, Extensions, and add a new Swift file to the group. Name the file UIViewController.swift.

Add an import statement for UIKit and create an extension for the UIViewController class.
import UIKit

extension UIViewController {

}
To avoid string literals in the codebase, a UIViewController subclass should be able to return its storyboard identifier. We declare a static computed property, storyboardIdentifier, of type String. The computed property returns a string that is equal to the name of the class. Every UIViewController subclass now has a storyboard identifier we can use. This solution only works if the storyboard identifier in the storyboard is equal to the name of the class.
import UIKit

extension UIViewController {

    // MARK: - Static Properties

    static var storyboardIdentifier: String {
        return String(describing: self)
    }

}
Create another Swift file in the Extensions group and name it UIStoryboard.swift. Add an import statement for UIKit and create an extension for the UIStoryboard class.

We implement a static computed property, main, for accessing the main storyboard. This ensures we only need to use a string literal for instantiating the main storyboard in one location.
import UIKit

extension UIStoryboard {

    // MARK: - Static Properties

    static var main: UIStoryboard {
        return UIStoryboard(name: "Main", bundle: Bundle.main)
    }

}
Both of these improvements are small, but I can assure you that they add up. The fewer string literals you have in a project the better. That's my experience.
Open RootViewController.swift. We need to declare a stored property for each child view controller. Let's start with the day view controller. Declare a private constant property, dayViewController, of type DayViewController. The implementation is surprisingly simple thanks to the extensions we created a moment ago.
import UIKit

class RootViewController: UIViewController {

    // MARK: - Properties

    private let dayViewController: DayViewController = {
        guard let dayViewController = UIStoryboard.main.instantiateViewController(withIdentifier: DayViewController.storyboardIdentifier) as? DayViewController else {
            fatalError("Unable to Instantiate Day View Controller")
        }

        // Configure Day View Controller
        dayViewController.view.translatesAutoresizingMaskIntoConstraints = false

        return dayViewController
    }()

    // MARK: - View Life Cycle

    override func viewDidLoad() {
        super.viewDidLoad()
    }

}
Instantiating the day view controller should never fail. That's why I use a guard statement and throw a fatal error if the application is unable to instantiate the day view controller. We set the translatesAutoresizingMaskIntoConstraints property of the view of the day view controller to false because I plan to use Auto Layout to size and position the view.
Notice that we instantiate the DayViewController instance in a closure. This technique is useful if the initialization and configuration of the instance requires a few lines of code. It's important that we append a pair of parentheses to the closure to invoke it. Because the closure is executed during the initialization of the RootViewController instance we can declare the property as a constant. We could declare the property as a lazy variable property, but that wouldn't gain us anything in this scenario. I prefer to declare stored properties as constants whenever possible because that subtle detail tells me its value won't change once it has a value.
We define another private constant property, weekViewController, of type WeekViewController. The implementation is almost identical.
import UIKit

class RootViewController: UIViewController {

    // MARK: - Properties

    private let dayViewController: DayViewController = {
        guard let dayViewController = UIStoryboard.main.instantiateViewController(withIdentifier: DayViewController.storyboardIdentifier) as? DayViewController else {
            fatalError("Unable to Instantiate Day View Controller")
        }

        // Configure Day View Controller
        dayViewController.view.translatesAutoresizingMaskIntoConstraints = false

        return dayViewController
    }()

    private let weekViewController: WeekViewController = {
        guard let weekViewController = UIStoryboard.main.instantiateViewController(withIdentifier: WeekViewController.storyboardIdentifier) as? WeekViewController else {
            fatalError("Unable to Instantiate Week View Controller")
        }

        // Configure Week View Controller
        weekViewController.view.translatesAutoresizingMaskIntoConstraints = false

        return weekViewController
    }()

    // MARK: - View Life Cycle

    override func viewDidLoad() {
        super.viewDidLoad()
    }

}
In viewDidLoad(), we invoke a helper method, setupChildViewControllers(). In this private helper method, we add the day and week view controllers to the root view controller, the parent or container view controller of the day and week view controller. The implementation shows the steps that are required to add a child view controller to a container view controller.
// MARK: - View Life Cycle

override func viewDidLoad() {
    super.viewDidLoad()

    // Setup Child View Controllers
    setupChildViewControllers()
}
First, we add each child view controller to the container view controller by invoking addChildViewController(_:) on the container view controller, passing in the child view controller as an argument. By invoking this method, the child view controller automatically receives a message of willMove(toParentViewController:) with the container view controller as the only argument.
// Add Child View Controllers
addChildViewController(dayViewController)
addChildViewController(weekViewController)
Second, we add the view of each child view controller to the view of the container view controller. Even though the container view controller is responsible for the size and position of the child view controller's view, the view hierarchy of the child view controller continues to be the responsibility of the child view controller.
// Add Child View as Subview
view.addSubview(dayViewController.view)
view.addSubview(weekViewController.view)
We use Auto Layout to size and position the view of each child view controller. Using Auto Layout in code used to be tedious, but Auto Layout anchors have made this a little less daunting. The syntax may look a bit odd if you're new to Auto Layout anchors. We pin the day view controller's view to the top, left, and right edges of its superview and fix the height of the view to 200 points.
// Configure Day View
dayViewController.view.topAnchor.constraint(equalTo: view.topAnchor).isActive = true
dayViewController.view.leftAnchor.constraint(equalTo: view.leftAnchor).isActive = true
dayViewController.view.rightAnchor.constraint(equalTo: view.rightAnchor).isActive = true
dayViewController.view.heightAnchor.constraint(equalToConstant: 200.0).isActive = true
The week view controller's view is pinned to the bottom of the day view controller's view and to the left, right, and bottom edges of its superview.
// Configure Week View
weekViewController.view.topAnchor.constraint(equalTo: dayViewController.view.bottomAnchor).isActive = true
weekViewController.view.leftAnchor.constraint(equalTo: view.leftAnchor).isActive = true
weekViewController.view.rightAnchor.constraint(equalTo: view.rightAnchor).isActive = true
weekViewController.view.bottomAnchor.constraint(equalTo: view.bottomAnchor).isActive = true
Third, when the child view controller is added to the container view controller and the child view controller's view is ready to be displayed, the container view controller notifies the child view controller by sending it a message of didMove(toParentViewController:), passing itself as the only argument.
// Notify Child View Controller
dayViewController.didMove(toParentViewController: self)
weekViewController.didMove(toParentViewController: self)
This is what the implementation of the setupChildViewControllers() method looks like.
// MARK: - Helper Methods

private func setupChildViewControllers() {
    // Add Child View Controllers
    addChildViewController(dayViewController)
    addChildViewController(weekViewController)

    // Add Child View as Subview
    view.addSubview(dayViewController.view)
    view.addSubview(weekViewController.view)

    // Configure Day View
    dayViewController.view.topAnchor.constraint(equalTo: view.topAnchor).isActive = true
    dayViewController.view.leftAnchor.constraint(equalTo: view.leftAnchor).isActive = true
    dayViewController.view.rightAnchor.constraint(equalTo: view.rightAnchor).isActive = true
    dayViewController.view.heightAnchor.constraint(equalToConstant: 200.0).isActive = true

    // Configure Week View
    weekViewController.view.topAnchor.constraint(equalTo: dayViewController.view.bottomAnchor).isActive = true
    weekViewController.view.leftAnchor.constraint(equalTo: view.leftAnchor).isActive = true
    weekViewController.view.rightAnchor.constraint(equalTo: view.rightAnchor).isActive = true
    weekViewController.view.bottomAnchor.constraint(equalTo: view.bottomAnchor).isActive = true

    // Notify Child View Controller
    dayViewController.didMove(toParentViewController: self)
    weekViewController.didMove(toParentViewController: self)
}
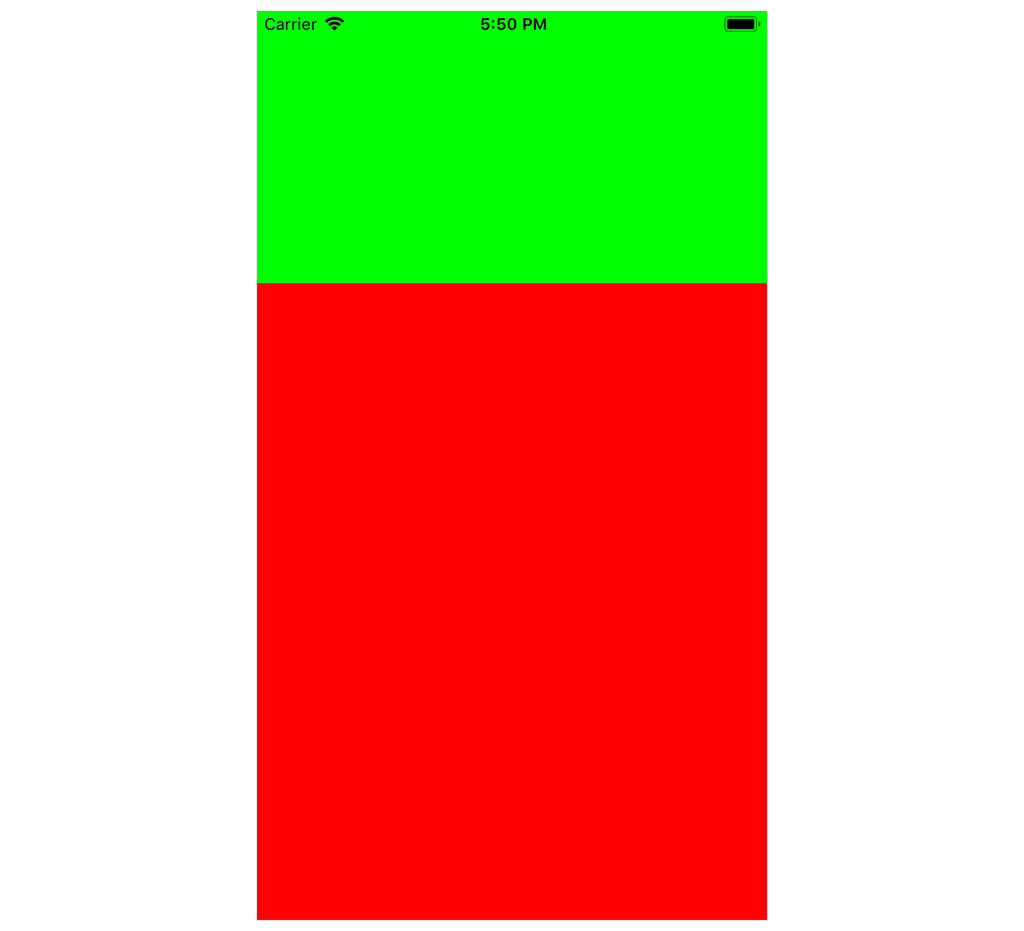
Run the application in the simulator to see the result. You should see a green view at the top and a red view at the bottom of the user interface.
Getting Rid of Literals
It's no secret that I don't like random string literals scattered across a codebase and this also applies to number literals. We used a number literal to define the height of the day view controller's view. We can get rid of that number literal, but, be warned, it can look a bit odd. Most developers think this is one step too far.
We define an extension for the RootViewController class at the bottom of RootViewController.swift. In the extension, we define an enum, Layout. Notice that we mark the Layout enum with the fileprivate keyword to make sure it's only accessible from within RootViewController.swift. We define another enum inside the Layout enum, DayView. The DayView enum defines a static constant property, height, of type CGFloat. Its value is set to 200.0.
extension RootViewController {

    fileprivate enum Layout {
        enum DayView {
            static let height: CGFloat = 200.0
        }
    }

}
We can use this value in setupChildViewControllers(). It may seem as if this is simply moving the value to another location. The idea, however, is to group related values in one place. Like I said, this is a personal choice and it may feel a bit odd in this context. For more complex user interfaces, however, it can do wonders.
// MARK: - Helper Methods

private func setupChildViewControllers() {
    // Add Child View Controllers
    addChildViewController(dayViewController)
    addChildViewController(weekViewController)

    // Add Child View as Subview
    view.addSubview(dayViewController.view)
    view.addSubview(weekViewController.view)

    // Configure Day View
    dayViewController.view.topAnchor.constraint(equalTo: view.topAnchor).isActive = true
    dayViewController.view.leftAnchor.constraint(equalTo: view.leftAnchor).isActive = true
    dayViewController.view.rightAnchor.constraint(equalTo: view.rightAnchor).isActive = true
    dayViewController.view.heightAnchor.constraint(equalToConstant: Layout.DayView.height).isActive = true

    // Configure Week View
    weekViewController.view.topAnchor.constraint(equalTo: dayViewController.view.bottomAnchor).isActive = true
    weekViewController.view.leftAnchor.constraint(equalTo: view.leftAnchor).isActive = true
    weekViewController.view.rightAnchor.constraint(equalTo: view.rightAnchor).isActive = true
    weekViewController.view.bottomAnchor.constraint(equalTo: view.bottomAnchor).isActive = true

    // Notify Child View Controller
    dayViewController.didMove(toParentViewController: self)
    weekViewController.didMove(toParentViewController: self)
}
With the day and week view controllers in place, it's time to commit your changes. I won't cover source control in detail in this series.
If you'd like to learn more about view controller containment, I recommend reading Managing View Controllers With Container View Controllers. You can find it on the Cocoacasts website. In the next episode, we fetch weather data from the Dark Sky API.