Earlier in this series, we wrote unit tests for the DayViewModel, the WeekViewModel, and the WeekDayViewModel structs. Writing those unit tests was fairly straightforward. Unit testing the RootViewModel class is a bit more challenging for a number of reasons.
The RootViewModel class asynchronously fetches the location of the device and weather data for a location. To unit test asynchronous operations, we need to take a different approach.
In this and the next episodes, you learn how to unit test asynchronous code. These episodes also underline the importance of being in control of the environment the test suite runs in. I show you how to use mocks or mock objects to accomplish that. We have a lot of work ahead of us. Let's get started.
Time to Refactor
Before we write the first unit test for the RootViewModel class, I would like to modify its implementation. Let me explain why a round of refactoring is a good idea.
As soon as a RootViewModel instance is initialized, the location of the device and weather data for the default location are fetched. This works without issues, but it isn't the best implementation. Fetching the location of the device and weather data for the default location should take place after the didFetchWeatherData handler is set. This isn't something the RootViewModel instance is responsible for.
A better solution is to wait for the didFetchWeatherData handler to be set. We could fetch the location of the device and weather data for the default location in the didSet property observer of the didFetchWeatherData property. That is one option.
But there's a solution I like even more. We already have a refresh() method. This method is invoked when the user pulls down the table view to refresh the weather data the application displays. We can invoke the refresh() method as soon as the view controller has presented its view to the user. The view controller installs the didFetchWeatherData handler and that means it should also be responsible for deciding when the RootViewModel instance should fetch the location of the device. The changes we need to make are small.
Refactoring the Root View Model
Open RootViewModel.swift and navigate to the initializer of the RootViewModel class. We remove the fetchWeatherData(for:) and fetchLocation() invocations from the initializer.
// MARK: - Initialization

init(locationService: LocationService) {
    // Set Location Service
    self.locationService = locationService

    super.init()

    // Setup Notification Handling
    setupNotificationHandling()
}
Refactoring the Root View Controller
Open RootViewController.swift and invoke the refresh() method of the RootViewModel class in the viewDidLoad() method of the RootViewController class.
// MARK: - View Life Cycle

override func viewDidLoad() {
    super.viewDidLoad()

    // Setup Child View Controllers
    setupChildViewControllers()

    // Refresh Weather Data
    viewModel?.refresh()
}
Remove the application from the simulator or the physical device you're testing with. Build and run the application to see the result of the changes we made.
The difference is subtle. The application doesn't fetch or show weather data as long as the user hasn't granted it access to the current location of the device. That's expected behavior since it no longer fetches weather data for the default location. As I mentioned earlier in this series, the application isn't very useful if the user doesn't grant the application access to the current location of the device. I'm fine with this change.
The change we made is more apparent if the user doesn't grant the application access to the current location of the device. The application informs the user about the consequences of their decision and it shows a blank user interface with two activity indicator views. While this isn't a fantastic user experience, it's the result of a decision made by the user. To improve the user experience, we could replace the weather view controllers with a view controller that shows the user a warning or instructions to grant the application access to the current location of the device. That's something we can take care of later.
Writing Better Code
You may be wondering why we didn't implement the RootViewModel class the right way from the start. That's a fair question. This series illustrates how to build a weather application from scratch. I don't want to create the illusion that every line of code you write is perfect or set in stone.
When we started building Rainstorm, the application didn't have the ability to fetch the location of the user's device. We added that feature later in the series and that is why the RootViewModel class fetched weather data for a default location. That gave us something to work with. Why did we trigger the request in the initializer of the RootViewModel class? We hadn't defined the didFetchWeatherData handler at that time.
These decisions may appear as mistakes, especially if you didn't write the code or if you're new to the project. A project grows and evolves as it gains features. This usually means that the complexity of the project increases and the needs of the project change. You shouldn't ever be afraid to revisit code you wrote in the past. Even the code you wrote yesterday or last week could benefit from a round of refactoring. Refactoring is an integral aspect of my workflow as a developer. It allows me to clean up code that is no longer needed and it also gives me the freedom to simplify the project.
Refactoring is essential if your goal is to build a project that lasts. Refactoring and maintainability go hand in hand. And that brings us to unit testing.
It sometimes happens that unit testing a feature starts with a round of refactoring. Why is that? Whenever I'm building a feature, I'm focused on writing the code that implements the feature. Focus is important, but, over the years, I have noticed that I'm sometimes too close to the code. I lose the bigger picture and that can lead to less than ideal or even poor decisions.
The moment I start unit testing a feature, these less than ideal decisions become magnified. Unit tests often expose the flaws in a design or architecture and that's a good thing. That is one of the aspects I like about unit testing. Writing unit tests should always results in better code.
Setting Everything Up
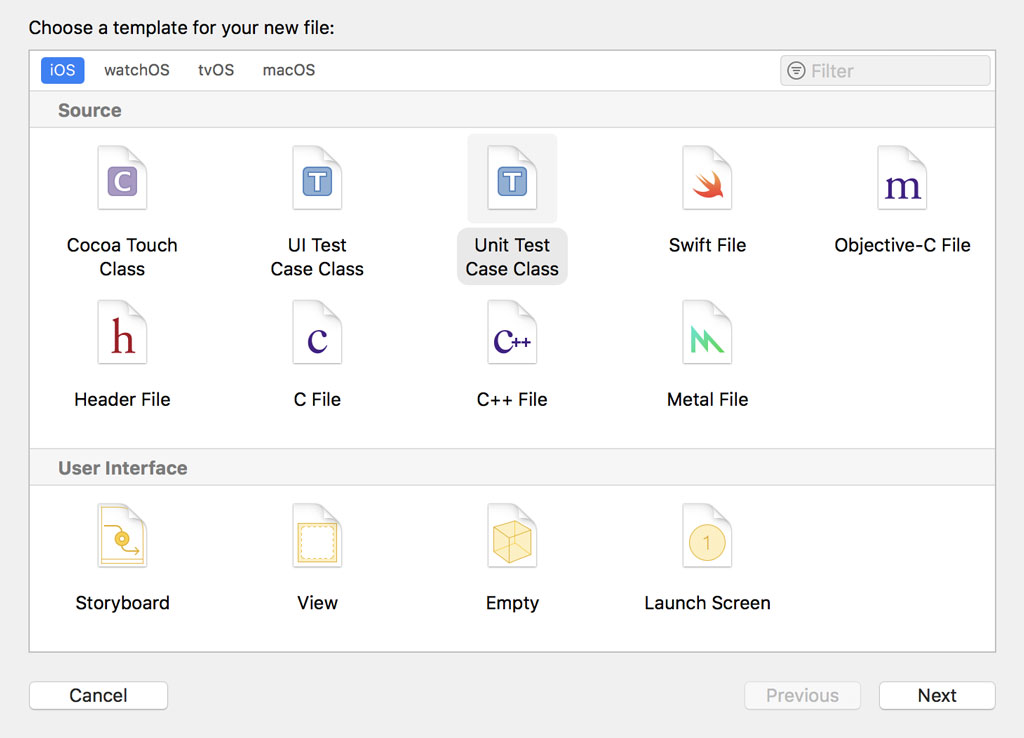
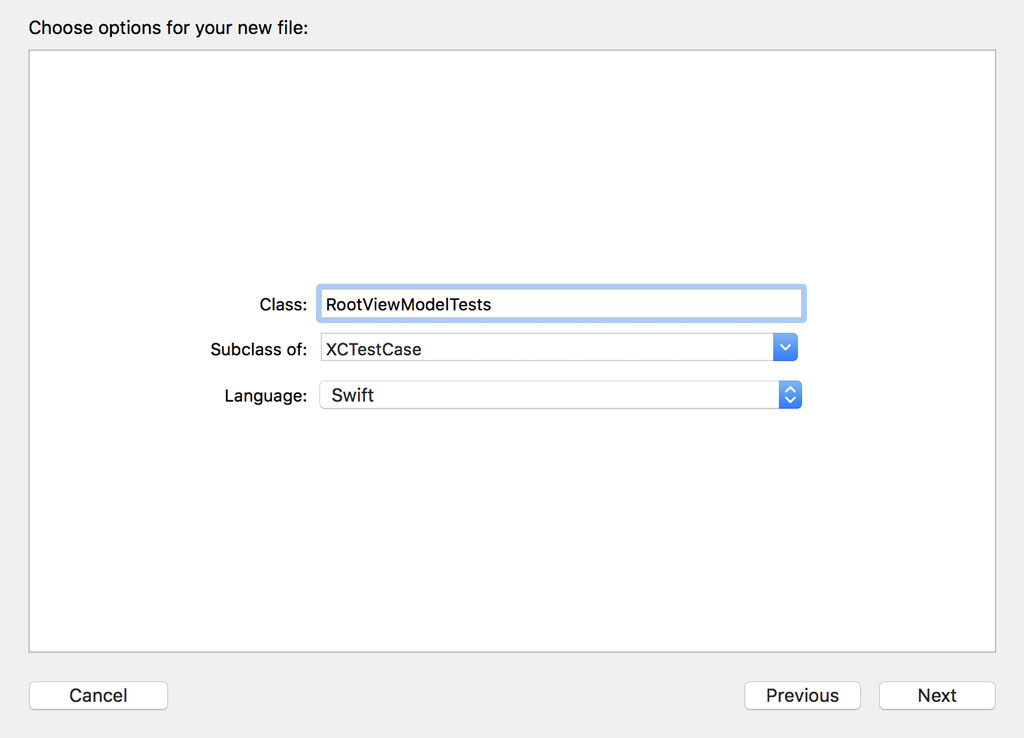
We can now focus on unit testing the RootViewModel class. Create a new file in the Test Cases group. Choose the Unit Test Case Class template from the iOS > Source section and name the file RootViewModelTests.swift.
Add an import statement for the Rainstorm module at the top. Remember to prefix the import statement with the testable attribute to gain access to the internal entities of the Rainstorm module.
import XCTest
@testable import Rainstorm

class RootViewModelTests: XCTestCase {

    ...

}
Define a property, viewModel, of type RootViewModel!, an implicitly unwrapped optional. Remember that we're not concerned with safety when we're writing unit tests. Unit tests should be readable, concise, and easy to write.
import XCTest
@testable import Rainstorm

class RootViewModelTests: XCTestCase {

    // MARK: - Properties

    var viewModel: RootViewModel!

    ...

}
We initialize an instance of the RootViewModel class in the setUp()method. Remember that the initializer of the RootViewModel class accepts one argument, an object that conforms to the LocationService protocol. A few episodes ago, we created and implemented an entity that meets that requirement, the LocationManager class. The question is "Should we use the LocationManager class in a unit test?"
// MARK: - Set Up & Tear Down

override func setUp() {
    super.setUp()

    // Initialize Root View Model
    viewModel = RootViewModel(locationService: LocationManager())
}
Earlier in this series, I emphasized the importance of being in control of the environment the test suite runs in. The LocationManager class uses the Core Location framework to fetch the location of the device. The Core Location framework isn't a framework we control. By relying on the Core Location framework in the unit tests of the RootViewModel class, we would slow down the test suite and compromise its reliability. We don't control what data the Core Location framework returns and when that happens.
The solution is simple, though. The object that conforms to the LocationService protocol is injected into the initializer of the RootViewModel class. We can choose which object is injected into the RootViewModel instance. The only requirement is that it conforms to the LocationService protocol. The plan of action is clear. We need to create an object that conforms to the LocationService protocol and an object that we control.
Creating a Mock
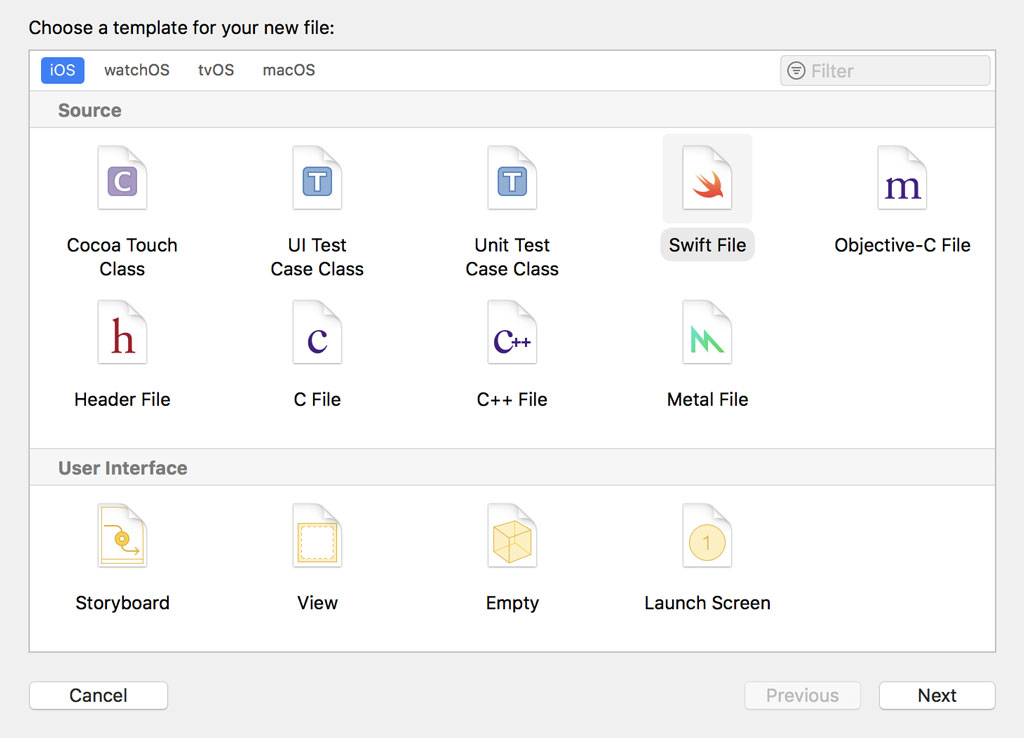
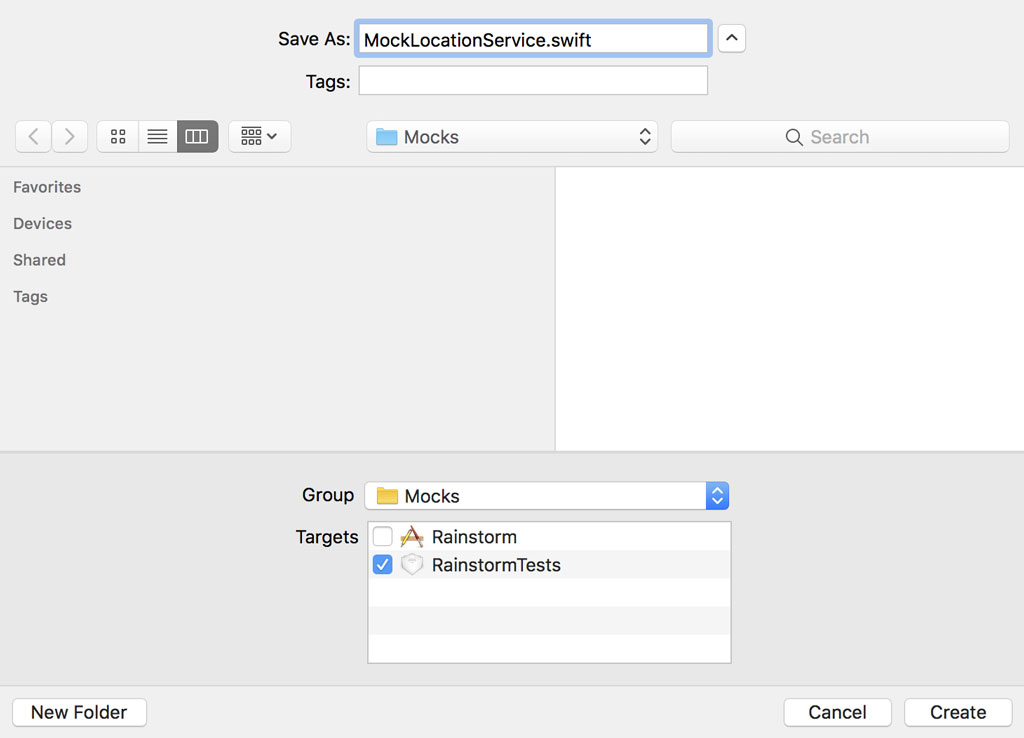
We need to create an object that pretends to be another object. This is better known as a mock or a mock object. Create a new group in the RainstormTests group and name it Mocks. Add a new Swift file to this group and name it MockLocationService.swift.
Add an import statement for the Rainstorm module, prefixed with the testable attribute, below the import statement for Foundation.
import Foundation
@testable import Rainstorm
Define a class, MockLocationService, that conforms to the LocationService protocol.
@testable import Rainstorm

class MockLocationService: LocationService {

}
It won't take long for the compiler to throw an error. We need to implement the method of the LocationService protocol. Add a stub for the fetchLocation(completion:) method to satisfy the compiler.
import Foundation
@testable import Rainstorm

class MockLocationService: LocationService {

    // MARK: - Location Service

    func fetchLocation(completion: @escaping LocationService.FetchLocationCompletion) {

    }

}
The prime advantage of a mock object is being in control. We decide how the mock object behaves and that puts us back in control of the environment the test suite runs in. Revisit RootViewModelTests.swift and replace the LocationManager instance with an instance of the MockLocationService class.
// MARK: - Set Up & Tear Down

override func setUp() {
    super.setUp()

    // Initialize Root View Model
    viewModel = RootViewModel(locationService: MockLocationService())
}
This is a good start, but the MockLocationService class isn't functional yet. We can keep the implementation simple. As I mentioned earlier, the prime advantage of a mock object is being in control. We need to be in control of (1) the location the MockLocationService instance returns and (2) how long it takes for the completion handler that is passed to the fetchLocation(completion:) method to be invoked.
How do we do that? We declare a variable property location of type Location and a variable property delay of type TimeInterval. To satisfy the compiler, we need to assign a default value to each property.
import Foundation
@testable import Rainstorm

class MockLocationService: LocationService {

    // MARK: - Properties

    var location: Location = Location(latitude: 0.0, longitude: 0.0)

    // MARK: -

    var delay: TimeInterval = 0.0

    // MARK: - Location Service

    func fetchLocation(completion: @escaping LocationService.FetchLocationCompletion) {

    }

}
With these properties in place, implementing the fetchLocation(completion:) method is trivial. We create a LocationServiceResult instance using the value stored in the location property. We take advantage of Grand Central Dispatch to asynchronously execute the completion handler with the delay stored in the delay property.
func fetchLocation(completion: @escaping LocationService.FetchLocationCompletion) {
    // Create Result
    let result: LocationServiceResult = .success(location)

    DispatchQueue.main.asyncAfter(deadline: .now() + delay) {
        // Invoke Handler
        completion(result)
    }
}
What's Next?
With the MockLocationService class in place, it's time to unit test the RootViewModel class. That's the focus of the next episode.