The Cocoacasts API returns a remote image for each episode. The problem we face is that the images are in the SVG format. SVG images are ideal for web, but the UIKit framework doesn't know how to handle the SVG format. The solution we implement in this episode uses Cloudinary, a service that manipulates and transforms media, including images. We also add Kingfisher to the mix. Kingfisher is a popular image library to download and cache remote images.
Adding Kingfisher
Before we add Kingfisher to the project's Podfile, I want to take a moment to explain why I chose for Kingfisher. Is it necessary to add another dependency to the project? I always try to keep the number of dependencies of a project to a minimum. Before I add a dependency to a project, I ask myself "How long would it take me to implement a custom solution?" Building a caching solution isn't hard, but it takes time if you want to do it right. Replicating the basic functionality Kingfisher offers would take me more than a few hours. The added benefit of choosing for Kingfisher is the support of the community. Dozens of developers contribute to the project and thousands of projects use Kingfisher. This means that the library is robust and thoroughly tested.
Let's open the project's Podfile and add Kingfisher as a dependency. The latest release of Kingfisher at the time of recording is 5.9.0.
target 'Cocoacasts' do
  platform :ios, '12.0'
  use_frameworks!
  inhibit_all_warnings!

  # Debugging
  pod 'CocoaLumberjack/Swift', '~> 3.5.2'
  pod 'PaperTrailLumberjack/Swift', '~> 0.1.9'

  # Wrappers
  pod 'KeychainAccess', '~> 3.2'
  pod 'ReachabilitySwift', '~> 4.3.0'

  # Crash Reporting
  pod 'Crashlytics', '~> 3.12.0'

  # Image Caching
  pod 'Kingfisher', '~> 5.9.0'

  ...
end
We run the bundle exec pod install command to install the dependencies of the project.
bundle exec pod install
Using Cloudinary
Cloudinary makes it trivial to fetch remote images. The company has a native SDK, but I prefer to use their fetch API. It keeps the implementation lightweight and it also makes it easier to move away from Cloudinary should that ever be necessary.
Cloudinary's fetch API is easy to use. You start with a Cloudinary base URL that is specific to your account.
https://res.cloudinary.com/cocoacasts/image/fetch/
You append the URL of the remote image you want to download. When you make the request, Cloudinary downloads the image and returns it. It also caches the image. The next time that image is accessed through Cloudinary, the cached image is returned. In other words, Cloudinary also acts as a content delivery network or CDN.
https://res.cloudinary.com/cocoacasts/image/fetch/https://cocoacasts.com/exmple.svg
But Cloudinary is more than a CDN. You can pass additional parameters to Cloudinary to perform manipulations and transformations on the image. For the Cocoacasts project, the SVG image should be converted to a PNG image. This is as simple as passing an additional parameter.
https://res.cloudinary.com/cocoacasts/image/fetch/f_png/https://cocoacasts.com/exmple.svg
You can also pass the pixel density of the device to Cloudinary. A device with a retina display has a pixel density of 2 or 3. The resolution of the image returned by Cloudinary is customized for the pixel density of the device.
https://res.cloudinary.com/cocoacasts/image/fetch/f_png,dpr_2.0/https://cocoacasts.com/exmple.svg
The last feature we use in this episode is specifying the dimensions of the returned image. Scrolling a collection or table view needs to be snappy and that is only possible if the images that are displayed are sized correctly. Cloudinary makes that trivial. In this example, we ask Cloudinary to return an image that is 200.0 points wide. On a device with a pixel density of 2 the returned image is 400.0 pixels wide.
https://res.cloudinary.com/cocoacasts/image/fetch/w_200,f_png,dpr_2.0/https://cocoacasts.com/exmple.svg
Building the Cloudinary URL
Before we take advantage of Cloudinary we need to answer an important question "Which object is responsible for building the Cloudinary URL?" It shouldn't be the Episode object because it has no clue what the needs of the EpisodeCollectionViewCell class are. Should it be the EpisodeCollectionViewCell class? That is a viable solution. The option I prefer is more in line with the Model-View-ViewModel pattern. We create a dedicated view model for the EpisodeCollectionViewCell class.
This is simpler than you might think thanks to the groundwork we laid in the previous episode. We start by creating a group with name View Models. We add a Swift file to the View Models group and name it EpisodeCollectionViewCellViewModel.swift. Add an import statement for the UIKit framework and define a struct with name EpisodeCollectionViewCellViewModel.
import UIKit

struct EpisodeCollectionViewCellViewModel {

}
The EpisodeCollectionViewCellViewModel struct has one property, episode, of type Episode.
import UIKit

struct EpisodeCollectionViewCellViewModel {

    // MARK: - Properties

    let episode: Episode

}
The next step is conforming EpisodeCollectionViewCellViewModel to the EpisodePresentable protocol. The implementation is simple. The EpisodeCollectionViewCellViewModel object asks its Episode object for the information it needs to conform to the EpisodePresentable protocol.
extension EpisodeCollectionViewCellViewModel: EpisodePresentable {

    // MARK: - Properties

    var title: String {
        return episode.title
    }

    var collection: String? {
        return episode.collection
    }

    var thumbnailUrl: URL {
        return episode.thumbnailUrl
    }

    var publishedAt: Date {
        return episode.publishedAt
    }

}
We need to customize the return value of the thumbnailUrl computed property because we don't want to return the value of the thumbnailUrl property of the Episode object. We return a Cloudinary URL instead. We first define the Cloudinary base URL. We forced unwrap the result of the initializer. Don't worry about this for now.
var thumbnailUrl: URL {
    return URL(string: "https://res.cloudinary.com/cocoacasts/image/fetch/")!
}
To convert the SVG image to a PNG image, we append f_png to the Cloudinary base URL.
var thumbnailUrl: URL {
    return URL(string: "https://res.cloudinary.com/cocoacasts/image/fetch/")!
        .appendingPathComponent("f_png")
}
We ask the Episode object for its thumbnail URL, convert it to a string, and add it as the last component of the URL.
var thumbnailUrl: URL {
    return URL(string: "https://res.cloudinary.com/cocoacasts/image/fetch/")!
        .appendingPathComponent("f_png")
        .appendingPathComponent(episode.thumbnailUrl.absoluteString)
}
This is fine for now. Let me show you what we have before we refine the implementation. Open FeedViewModel.swift and navigate to the presentable(for:) method. We no longer return an Episode object. We ask the feed view model for an Episode object and use it to create an EpisodeCollectionViewCellViewModel object.
func presentable(for index: Int) -> EpisodePresentable {
    return EpisodeCollectionViewCellViewModel(episode: episode(at: index))
}
This works fine because EpisodeCollectionViewCellViewModel also conforms to the EpisodePresentable protocol. This is the only change we need to make thanks to the protocol-oriented approach we implemented in the previous episode.
The EpisodeCollectionViewCell class doesn't display the image yet. We need to update the configure(with:) method first. Open EpisodeCollectionViewCell.swift and add an import statement for the Kingfisher library at the top.
import UIKit
import Kingfisher

class EpisodeCollectionViewCell: UICollectionViewCell {

    ...

}
To use Kingfisher to download, display, and cache the remote image, we invoke the setImage(with:) method on the image view. This method is defined in the kf namespace. By invoking the setImage(with:) method, Kingfisher downloads and caches the remote image. The next time the application requests the image, Kingfisher returns the image from cache. This drastically improves performance and it also reduces power consumption because the application doesn't need to perform a network request.
func configure(with presentable: EpisodePresentable) {
    // Configure Title Label
    titleLabel.text = presentable.title

    // Configure Image View
    imageView.kf.setImage(with: presentable.thumbnailUrl)
}
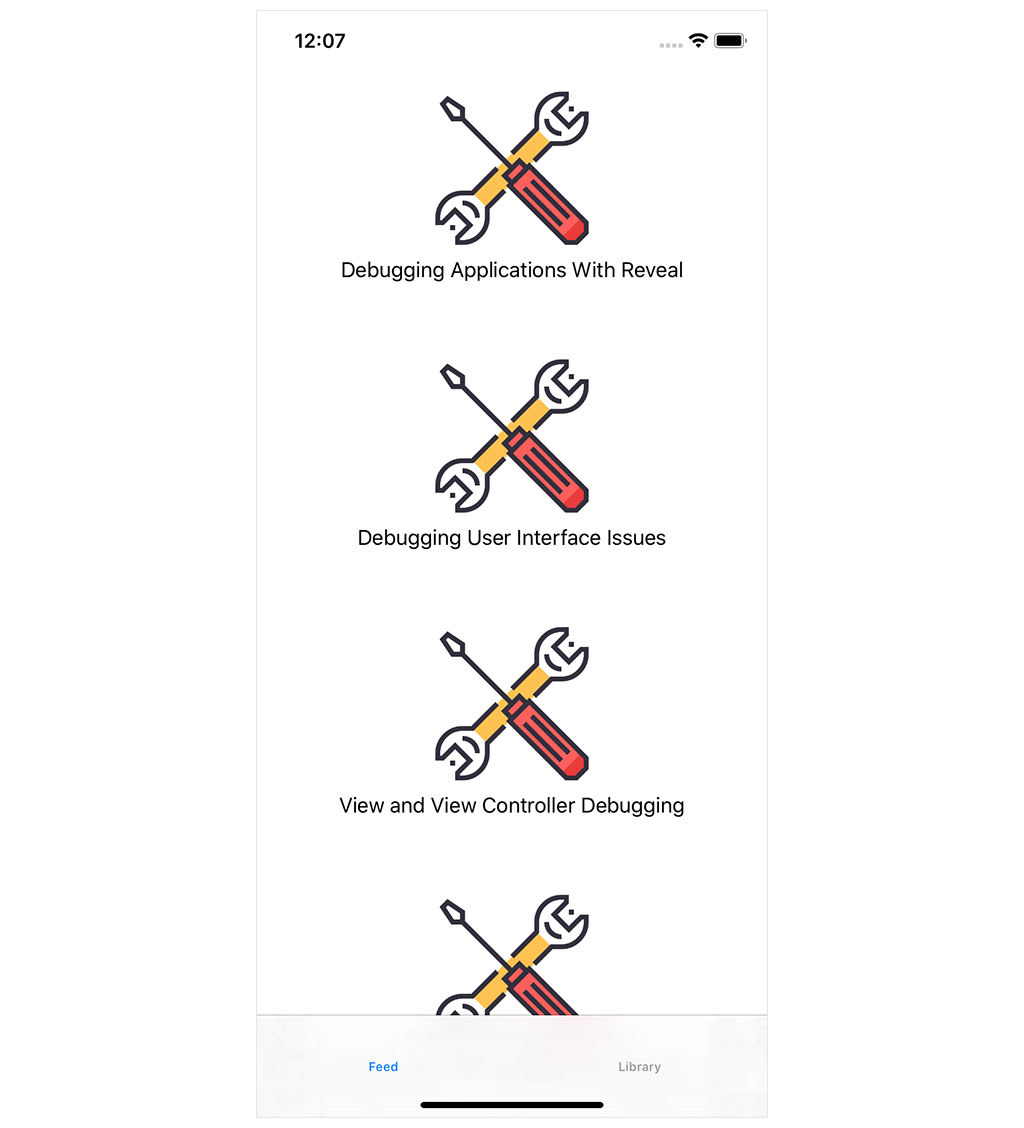
Let's build and run the application in the simulator. Cloudinary converts the SVG images to PNG images, which means we should see images in the feed view. The solution works. The resolution of the images isn't great, but we fix that in a moment.
Using the Builder Pattern
The next step is refining the implementation by removing the string literals and introducing flexibility. Other parts of the application can benefit from Cloudinary and that means we need to come up with a solution that is reusable and flexible.
I would like to introduce the builder pattern for that purpose. The builder pattern isn't a very common pattern in Swift and Cocoa development, but I like the API the builder pattern generates. It's a perfect fit for this problem.
The builder pattern avoids long initializers and promotes immutability. The builder encapsulates the information it needs to create the object and exposes an elegant and flexible API. Don't worry if this is confusing. The example we are about to implement should answer any questions you have.
The idea isn't complex. We create an object that helps construct or build the Cloudinary URL. We create a group, Miscellaneous, and add a subgroup, Cloudinary. We add a Swift file to the Cloudinary group with name CloudinaryURLBuilder.swift. Replace the import statement for Foundation with and import statement for UIKit. Why this is necessary becomes clear in a moment. We define a final class with name CloudinaryURLBuilder and a private, constant property, source, of type URL. The value of source is the URL of the remote image we send to Cloudinary.
import UIKit

final class CloudinaryURLBuilder {

    // MARK: - Properties

    private let source: URL

}
Before we implement the API, we define an initializer that accepts one argument, source, of type URL. We set the source property in the body of the initializer.
import UIKit

final class CloudinaryURLBuilder {

    // MARK: - Properties

    private let source: URL

    // MARK: - Initialization

    init(source: URL) {
        // Set Properties
        self.source = source
    }

}
As the name suggests, the CloudinaryURLBuilder class builds the Cloudinary URL. We start with a basic API. I would like to add the ability to specify the width and/or height of the returned image. We define a private, variable property, width, of type Int? and a private, variable property, height, of type Int?. The CloudinaryURLBuilder class should not expose any state. The URL is configured through the public API of the CloudinaryURLBuilder class. That is why width and height are declared privately.
import UIKit

final class CloudinaryURLBuilder {

    // MARK: - Properties

    private let source: URL

    // MARK: -

    private var width: Int?
    private var height: Int?

    // MARK: - Initialization

    init(source: URL) {
        // Set URL
        self.source = source
    }

}
Let's implement the public API. We define a method with name width(_:) that accepts an integer as its only argument. Notice that it returns a CloudinaryURLBuilder instance. Why that is becomes clear in a moment. The implementation of the width(_:) method is simple. The width property is set and self is returned from the method.
func width(_ width: Int) -> CloudinaryURLBuilder {
    // Update Width
    self.width = width

    return self
}
We repeat these steps for the height property. We define a method with name height(_:) that accepts an integer as its only argument. The height property is set and self is returned from the method.
func height(_ height: Int) -> CloudinaryURLBuilder {
    // Update Height
    self.height = height

    return self
}
Once the CloudinaryURLBuilder instance is configured, the build() method is invoked. It returns the Cloudinary URL. We could define build() as a computed property. By defining it as a method, it is clear that the CloudinaryURLBuilder instance performs an action. We start by declaring a few helper variables, parameters, an empty array of String objects and url, the Cloudinary base URL.
func build() -> URL {
    // Helpers
    var parameters: [String] = []
    var url = URL(string: "https://res.cloudinary.com/cocoacasts/image/fetch/")!
}
We safely unwrap the width property. If width isn't equal to nil, we append it as a parameter to the parameters array. The format of the parameter is w_\(width). We repeat this step for the height property. If height isn't equal to nil, we append it as a parameter to the parameters array. The format of the parameter is h_\(height).
func build() -> URL {
    // Helpers
    var parameters: [String] = []
    var url = URL(string: "https://res.cloudinary.com/cocoacasts/image/fetch/")!

    if let width = width {
        parameters.append("w_\(width)")
    }

    if let height = height {
        parameters.append("h_\(height)")
    }
}
We also append the format parameter to the array of parameters.
func build() -> URL {
    // Helpers
    var parameters: [String] = []
    var url = URL(string: "https://res.cloudinary.com/cocoacasts/image/fetch/")!

    if let width = width {
        parameters.append("w_\(width)")
    }

    if let height = height {
        parameters.append("h_\(height)")
    }

    // Define Format
    parameters.append("f_png")
}
The last parameter we add is the device pixel density parameter. That is why we added an import statement for the UIKIt framework. We ask the main screen for the value of its scale property, convert it to a string, and append it to the array of parameters.
func build() -> URL {
    // Helpers
    var parameters: [String] = []
    var url = URL(string: "https://res.cloudinary.com/cocoacasts/image/fetch/")!

    if let width = width {
        parameters.append("w_\(width)")
    }

    if let height = height {
        parameters.append("h_\(height)")
    }

    // Define Format
    parameters.append("f_png")

    // Define Device Pixel Ratio
    let dpr = String(format: "%1.1f", UIScreen.main.scale)
    parameters.append("dpr_\(dpr)")
}
We concatenate the array of strings if parameters isn't empty, using a comma to separate the strings. The resulting string is appended to the Cloudinary base URL.
func build() -> URL {
    // Helpers
    var parameters: [String] = []
    var url = URL(string: "https://res.cloudinary.com/cocoacasts/image/fetch/")!

    if let width = width {
        parameters.append("w_\(width)")
    }

    if let height = height {
        parameters.append("h_\(height)")
    }

    // Define Format
    parameters.append("f_png")

    // Define Device Pixel Ratio
    let dpr = String(format: "%1.1f", UIScreen.main.scale)
    parameters.append("dpr_\(dpr)")

    // Append Parameters
    if !parameters.isEmpty {
        let parametersAsString = parameters.joined(separator: ",")
        url = url.appendingPathComponent(parametersAsString)
    }
}
The last step is appending the source URL as a string to the Cloudinary URL and returning it from the build() method.
func build() -> URL {
    // Helpers
    var parameters: [String] = []
    var url = URL(string: "https://res.cloudinary.com/cocoacasts/image/fetch/")!

    if let width = width {
        parameters.append("w_\(width)")
    }

    if let height = height {
        parameters.append("h_\(height)")
    }

    // Define Format
    parameters.append("f_png")

    // Define Device Pixel Ratio
    let dpr = String(format: "%1.1f", UIScreen.main.scale)
    parameters.append("dpr_\(dpr)")

    // Append Parameters
    if !parameters.isEmpty {
        let parametersAsString = parameters.joined(separator: ",")
        url = url.appendingPathComponent(parametersAsString)
    }

    return url.appendingPathComponent(source.absoluteString)
}
Let's put the CloudinaryURLBuilder class to use. Revisit the EpisodeCollectionViewCellViewModel struct. We remove the implementation of the thumbnailUrl property and instantiate an instance of the CloudinaryURLBuilder struct, passing in the image URL of the Episode object as the source URL. We invoke the width(_:) method on the CloudinaryURLBuilder instance to define the width of the returned image. To build the Cloudinary URL, we invoke the build() method. The result is returned from the thumbnailUrl computed property.
var thumbnailUrl: URL {
    return CloudinaryURLBuilder(source: episode.thumbnailUrl)
        .width(200)
        .build()
}
We can use method chaining because the width(_:) method returns the CloudinaryURLBuilder instance. That is why the width(_:) and height(_:) methods return the CloudinaryURLBuilder instance.
Before we test the implementation, I would like to make a minor optimization. Open Environment.swift and define a static, variable property with name cloudinaryBaseUrl of type URL. As the name suggests, the computed property returns the Cloudinary base URL.
// MARK: - Cloudinary Base URL

static var cloudinaryBaseUrl: URL {
    return URL(string: "https://res.cloudinary.com/cocoacasts/image/fetch/")!
}
We use the cloudinaryBaseUrl property in the CloudinaryURLBuilder class. This cleans up the implementation by removing the string literal in the build() method.
func build() -> URL {
    // Helpers
    var parameters: [String] = []
    var url = Environment.cloudinaryBaseUrl

    ...
}
Let's build and run the application to see the result. This looks better. Not only did we improve the implementation, the images are properly sized and customized for the display of the device.
What's Next?
The builder pattern isn't very common in Swift and Cocoa development, but I hope this episode shows how convenient it is to create an elegant and flexible API for creating objects. Cloudinary and Kingfisher are third party dependencies, but they are easy to replace should that ever be necessary. Both solutions add value to the project and improve the performance of the application with little effort.